Amigurumi Monster Crochet Free Pattern
Designer: Vivi Toys
Instagram: @vivi_toys
Ready to crochet some magic?
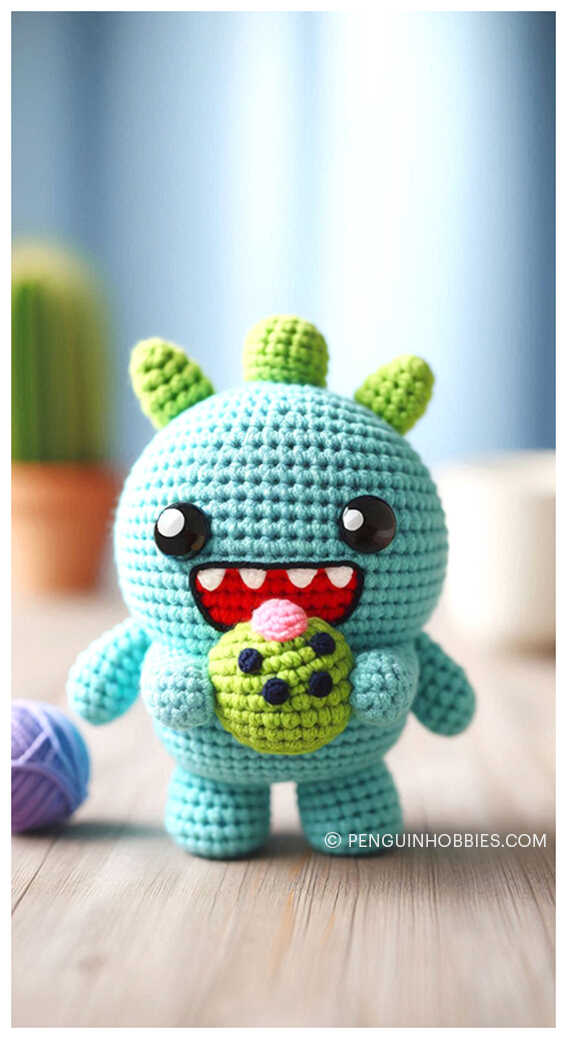
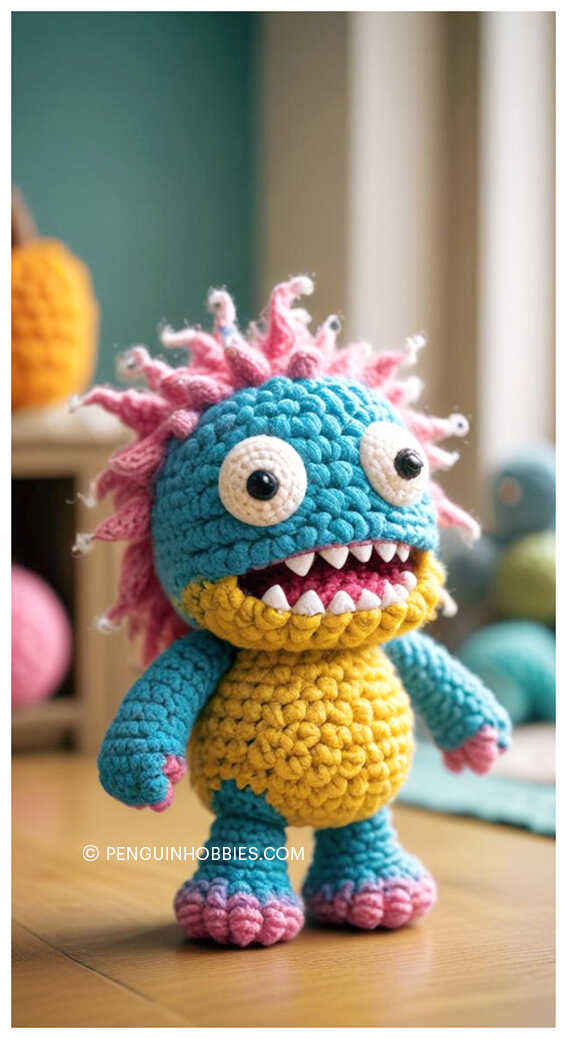
If you’re into playful and quirky amigurumi, you’ll absolutely love creating Lunch the Monster! Designed by the talented Lera from @vivi_toys, this crochet pattern brings a fun and colorful character to life—perfect for gifting, collecting, or simply adding a dose of cuteness to your day. With clear instructions and charming details, Lunch the Monster is a great project for both confident beginners and experienced crocheters.
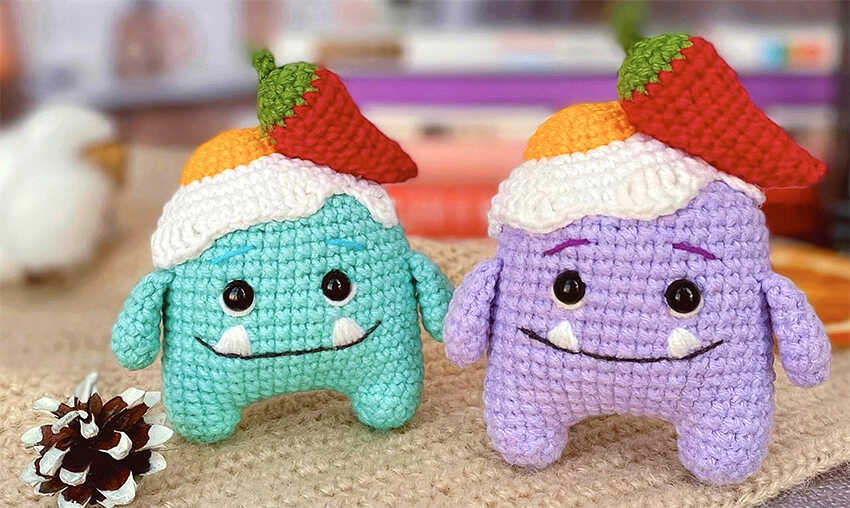
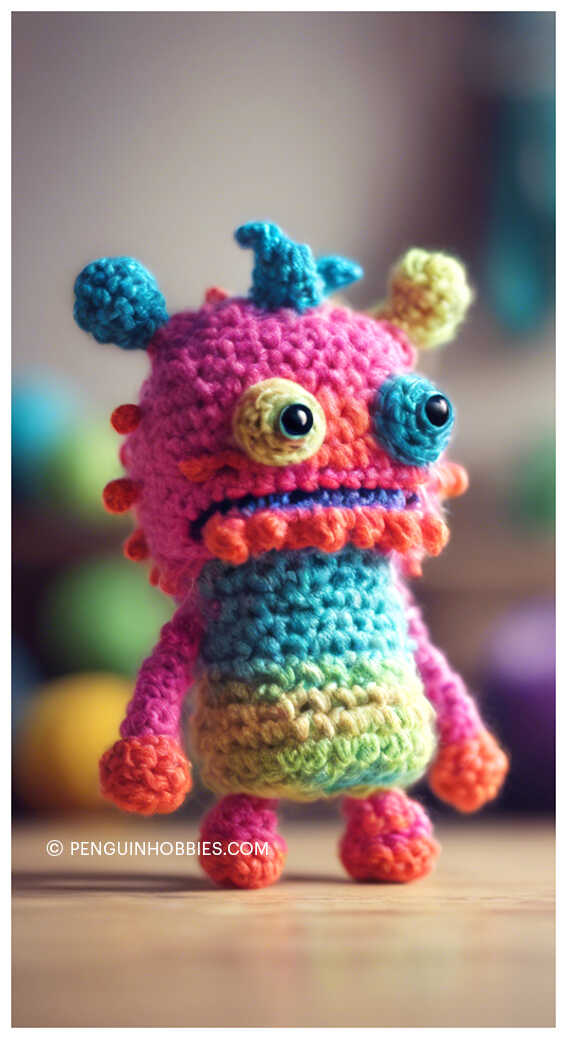
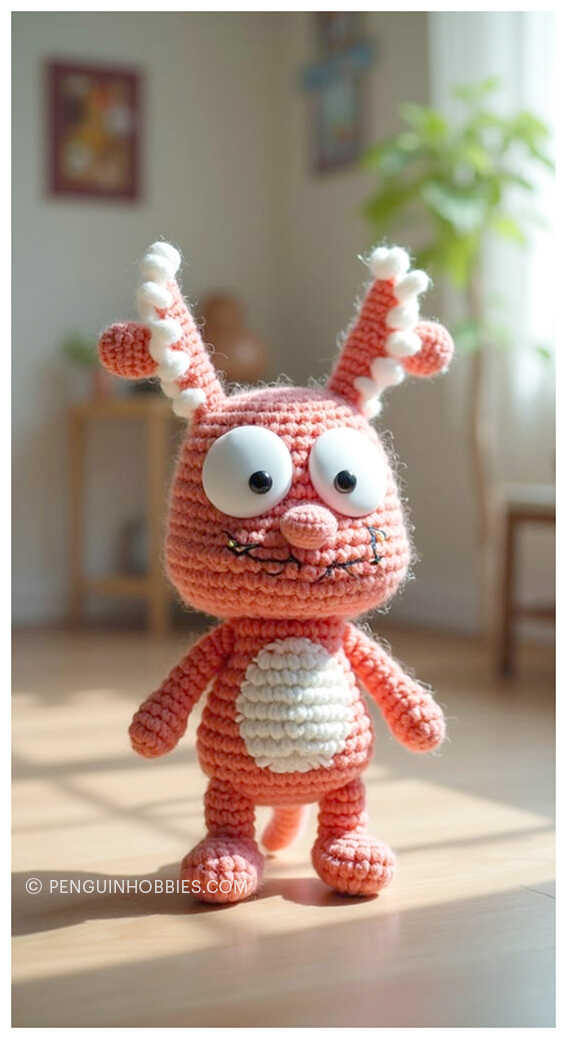
Huge thanks to Lera for sharing this creative and imaginative design. And don’t miss the end of the pattern—we’ve included a gallery of inspiring Amigurumi Monster examples to fuel your next crochet adventure!

Tools and Materials
1. Yarn YarnArt Jeans: green 58 – main color, white 01, yellow 35, red 90, green (chili pepper) 69, dark gray 28, dark green (spikes) 82
2. Hook size 2 mm
3. Stuffing material
4. Safety eyes size 6 mm
5. Scissors
6. Pins
7. Large eye needle
8. Stitch markers (optional)
Abbreviations
CH – chain
SC – single crochet
MR – magic/amigurumi ring
INC – increase (2 sc in 1 stitch)
DEC – decrease (2 stitches worked together)
( )*n – repeat the instructions in brackets n times
SL ST – slip stitch
DC – double crochet
HDC – half double crochet
TR – treble crochet
AMIGURUMI MONSTER FREE PATTERN
Arms (2 pieces)
1. 5 sc into MR
2. inc*5 (10)
3-6. 10 sc (4 rounds)
Fold the piece in half and work 4 sc through both halves.
Cut yarn leaving a tail. Hide it inside the piece using a needle.
Legs (2 pieces)
1. 6 sc into MR
2. inc*6 (12)
3. 12 sc
Cut yarn and hide it inside the piece. Make the second leg and continue crocheting from it making its body.
Body
Start from the second leg making 6 ch. Join the 2 legs together working round
4. 12 sc (1st leg), (1 sc, inc)*3 (chain), 12 sc (2d leg), (1 sc, inc)*3 (chain) (42)
5-13. 42 sc (9 rounds)
14. 5 sc, 4 sc – attaching the 1st arm, 16 sc, 4 sc – attaching the 2d arm, 13 sc (42)
15-19. 42 sc (5 rounds)
20. 2 sc, dec, 1 sc, dec, 1 sc, dec, 14 sc, dec, 1 sc, dec, 1 sc, dec, 10 sc (36)
Insert and fix eyes (6 mm) between rounds 13-14 with the gap of 6 or 8 stitches between them.
Stuff the piece.
21. (4 sc, dec)*6 (30)
22. (3 sc, dec)*6 (24)
23. (2 sc, dec)*6 (18) Stuff the piece.
24. (1 sc, dec)*6 (12)
25. dec*6 (6)
Add some stuffing material. Work the decreases to the end, then tighten the hole with a needle and hide the thread inside of the piece.
Embroider smile in dark gray (using 1 thin thread of 4 components of the main thread); teeth in the form of triangles in white (using 2 thin threads of the main one); whites of the eyes in white; eyebrows in dark green (the color of spikes).
Egg
In yellow:
1. 6 sc into MR
2. inc*6 (12)
3. (1 sc, inc)*6 (18)
4. (2 sc, inc)*6 (24)
5-6. 24 sc (2 rounds) In white:
7. Through front loops only: (1 sc, inc)*12 (36)
8. (2 sc, inc)*12 (48)
9. 48 sc
10. Make the edging: 1 sc, 1 hdc, 2 dc, 1 hdc, 2 sc, 1 hdc, 1 dc, 2 tr, 1 dc, 1 hdc, 5 sc, 1 hdc, 5 dc, 1 hdc, 5 sc, 1 hdc, 2 dc, 1 hdc, 2 sc, 5 ch, work 3 dc from the 3d loop, then skip 3 sc, work from the 4th stitch: 1 sc, 1 hdc, 2 dc, 1 tr, 1 dc, 1 hdc, 1 sc, 2 sl st
Cut yarn leaving a long tail for sewing.
Spikes (2 pieces)
1. 6 sc into MR
2. (1 sc, inc)*3 (9)
3. (2 sc, inc)*3 (12)
Work 1 sl st and cut yarn leaving a long tail for sewing.
Chili Pepper
In green:
1. 6 sc into MR
2. inc*6 (12)
3. (1 sc, inc)*6 (18) In red:
4-6. 18 sc (3 rounds)
7. (4 sc, dec)*3 (15)
8-9. 15 sc (2 rounds)
10. (3 sc, dec)*3 (12)
11-12. 12 sc (2 rounds)
13. (2 sc, dec)*3 (9)
14. (1 sc, dec)* 4 (5)
Cut yarn leaving a long tail.
Tighten the hole with a needle.
Make sculpting by working several stitches in the center to make it more curved. Do not cut the thread.
Tail
In green: Attach the thread in the center of the green part. Insert the hook under one of the stitches of the magic ring, pull the thread, and work 1 ch.
(You can also make it separately and then sew it on the center of the chili pepper.)
1. Chain 4
2. 3 sl st
Insert the hook under one of the opposite stitches of the magic ring. Then pull the thread and work 1 sl st to fix it.
Fix the threads tying a knot and hide yarn tails inside the piece.
Sew the egg and spikes to the monster fixing them with pins. Add a little stuffing material to each detail. Fix the threads and hide yarn tails inside the piece.
Sew the chili pepper fixing it with pins. Fix the threads and hide yarn tails inside the piece.
All done!
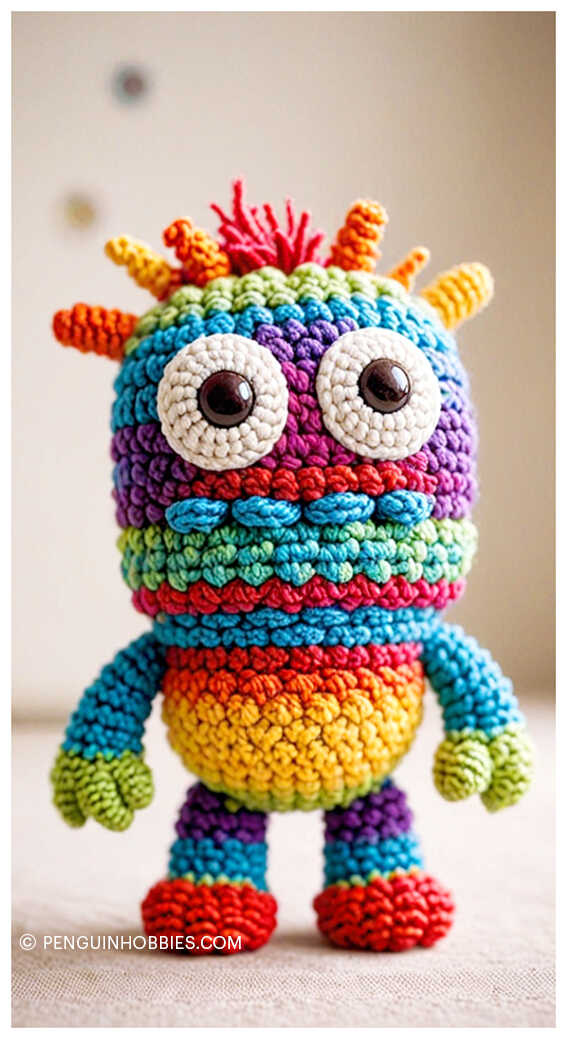
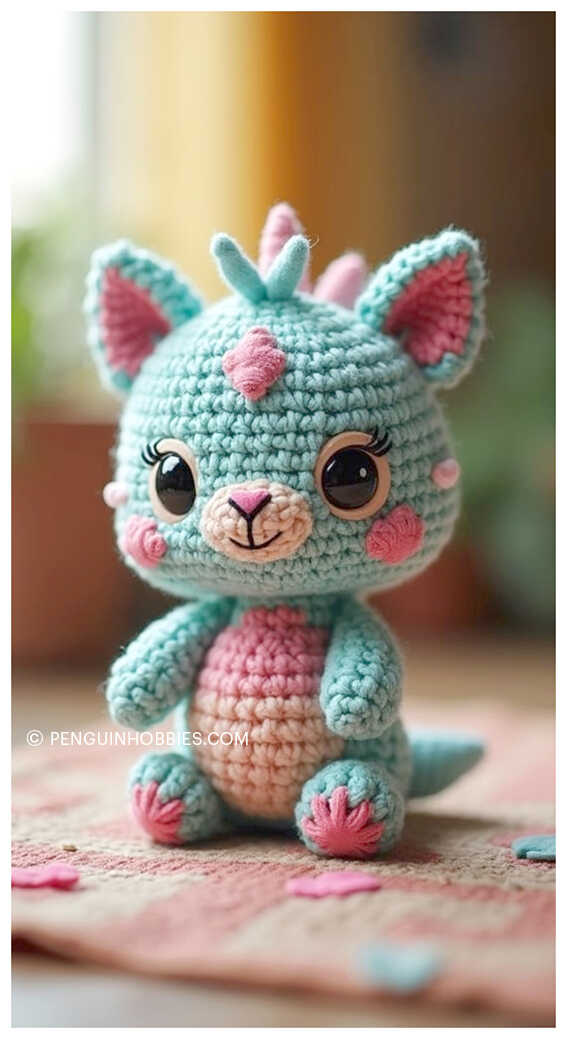
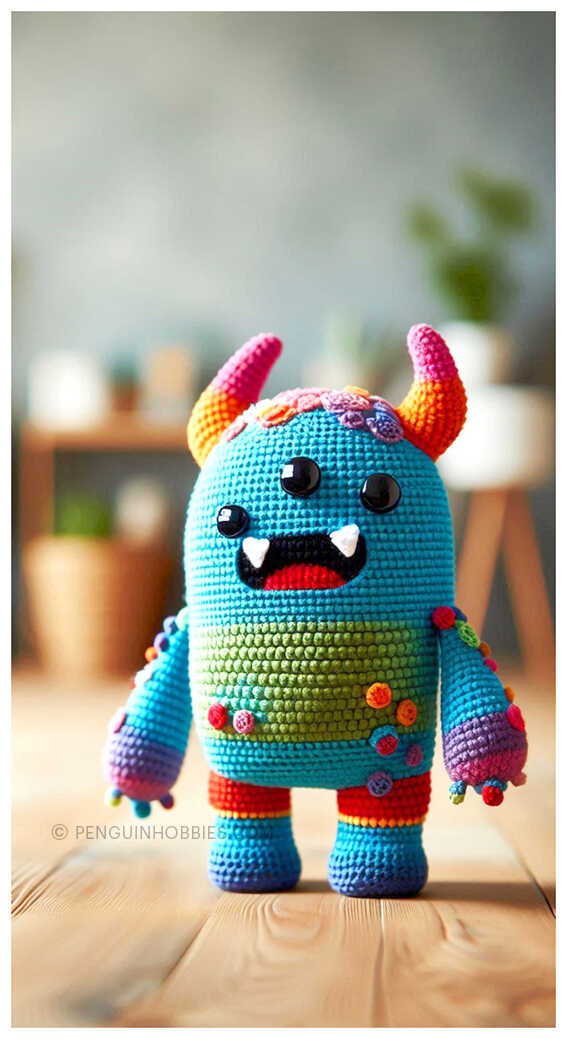
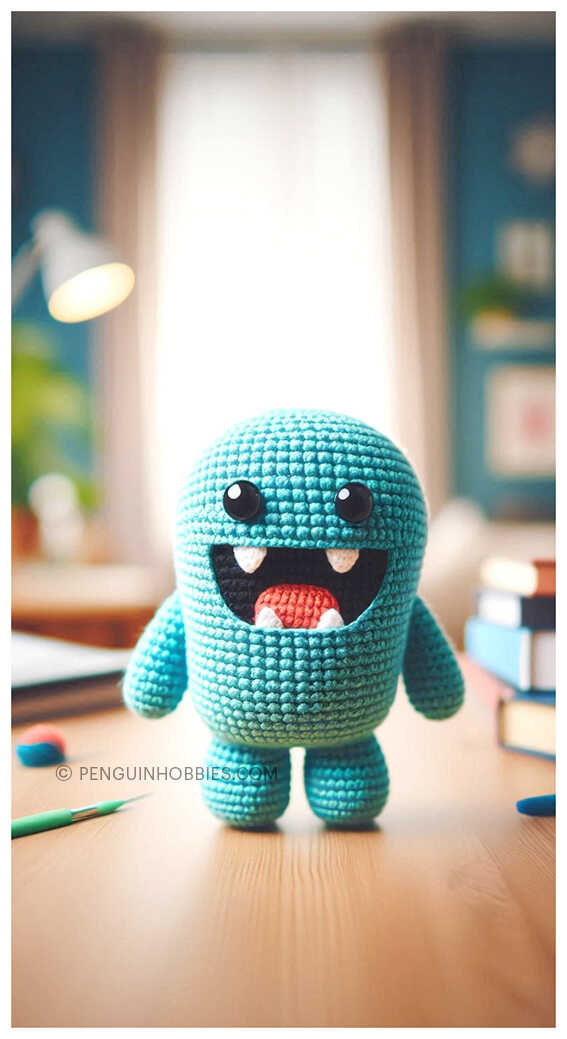
More amigurumi monster ideas:


Discover All Your Favorite Amigurumi Toy Patterns in One Magical Place!
Looking for the perfect amigurumi pattern to bring your next crochet project to life? At PenguinHobbies.com, you’ll discover a magical world of free, step-by-step amigurumi patterns featuring everything from cuddly cats, sweet dolls, playful dogs, and enchanting unicorns to soft lambs, mighty dinosaurs, clever foxes, huggable bears, gentle giraffes, adorable pigs, and colorful birds. We also offer creative ideas for penguins, pandas, llamas, bunnies, clowns, elephants, hippos, monkeys, and so much more! Each pattern is designed to spark joy, inspire your creativity, and help you make handmade treasures that are as fun to create as they are to gift. Don’t forget to join our Facebook community for daily crochet inspiration, pattern updates, and a wonderful group of fellow amigurumi lovers!