Amigurumi Pikachu Free Crochet Pattern
Designer: Tia Michelle
Instagram: @crochet_by_tiamichelle
Etsy Shop: CrochetbyTiaMichelle
I’ve got a sweet new pattern to share with you
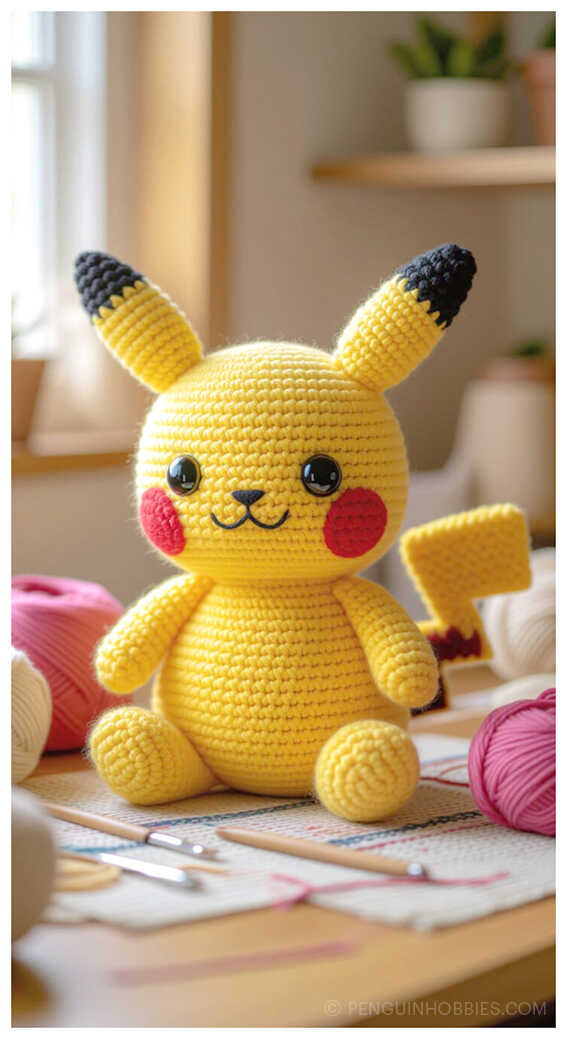
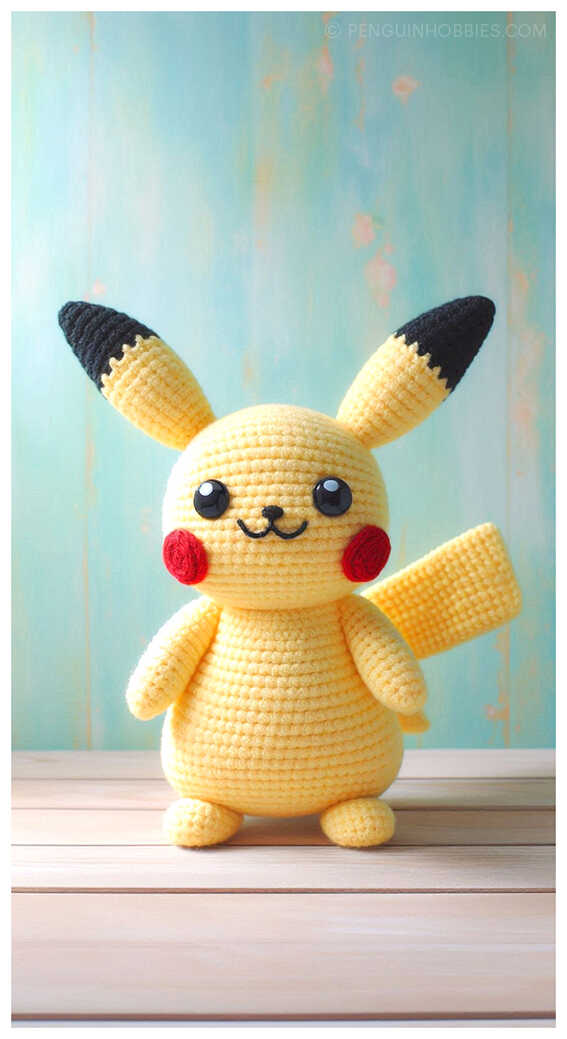
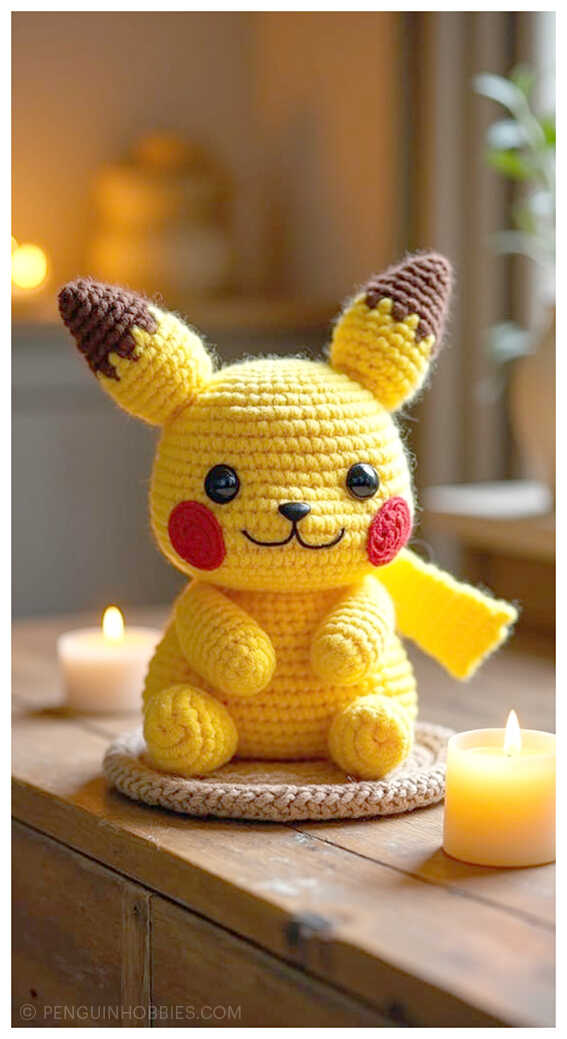
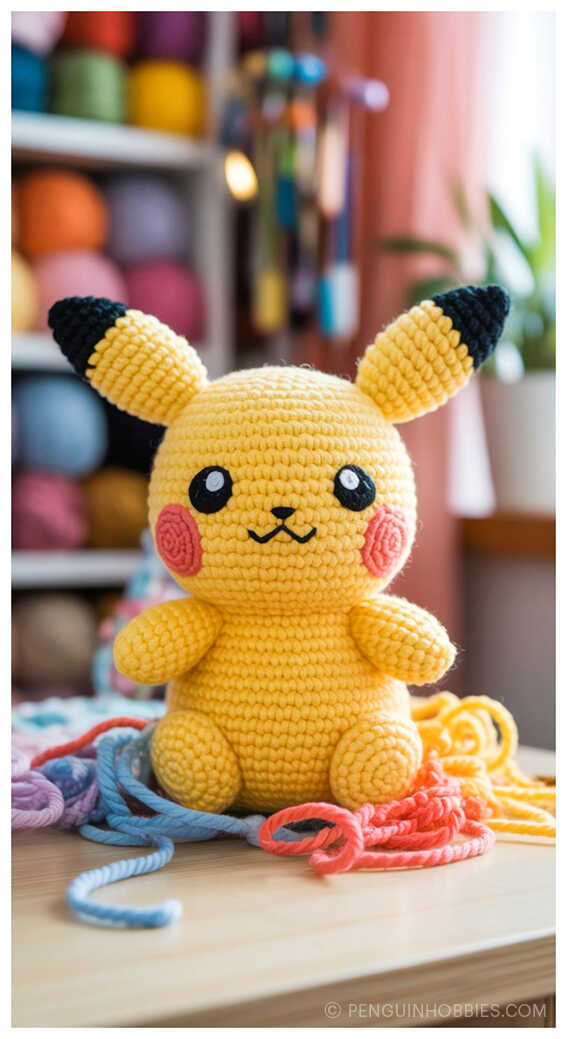
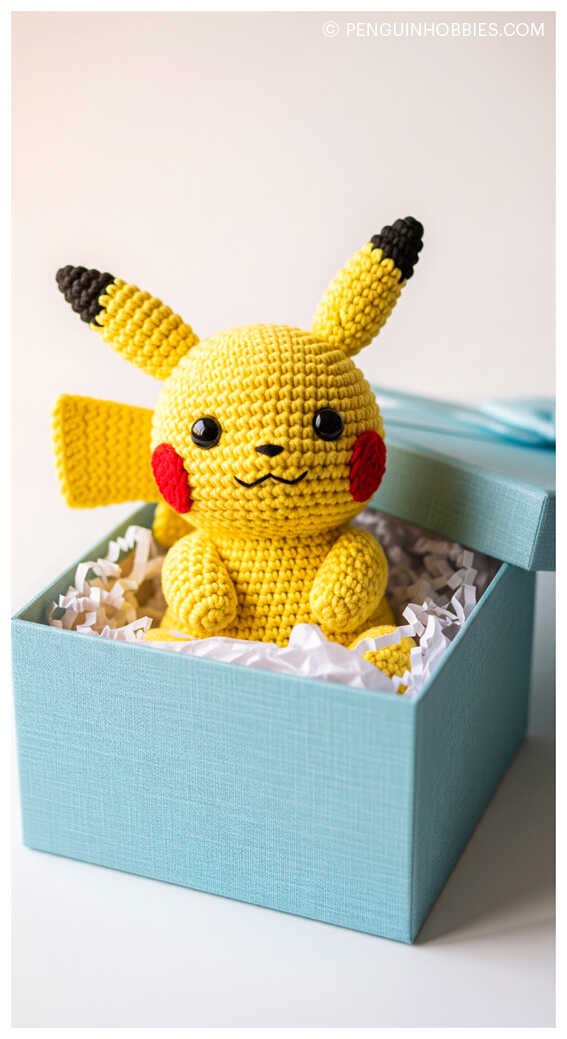
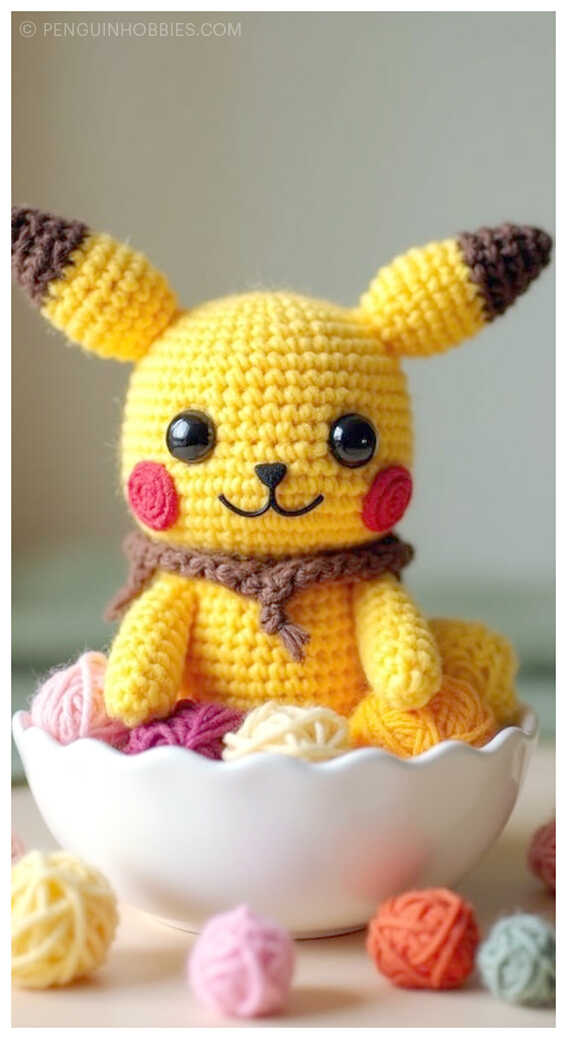
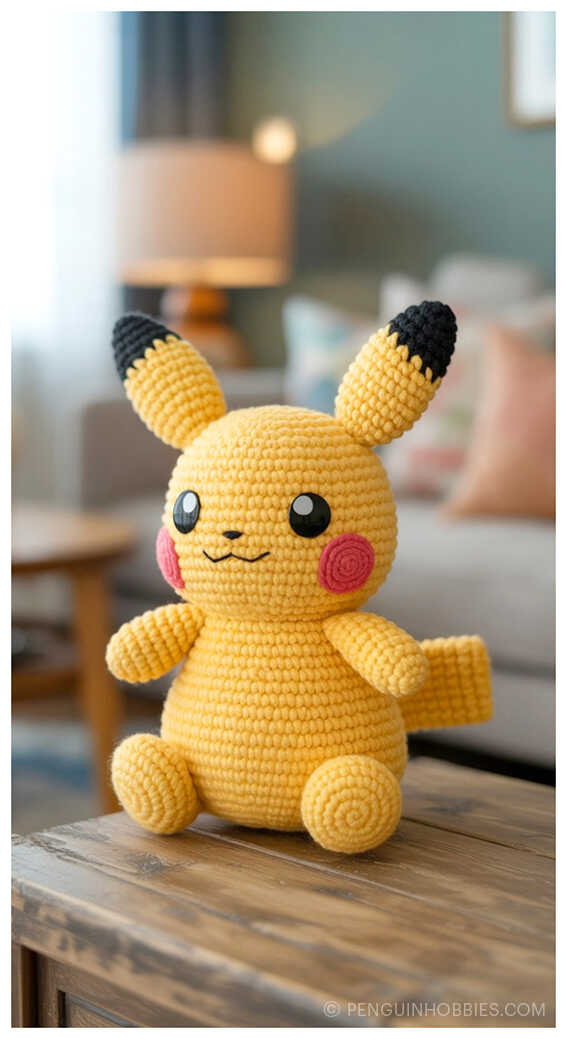
Bring your favorite Pokémon to life with this Amigurumi Pikachu Free Crochet Pattern designed by the talented Tia Michelle (Instagram: @crochet_by_tiamichelle). Perfect for beginners and seasoned crocheters alike, this step-by-step guide helps you create an irresistibly cute Pikachu using soft chenille yarn in classic yellow, a 5mm crochet hook, and a few essential details like safety eyes and toy stuffing. Add in a touch of black and red yarn for Pikachu’s signature features, and you’ll have your own pocket-sized Pokémon ready for display or gifting.
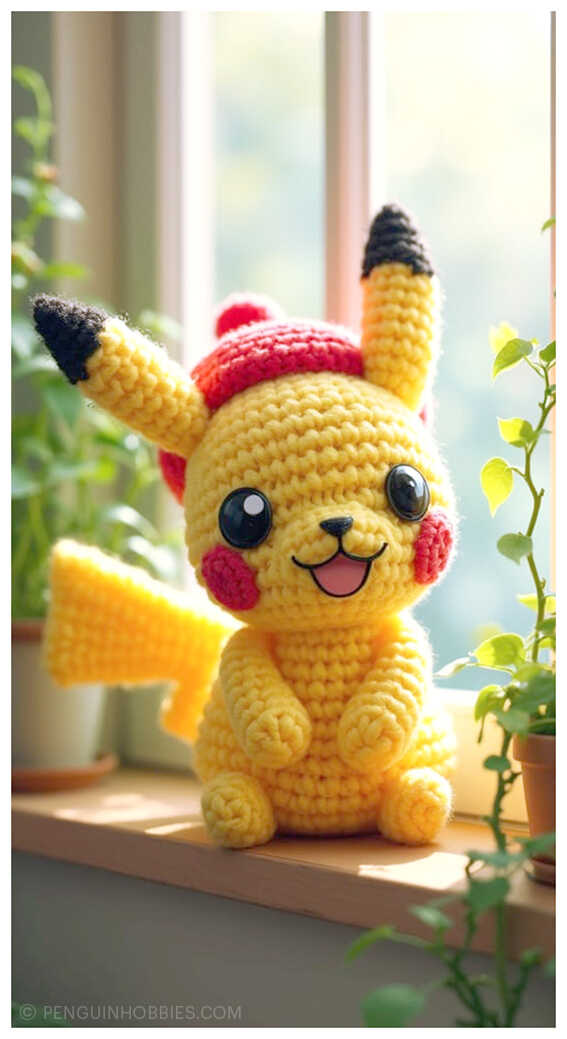
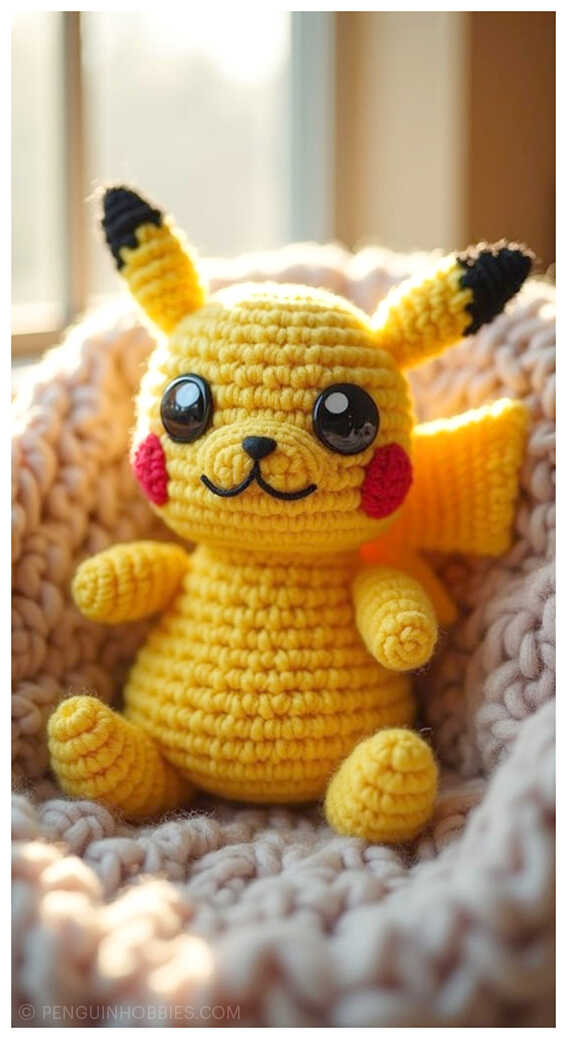
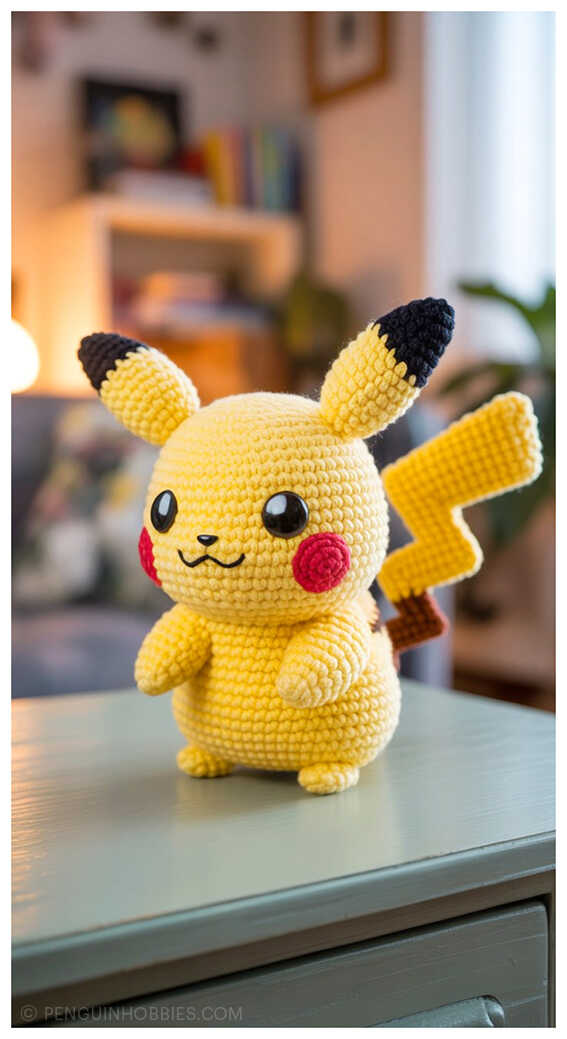
A huge thanks to Tia Michelle for sharing this charming design for free. Once you’ve completed the pattern, be sure to explore the inspiring Amigurumi Pikachu ideas at the end – they’re perfect for sparking new color variations and creative touches for your next Pokémon project.

Terms
MR- magic ring
st(s)- stitch(es)
slst- slip stitch
sc- single crochet
ch- chain
scinc- single crochet increase
scdec- invisible decrease
rnd- round
FO- fasten off
cc- color change
clr- colour
*–*- repeat the determined number of times
Materials
Chenille yarn (6 chunky) 150g in 1 colour – yellow (colour A), 50g in 3 colours- black (colour B), brown (colour C), red (colour D).
5mm crochet hook.
Toy stuffing.
25mm safety eyes.
Craft wire/ pipe cleaners (for tail stability)
Small amount of black embroidery thread/ dk
Sewing needle
Ami sticks
AMIGURUMI PIKACHU FREE PATTERN
Body and head
Using color A:
R1. 8 sc in MR (8)
R2: *scinc* x8 (16)
R3: *sc, scinc* x8 (24)
R4: *2sc, scinc* x8 (32)
R5: 6sc, 4scinc, 12sc, 4scinc, 6sc (40)
R6-15: sc around (40) [10 rounds]
R16: 6sc, 4scdec, 12sc, 4scdec, 6sc (32)
R17: *2sc, scdec* x8 (24)
Begin stuffing the body firmly.
R18: *2sc, scinc* x8 (32)
R19: 6sc, 4scinc, 12sc, 4scinc, 6sc (40)
R20: 6sc, *sc, scinc* x4, 12sc, *sc, scinc* x4, 6sc (48)
R21: 18sc, 2scinc, 4scdec, 2scinc, 18sc (48)
Pause stuffing at this point (leaving room to insert the eyes).
R22-29: sc around (48) [8 rounds]
R30: 6sc, *sc, scdec* x4, 12sc, *sc, scdec* x4, 6sc (40)
R31: sc around (40)
R32: 6sc, *scdec* x4, 12sc, *scdec* x4, 6sc (32)
Now place your safety eyes between R28-29, approximately 6sts apart, and continue stuffing until you FO.
R33: sc around (32)
R34: *2sc, scdec* x8 (24)
R35: sc around (24)
R36: *sc, scdec* x8 (16)
R37: *scdec* x8 (8)
Slst into the next st and FO. Ensure you have finished stuffing, then leave a tail long enough to thread through FLO of R37’s sts, and pull gently to close the hole (weave in end).
Face details:
• Using black embroidery thread/ dk, stitch a small nose between R27-28 (1st wide).
• With the same black thread/ dk, stitch a smile between R25-R26 (7st wide). See image for reference.
Arms (make 2 using colour A)
R1: 8sc in mr (8)
R2: *scinc* x8 (16)
R3: *sc, scinc* x4, 8sc (20)
R4: sc around (20)
R5: *sc, scdec* x4, 8sc (16)
Start stuffing firmly and continue to stuff until you FO.
R6-11: sc around (16) [6 rounds]
R12: *scdec* x8 (8)
Slst into the next st and FO. Leave a long tail for sewing the arms to the body, and thread through FLO of R12’s sts and gently pull to close the hole. Arm placement: position the arms using ami sticks (paws pointing forwards and upwards) on the sides of the body, between R11-17.
Optional note- when sewing the arms to the body, only sew the top few rounds of the arms to the body- this gives the arms a bit of room for movement.
Feet (make 2 using colour A)
Dont stuff the feet.
R1: 8 sc in mr (8)
R2: *scinc*x8 (16)
R3-7: sc around (16) [5 rounds]
Now make 8 sc across the bottom of the foot to close, FO and leave a long tail for sewing the feet to the body.
Foot placement: position the feet on the bottom of the body, using ami sticks between R1-6 (the straight edge of the feet will be used to sew them to the body).
Cheeks (make 2 using colour D)
R1: 8 sc in mr (8)
R2: *scinc* x8 (16)
Slst into the next st and FO. Leave a long tail for sewing the cheeks to the face.
Cheek placement: position the cheeks with ami sticks and sew on between R21-25 (10sts apart).
Ears (make 2 and start with colour B)
R1: 4sc in mr (4)
R2: *scinc* x4 (8)
R3: *scinc* x8 (16) R4-6: sc around (16) [3 rounds] in the last st of R6 cc to clr A.
Optional – begin stuffing the ears firmly here. You can leave the ears unstuffed.
R7: sc around (16) – work your cc in this rnd.
R8-17: sc around (16) [10 rounds]
Now make 8sc across the bottom of the ear to close,
FO and leave a long tail for sewing the ears to the body.
Ear placement: position the ears with ami sticks on top of the head, between R29-34 (1 recommend 8sts apart and 4sts between each eye and ear).
Back stripes (make 2 using colour C)
Starting with a ch10, turn, in the 2nd ch from hook sc across (9)
FO and leave a long tail to sew the stripes to the
back of the body.
Stripes placement: sew a back stripe on R6 and another on R9, ensure that they are sewn on straight and aligned with the centre of the
back.
Important note – You will be crocheting in rows when making the tail, so at the end of each row remember to turn your work.
Tail (make 2 pieces, and start using colour A)
Starting with a ch8
R1: in the 2nd ch from hook, sc across (7)
Now when you reach the end of a row, don’t ch1, sc into the very first st (this creates a straighter edge).
R2-6: sc across (7) [5 rows]
R7: 4sc (4) – this is an incomplete row.
R8-10: sc across (4) [3 rounds]
R11: ch4, starting in the 2nd ch from the hook, make 7sc back across the row (7)
R12-14: sc across (7) [3 rows] – in the last st of R14 cc to clr D.
R15: 3sc (3) this is an incomplete row.
R16-18: sc across (3) [3 rows]
R19: ch4, starting in the 2nd ch from the hook, make 6sc back across the row (6)
R20-22: sc across (6) [3 rows]
FO the first piece and leave a short tail. Do not FO the second piece (we will be crocheting the layers together).
Important note – make sure when you crochet around the tail, you use the correct colours to match that section, hence, you will use colour A for the most part, and colour D for the bottom.

Improving tail stability – if you choose to make your tail stable, I suggest taking a couple of pipe cleaners, twist them together, then thread them around the edges of the tail. For additional support, you can wrap some craft wire around the pipe cleaners to improve sturdiness. Ensure that the structure remains in place when you crochet the tail layers together.
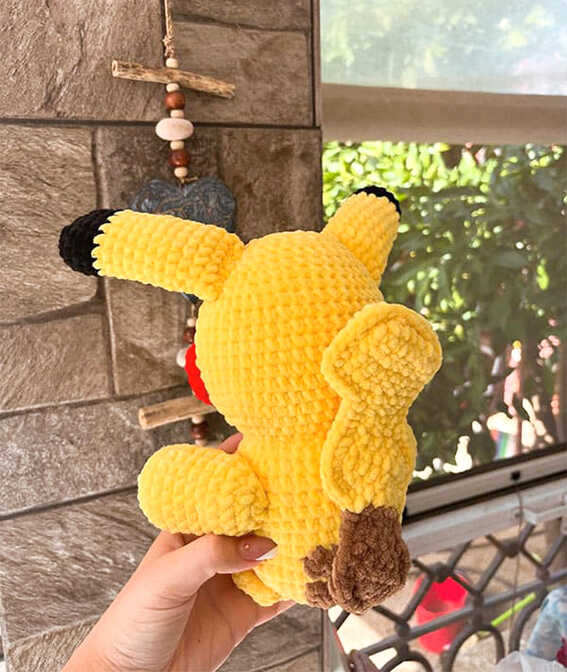
Joining the tail layers
Layer the wrong sides of the tail pieces together (remember you should still be connected to the second piece), and make a sc in each st around the two layers. When you reach a ‘corner’ make a scinc. Once you are back to your starting point, slst into the starting st and FO. Leave a long strand to sew the tail to the body.
Tail placement: position the tail central to the back, and sew securely onto R3. I suggest adding a few sts up the tail to secure it to the body – improving stability.
Find your next favorite amigurumi Pikachu to crochet
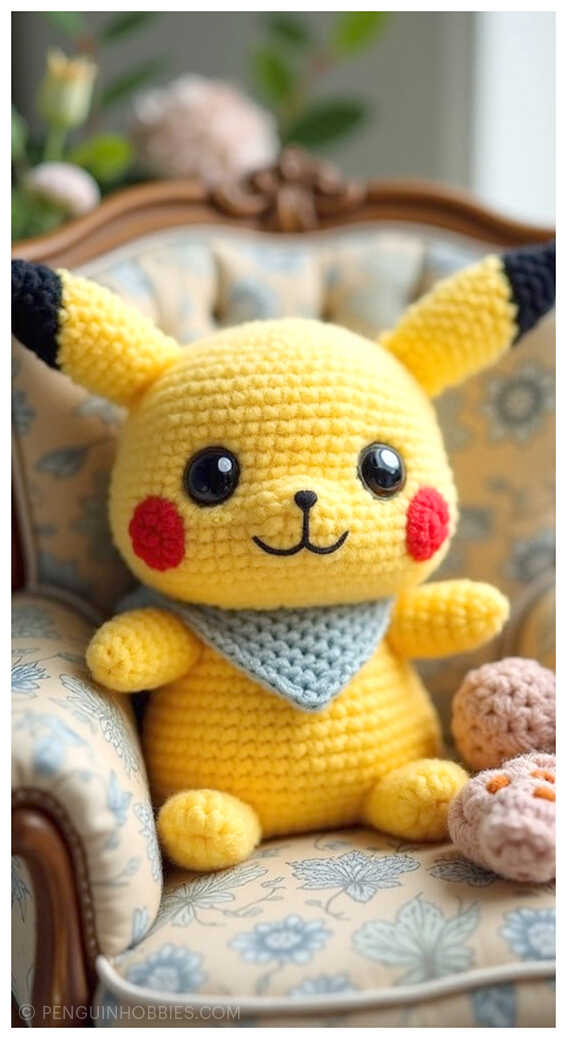

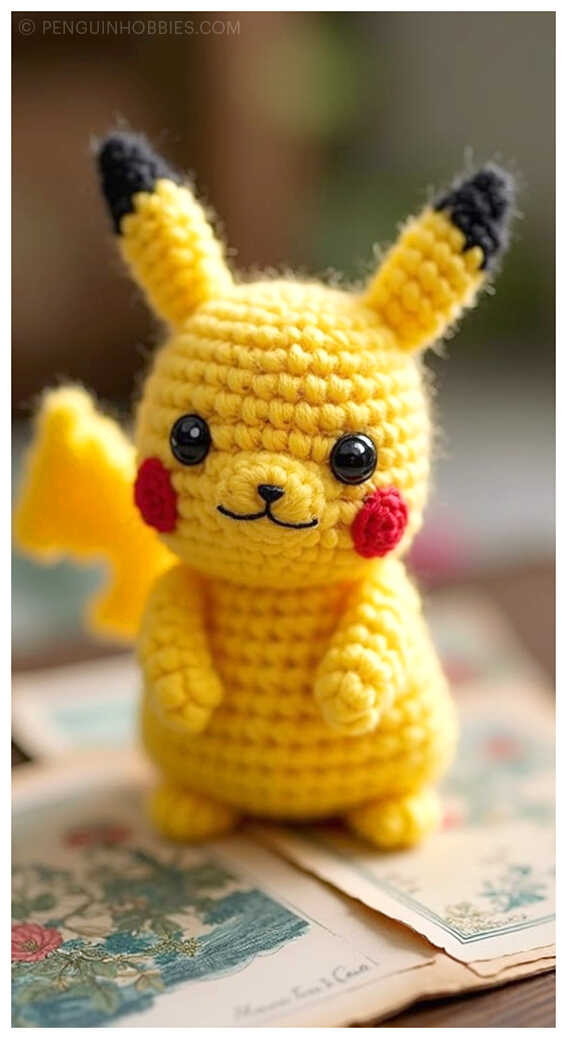
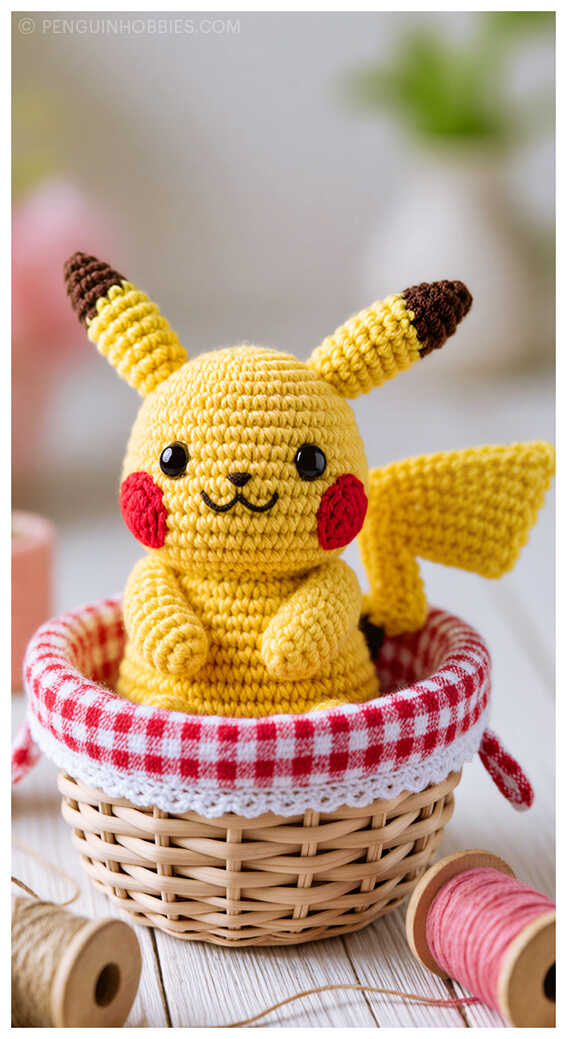
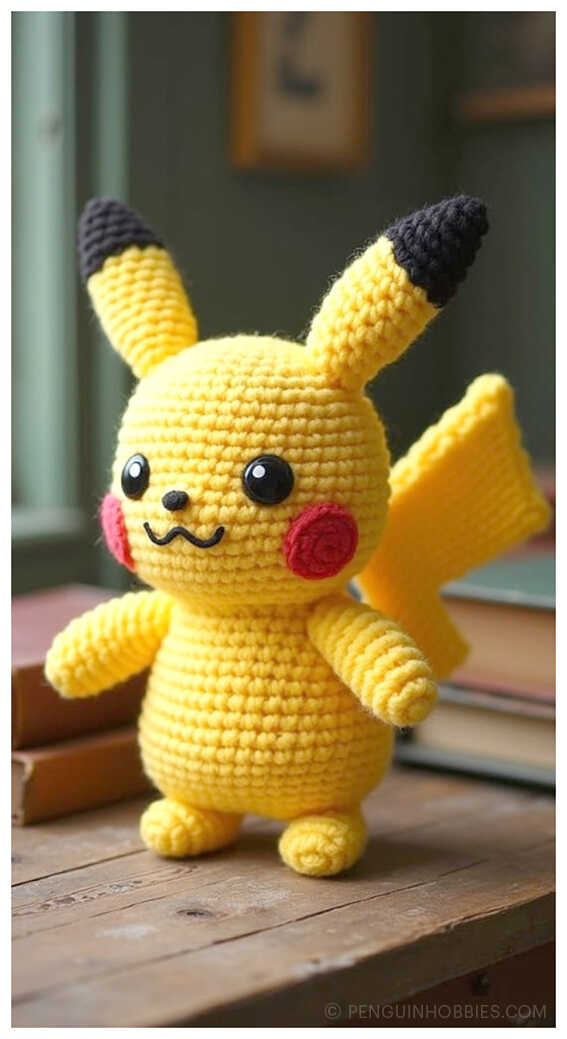
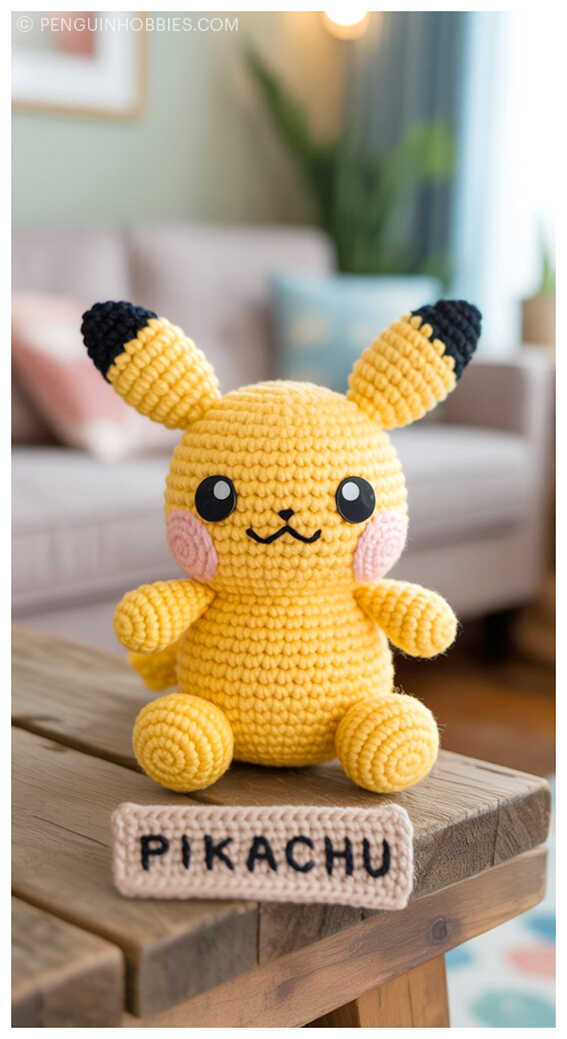
Discover All Your Favorite Amigurumi Toy Patterns in One Magical Place!
Looking for the perfect amigurumi pattern to bring your next crochet project to life? At PenguinHobbies.com, you’ll discover a magical world of free, step-by-step amigurumi patterns featuring everything from cuddly amigurumi cats, sweet amigurumi dolls, playful amigurumi dogs, and enchanting amigurumi unicorns to soft amigurumi lambs, mighty amigurumi dinosaurs, clever amigurumi foxes, huggable amigurumi bears, gentle amigurumi giraffes, adorable amigurumi pigs, and colorful amigurumi birds. We also offer creative ideas for amigurumi penguins, amigurumi pandas, amigurumi llamas, amigurumi bunnies, amigurumi clowns, amigurumi elephants, amigurumi hippos, amigurumi monkeys, and so much more! Each pattern is designed to spark joy, inspire your creativity, and help you make handmade treasures that are as fun to create as they are to gift. Don’t forget to join our Facebook community for daily crochet inspiration, pattern updates, and a wonderful group of fellow amigurumi lovers!