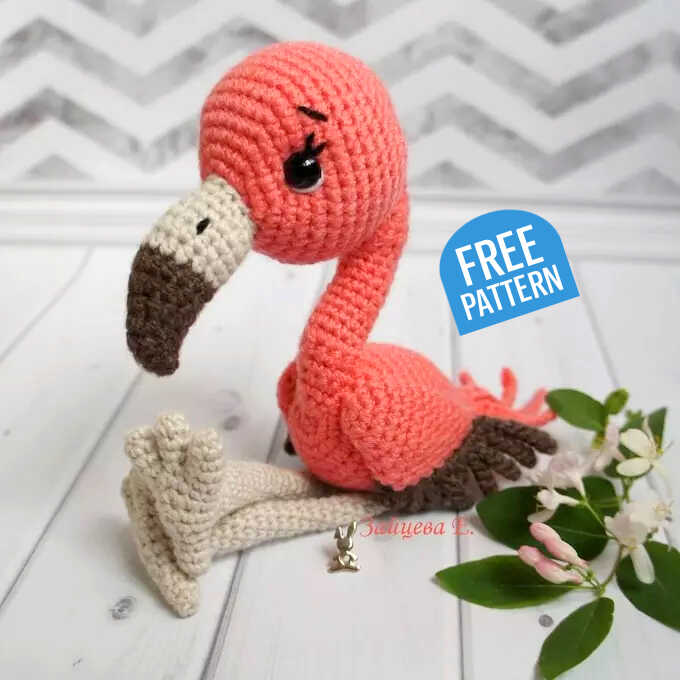
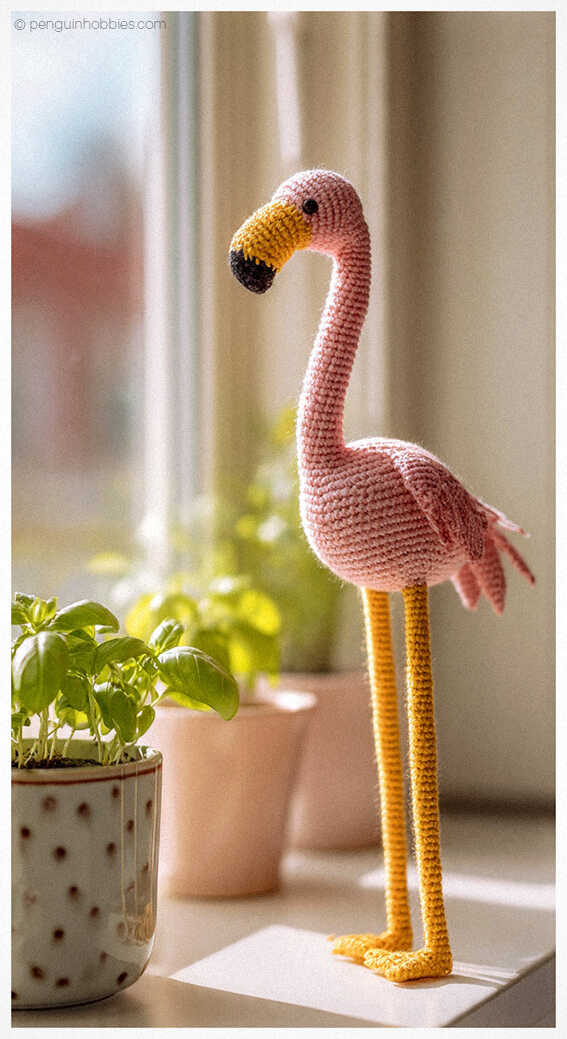
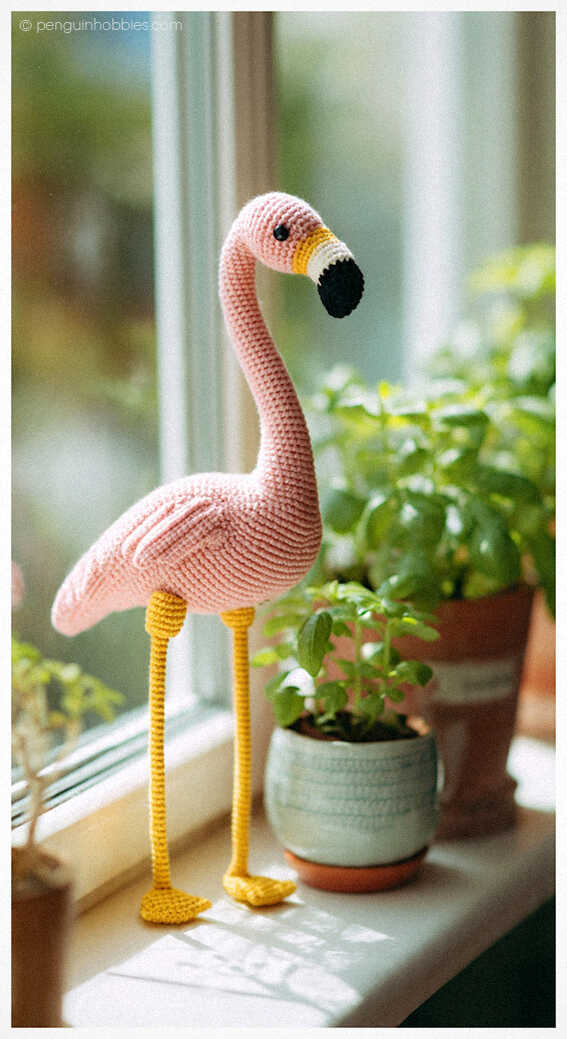
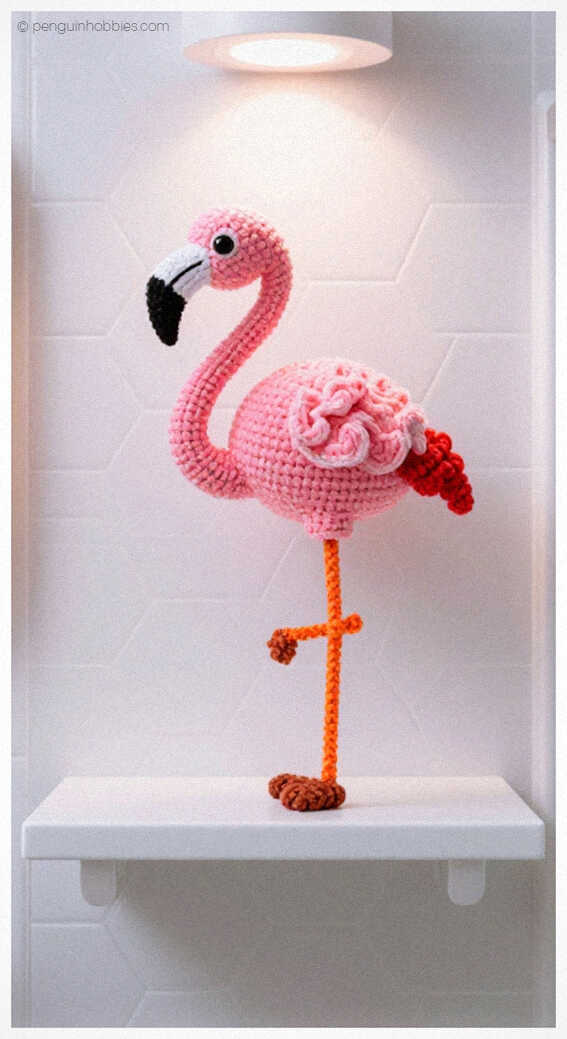
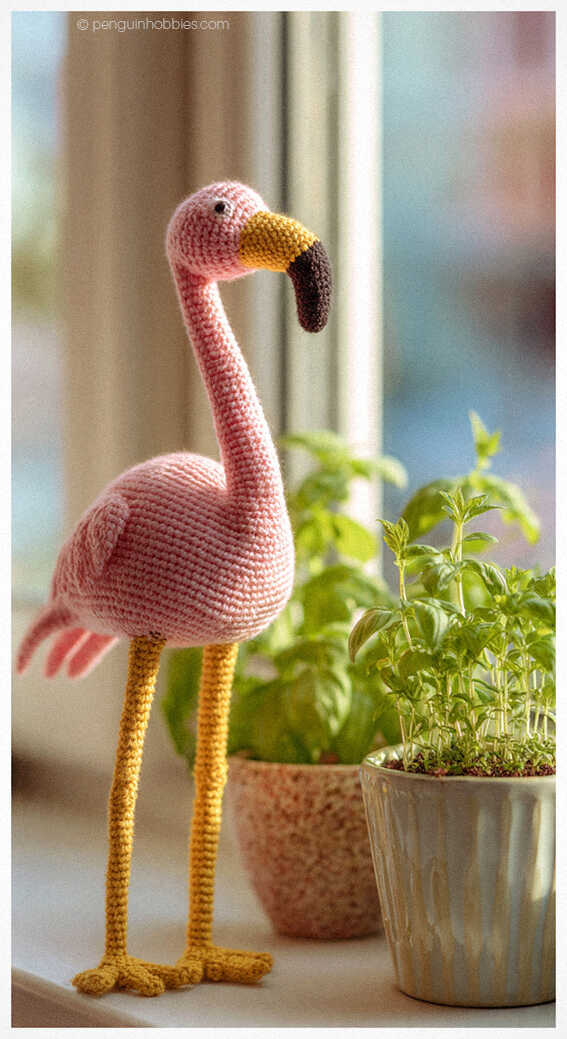
Baby Flamingo Amigurumi – Free Crochet Pattern
Designer: Ekaterina Zaytseva
Difficulty: Intermediate
Calling all crochet lovers — today’s pattern is extra adorable…
Bring this tiny tropical friend to life with a step-by-step, beginner-friendly Baby Flamingo Amigurumi pattern that uses simple stitches and soft colors. You’ll see all needed materials woven naturally into the instructions—pink, brown, and beige yarn, a crochet hook, safety eyes or felt/half-beads, toy stuffing, optional wire, a sewing needle, and scissors. At the end of the pattern you’ll also find lovely flamingo ideas for extra inspiration. Special thanks to designer Ekaterina Zaytseva for this adorable design, and original publication credit goes to Anita Evans.
Easy to follow and quick to complete, this pattern is perfect for anyone wanting a cheerful, lightweight amigurumi project. With clear guidance and smooth shaping, you’ll enjoy crafting a sweet little flamingo that makes a charming gift, display piece, or addition to any handmade collection.
Materials and tools
Pink yarn
Brown yarn
Beige yarn
Crochet hook
Safety eyes or felt/half-beads
Toy stuffing
Wire (optional)
Sewing needle
Scissors
Abbreviations
AM – amigurumi magic ring
ch – chain
sc – single crochet
sl st – slip stitch
hdc – half double crochet
dc – double crochet
inc – increase
dec – decrease
(…) × n – repeat n times
AMIGURUMI BABY FLAMINGO – FREE CROCHET PATTERN TUTORIAL
Head
Pink yarn:
R1: 6 sc in AM
R2: 6 inc (12)
R3: (1 sc, inc) × 6 (18)
R4: (2 sc, inc) × 6 (24)
R5: (3 sc, inc) × 6 (30)
R6: (4 sc, inc) × 6 (36)
R7: (5 sc, inc) × 6 (42)
R8–R14: 42 sc
R15: (5 sc, dec) × 6 (36)
R16: (4 sc, dec) × 6 (30)
R17: (3 sc, dec) × 6 (24)
R18: (2 sc, dec) × 6 (18)
R19: (1 sc, dec) × 6 (12)
R20: 6 dec (6)
Fasten off, cut the yarn, and hide the tail inside.
Beak
Start with black yarn:
R1: 4 sc in AM
R2: (inc, 1 sc) × 2 (6)
R3: (inc, 2 sc) × 2 (8)
R4: inc, 1 sc, 4 hdc, 1 sc, inc (10)
R5: inc, 1 sc, 6 hdc, 1 sc, inc (12)
R6: 3 sc, 1 hdc, 2 hdc in next st, 2 hdc together, 2 hdc in next st, 1 hdc, 3 sc (13)
R7: 3 sc, 3 hdc, 2 hdc in next st, 3 hdc, 3 sc (14)
R8: 1 sc, inc, inc, 2 sc, 8 hdc, 1 hdc (16)
Change color to beige.
R9: 7 sc, 8 hdc, 1 sc (16)
R10: 8 sc, 8 hdc (16)
R11: 16 sc
R12: 14 sc, dec (15)
R13: dec, 11 sc, dec (13)
R14: dec, 8 sc, dec, 1 hdc (11)
Fasten off, leaving a long tail for sewing. Attach the beak to the head. Sew or glue the eyes. Embroider eyebrows, eyelashes, and a small eye highlight.
Body
Pink yarn:
R1: 6 sc in AM
R2: 6 inc (12)
R3: (1 sc, inc) × 6 (18)
R4: (2 sc, inc) × 6 (24)
R5: (3 sc, inc) × 6 (30)
R6: (4 sc, inc) × 6 (36)
R7–R11: 36 sc
R12: (10 sc, dec) × 3 (33)
R13: (9 sc, dec) × 3 (30)
R14: (8 sc, dec) × 3 (27)
R15: (7 sc, dec) × 3 (24)
R16: (6 sc, dec) × 3 (21)
R17: (5 sc, dec) × 3 (18)
R18: 18 sc
R19: (4 sc, dec) × 3 (15)
R20: 15 sc
R21: (3 sc, dec) × 3 (12)
R22: 6 dec (6)
Fasten off, cut the yarn, hide the tail.
Neck
Pink yarn:
Ch 2, leave a long tail at the beginning. Continue working back-and-forth rows as follows:
R1: sc in 2nd ch from hook, sc
R2–R7: turn, ch 1, 2 sc each row
Form the piece into a ring and continue in the round:
R8: sl st, 11 sc (11)
R9–R15: 11 sc (11)
R16: 7 sc, 1 hdc, turn
Continue working back and forth:
R17: ch 1, 11 sc (11)
R18: ch 1, dec, 3 sc, inc, 3 sc, dec (10)
R19: ch 1, dec, 6 sc, dec (8)
R20: ch 1, 3 sc, dec, 3 sc (7)
R21: ch 1, dec, 3 sc, dec (5)
R22: ch 1, dec, inc, dec (4)
R23: ch 1, dec, dec (2)
R24: ch 1, dec (1)
Fasten off. Sew the neck to the body and head.
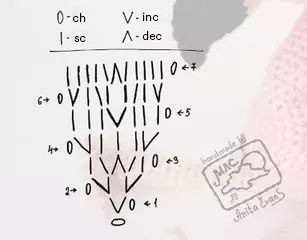
Tail feathers
Pink yarn.
Central feather:
Ch 15, start in 3rd ch from hook:
3 dc, 3 hdc, 4 sc, 2 hdc, 3 hdc in last st, turn
3 hdc, 4 sc, 4 hdc, 1 hdc.
Fasten off, leaving a long tail for sewing. Attach to body.
Long feathers (2 pieces):
Ch 14, start in 2nd ch from hook:
4 hdc, 3 sc, 3 hdc, 3 dc.
Fasten off, leave tail, sew onto body.
Short feathers (2 pieces):
Ch 10, start in 2nd ch from hook:
3 hdc, 3 sc, 3 hdc.
Fasten off, leave tail, sew onto body.
Wings (2 pieces)
Pink yarn. Do not stuff.
R1: 6 sc in AM
R2: (inc, 1 sc) × 3 (9)
R3: (inc, 2 sc) × 3 (12)
R4: 2 sc, inc, inc, 8 sc (14)
R5: 3 sc, inc, inc, 9 sc (16)
R6: 4 sc, inc, inc, 10 sc (18)
R7: 18 sc
R8: 4 sc, dec, dec, 10 sc (16)
R9: 3 sc, dec, dec, 9 sc (14)
R10: 2 sc, dec, dec, 8 sc (12)
R11: 1 sc, dec, dec, 7 sc (10)
Continue shaping:
dec, dec, 5 sc, dec, dec, 3 sc, dec, dec, 1 hdc
Fasten off and hide the tail. Flatten the piece.
Wing edging
Black yarn. For the right wing:
Through both layers, on the side with the paired decreases, work 10 sc from the pointed edge toward the rounded edge. Turn, skip 1 st, hdc in next st.
Feather 1:
Ch 2, hdc in 2nd ch from hook, hdc in next base st
Feather 2:
Ch 3, hdc in 2nd ch from hook, hdc, hdc in next base st
Feather 3:
Ch 4, hdc in 2nd ch from hook, 2 hdc, hdc in next base st
Feather 4:
Ch 5, hdc in 2nd ch from hook, 3 hdc, hdc in next base st
Feathers 5–8 (×4):
Ch 6, hdc in 2nd ch from hook, 4 hdc, hdc in next base st
Fasten off. Make the left wing the same way, but mirrored.
Legs (2 pieces)
Beige yarn. Ch 6, leave a long tail at the start, join in a ring.
R1–R10: 6 sc
R11: inc, 5 sc (7)
R12: 7 sc
R13: 3 sc, inc, 3 sc (8)
R14: 8 sc
R15: inc, 7 sc (9)
R16: 9 sc
R17: 4 sc, inc, 4 sc (10)
R18: 10 sc
R19: inc, 9 sc (11)
R20: 11 sc
Fasten off, leave tail.
Feet (2 pieces)
R1: 4 sc in AM
R2: inc, 3 sc (5)
R3: 2 sc, inc, 2 sc (6)
R4: 6 sc
Make 4 toes per foot. For the first 3, fasten off. For the 4th, continue:
R5: Join 3 toes into a round (14)
R6: 14 sc
R7: dec, 5 sc, dec, 4 sc (11)
R8: 3 sc together, 3 sc, 3 sc together, 3 sc (8)
R9: dec, 2 sc, dec, 1 sc, 1 hdc
Fasten off. Sew the final toe.
Assembly
Sew the head to the body.
Embroider or attach facial details if not already done.
Sew the feet to the legs.
Attach the legs to the body. Wire may be added inside the legs; wrap wire ends to prevent damage to the fabric.
Sew the wings on both sides in any position you prefer.
Stitch Terminology Note
Some abbreviations in the original pattern do not appear in standard English amigurumi terminology. For clarity and ease of use, these terms have been adapted to standard American crochet terminology.
You may also like Little Bird Amigurumi Crochet Free Pattern
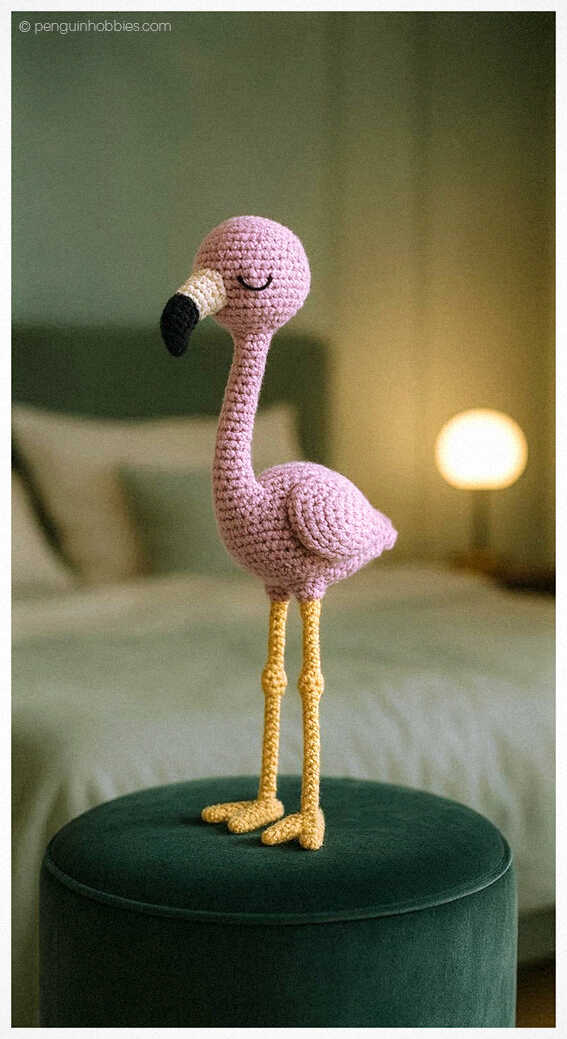
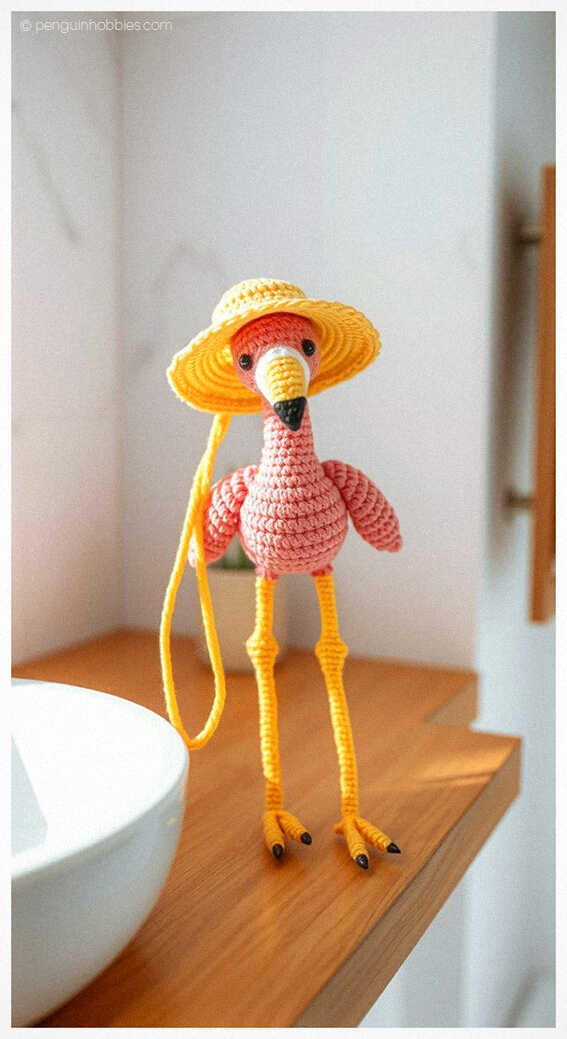
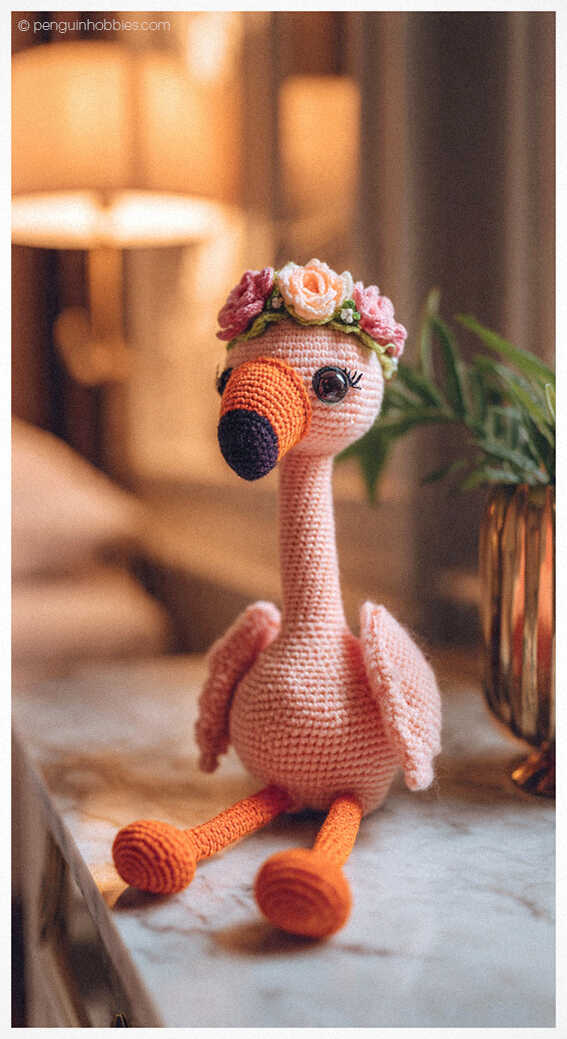
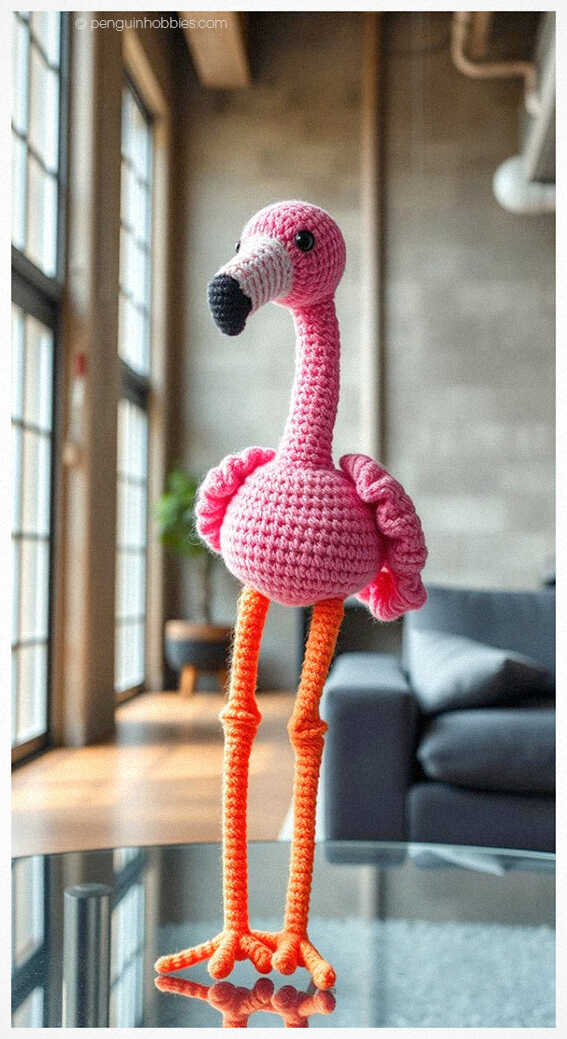
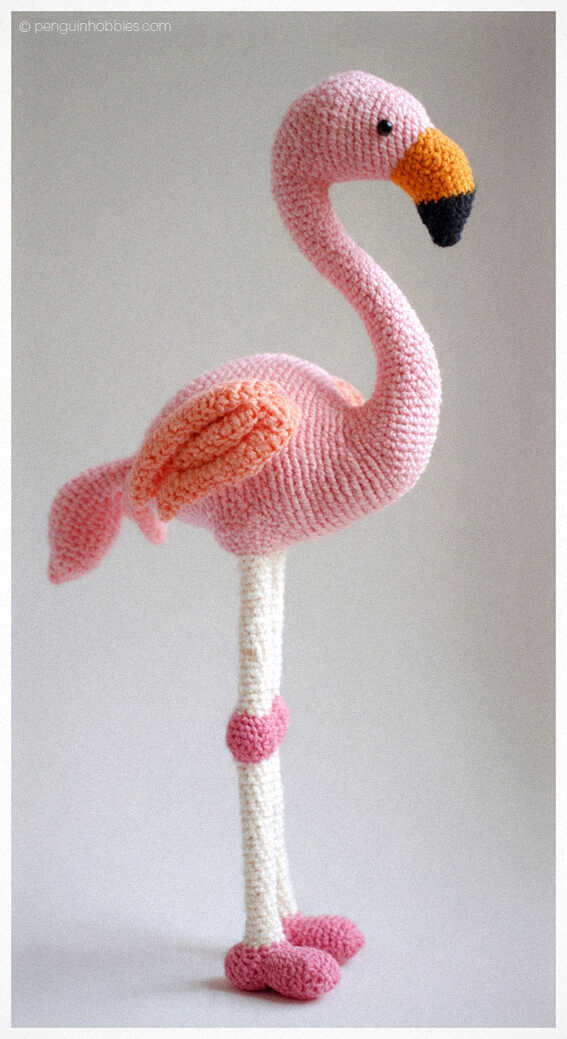
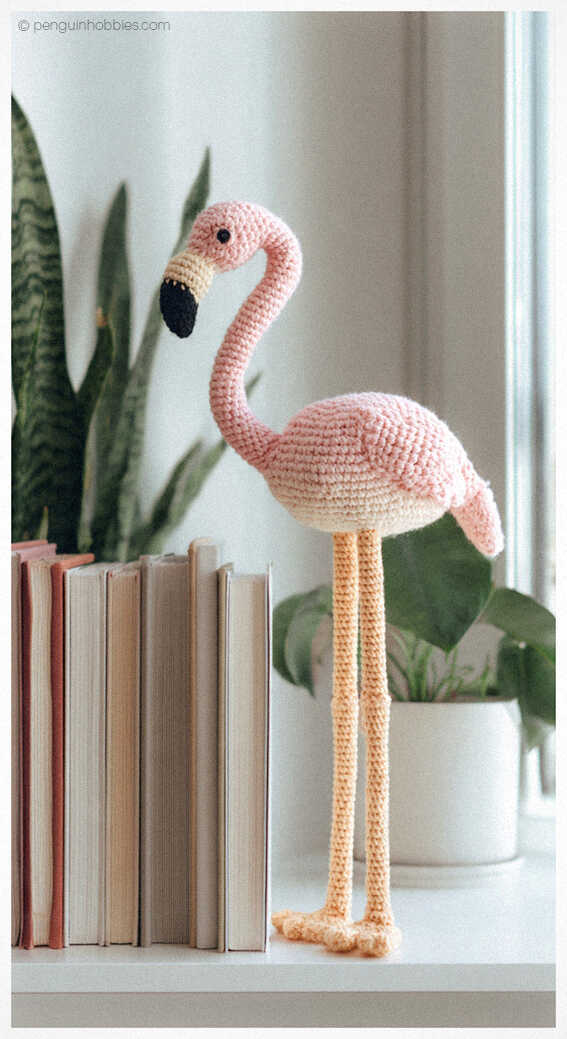
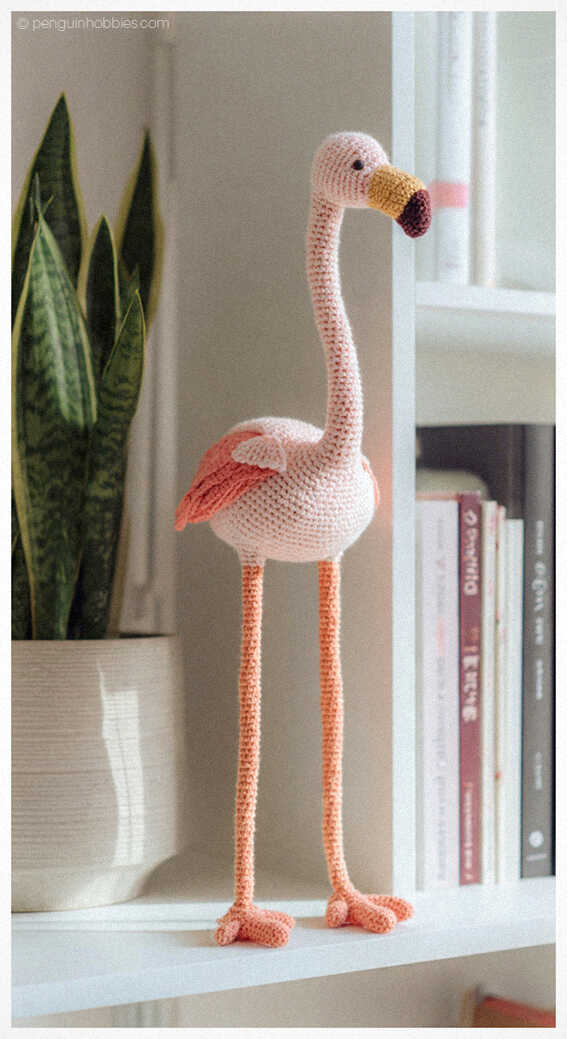
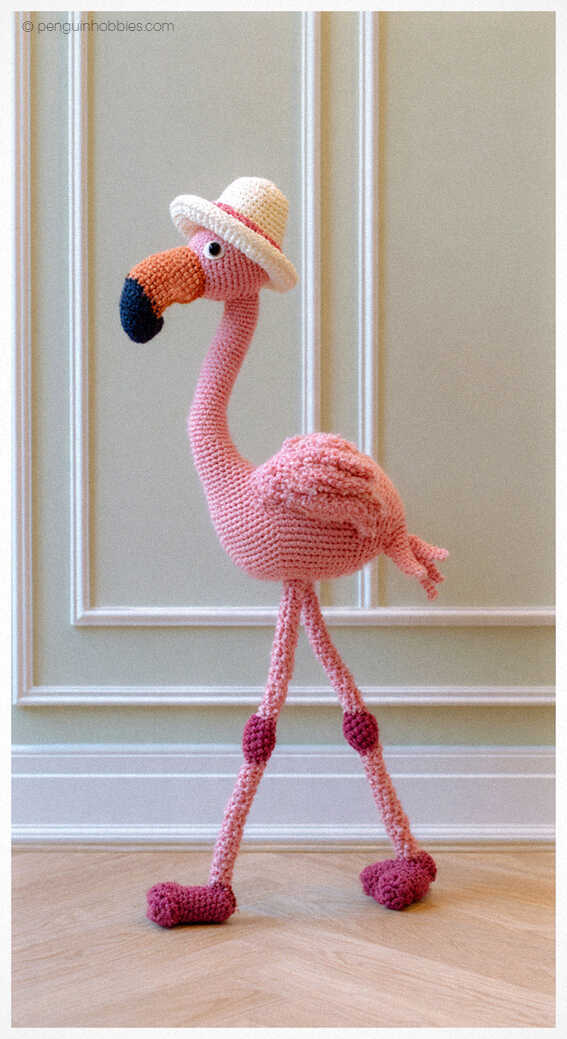
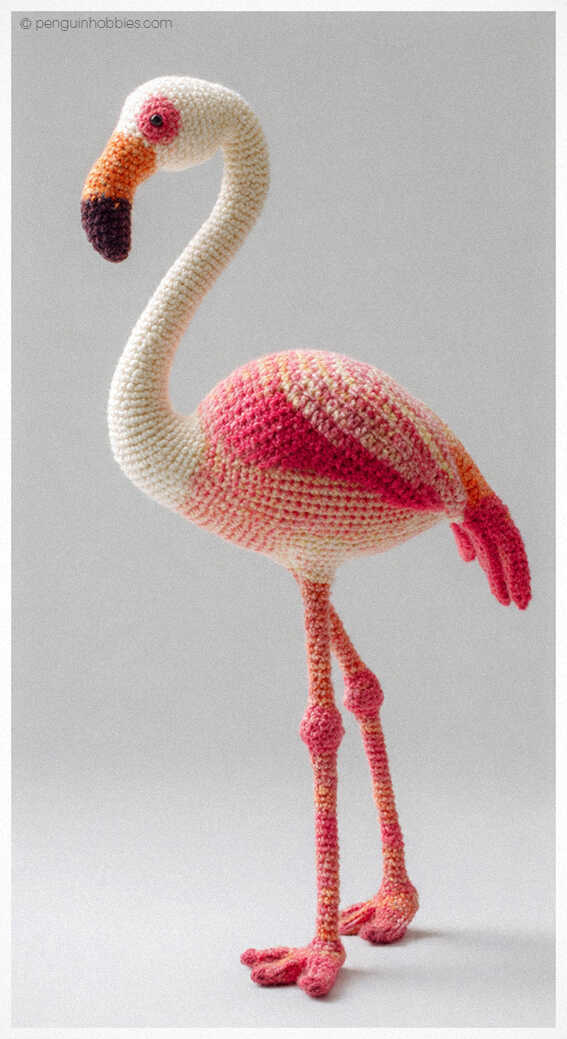
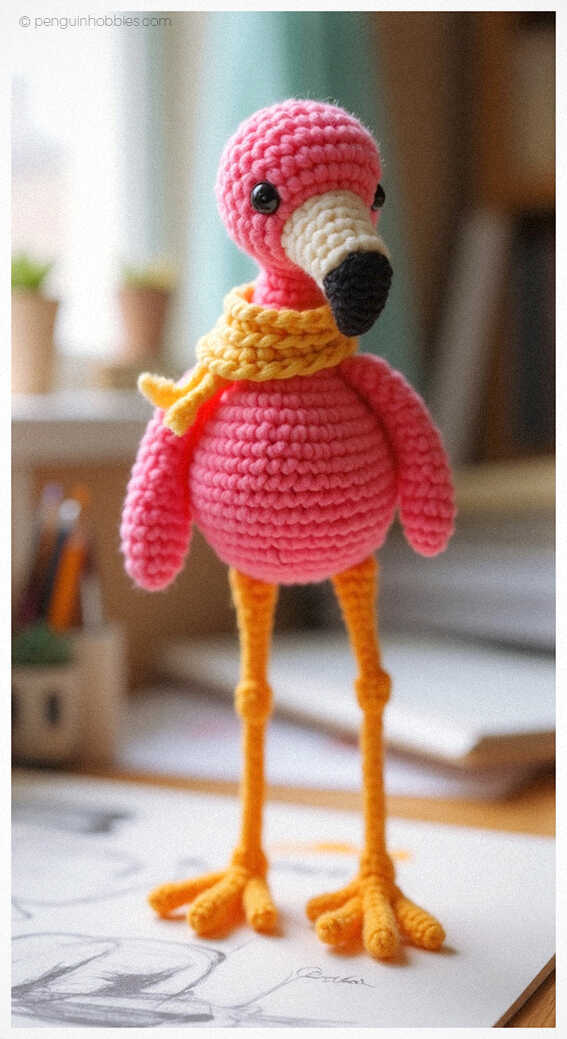
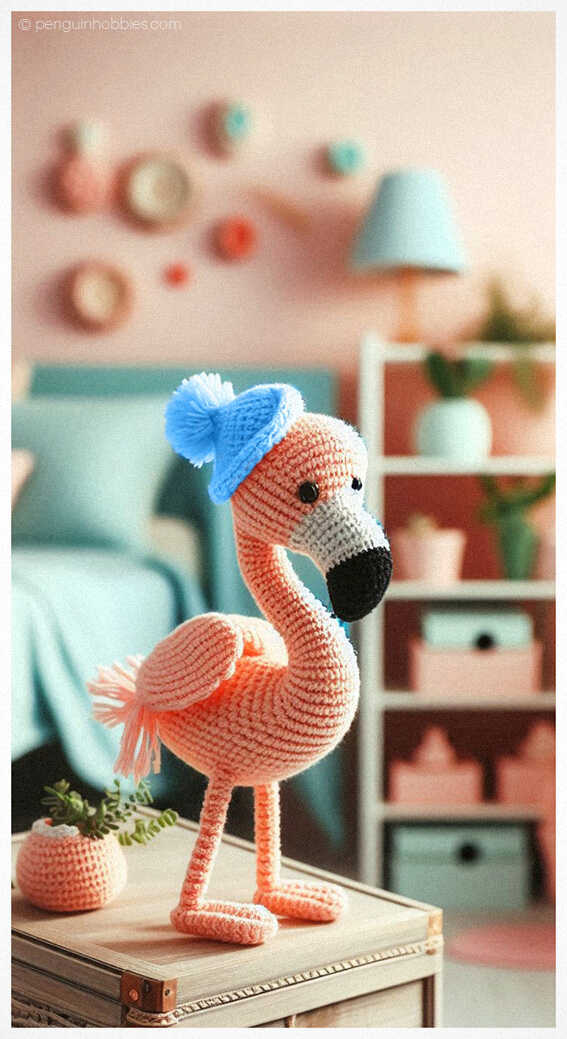
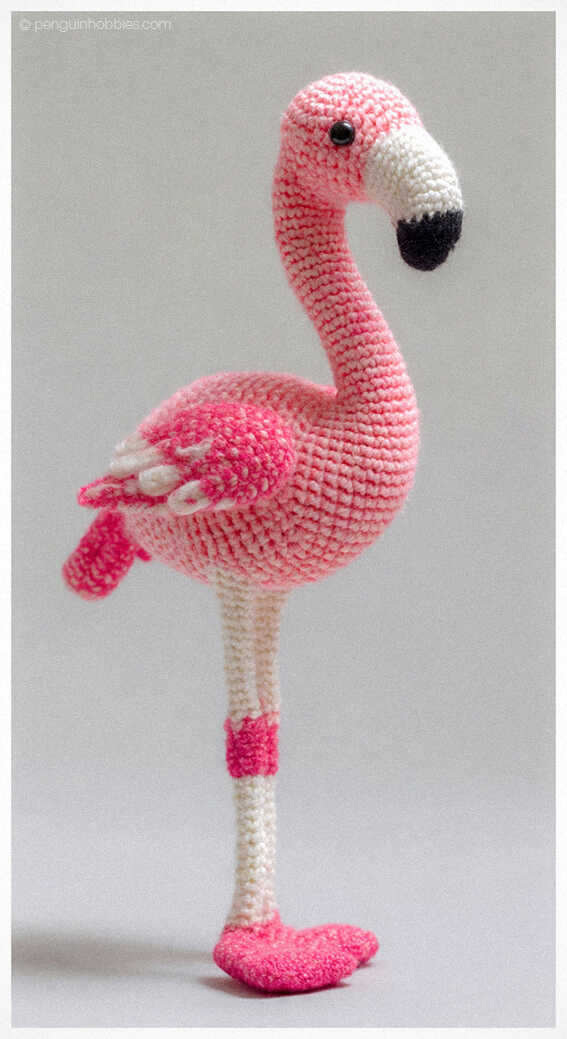
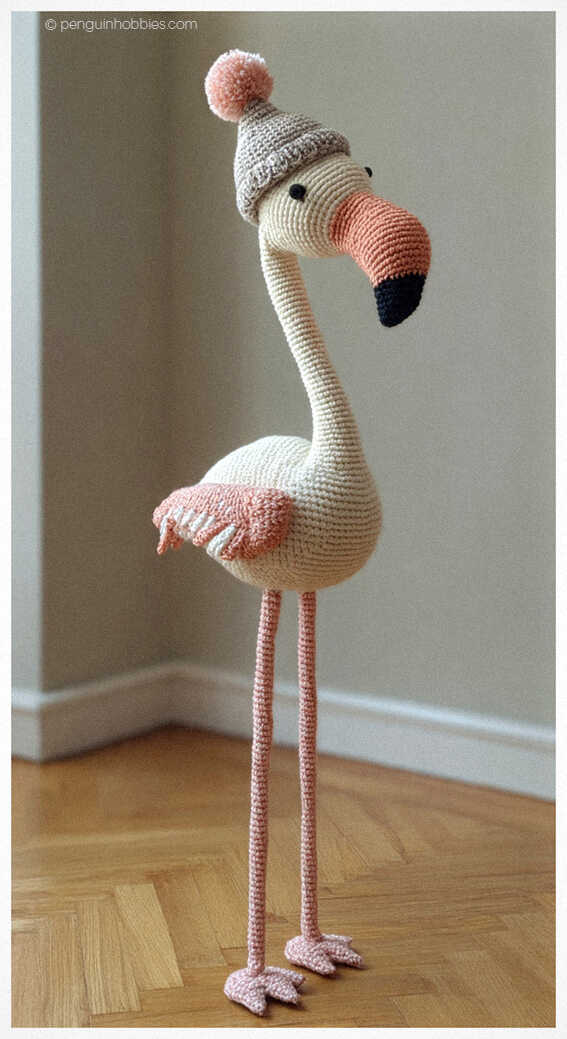
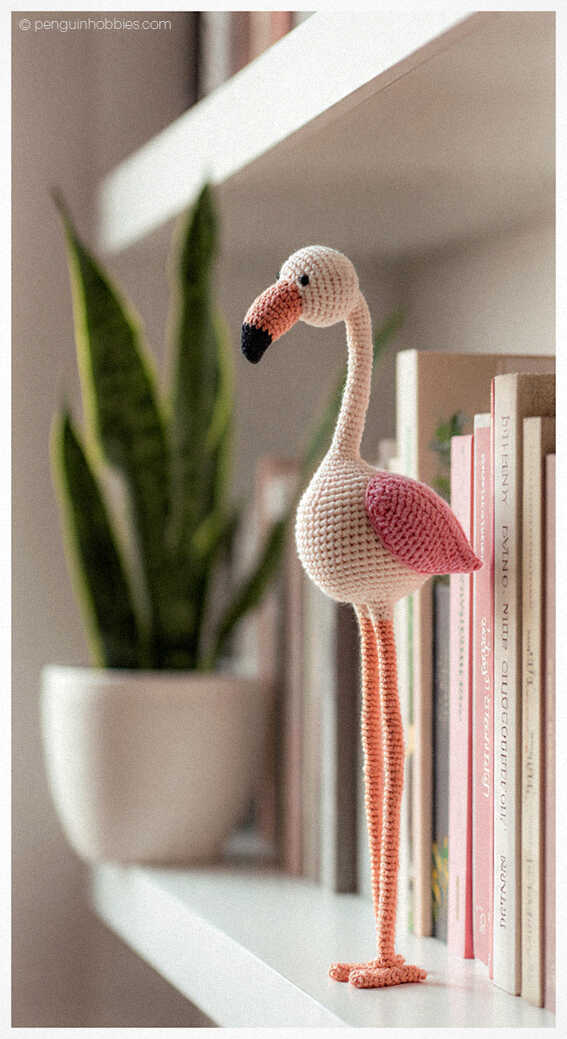
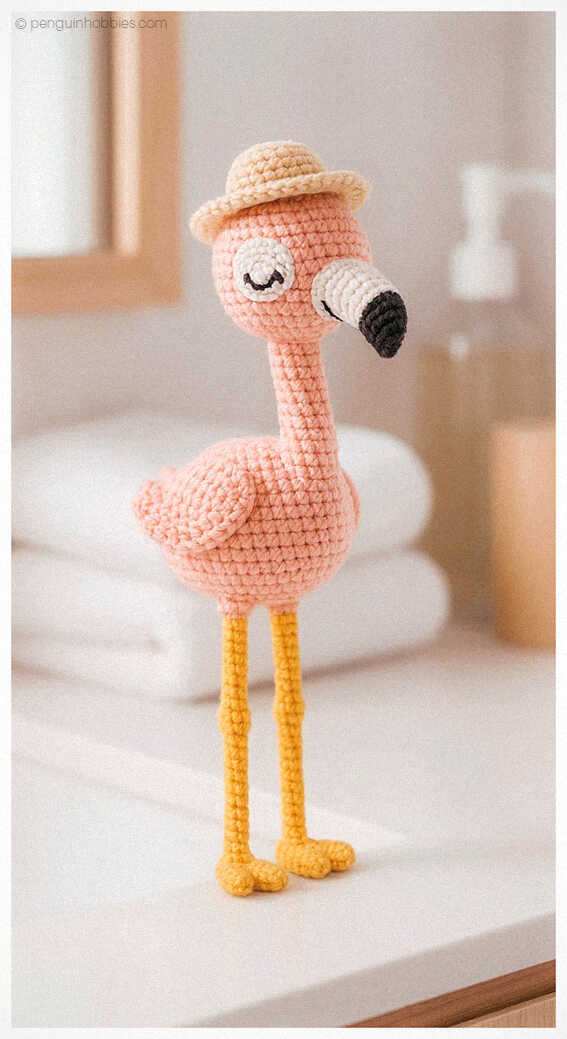
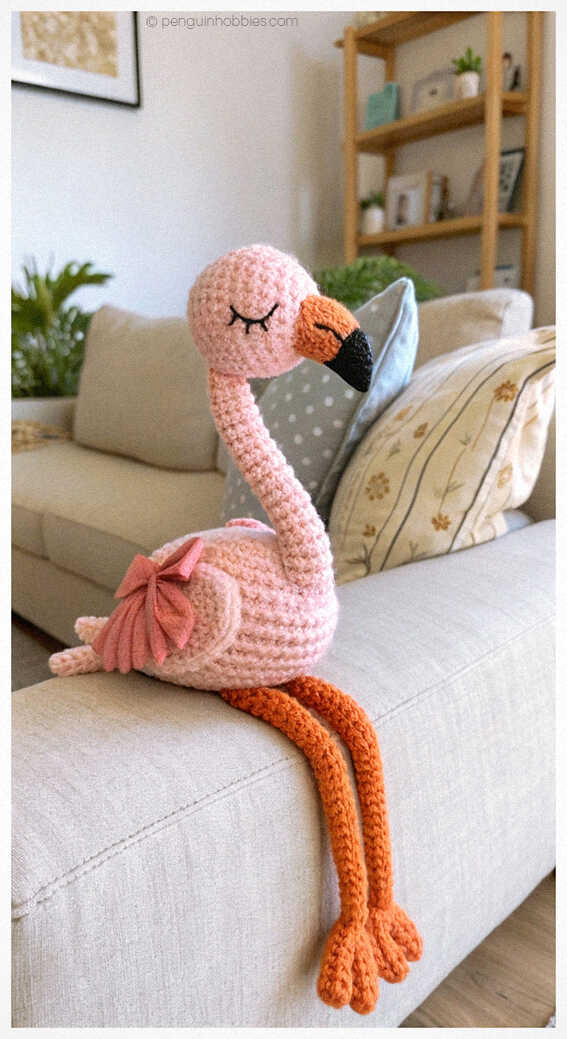
Cute amigurumi flamingo ideas:

Discover All Your Favorite Amigurumi Toy Patterns in One Magical Place!
Looking for the perfect amigurumi pattern to bring your next crochet project to life? At PenguinHobbies.com, you’ll discover a magical world of free, step-by-step amigurumi patterns featuring everything from cuddly amigurumi cats, sweet amigurumi dolls, playful amigurumi dogs, and enchanting amigurumi unicorns to soft amigurumi lambs, mighty amigurumi dinosaurs, clever amigurumi foxes, huggable amigurumi bears, gentle amigurumi giraffes, adorable amigurumi pigs, and colorful amigurumi birds. We also offer creative ideas for amigurumi penguins, amigurumi pandas, amigurumi llamas, amigurumi bunnies, amigurumi clowns, amigurumi elephants, amigurumi hippos, amigurumi monkeys, and so much more! Each pattern is designed to spark joy, inspire your creativity, and help you make handmade treasures that are as fun to create as they are to gift. Don’t forget to join our Facebook community for daily crochet inspiration, pattern updates, and a wonderful group of fellow amigurumi lovers!
Keywords: free amigurumi patterns, crochet toys, amigurumi animals, beginner amigurumi, amigurumi dolls, crochet free patterns, crochet patterns, easy crochet