Tiny Turtle Bracelet Crochet Pattern
Tiny Turtle Bracelet Crochet Pattern is a cute and beginner-friendly project that turns a miniature amigurumi turtle into a wearable accessory. With its rounded shell, tiny flippers, and compact size, this bracelet is perfect for ocean lovers, handmade gifts, and quick crochet sessions.
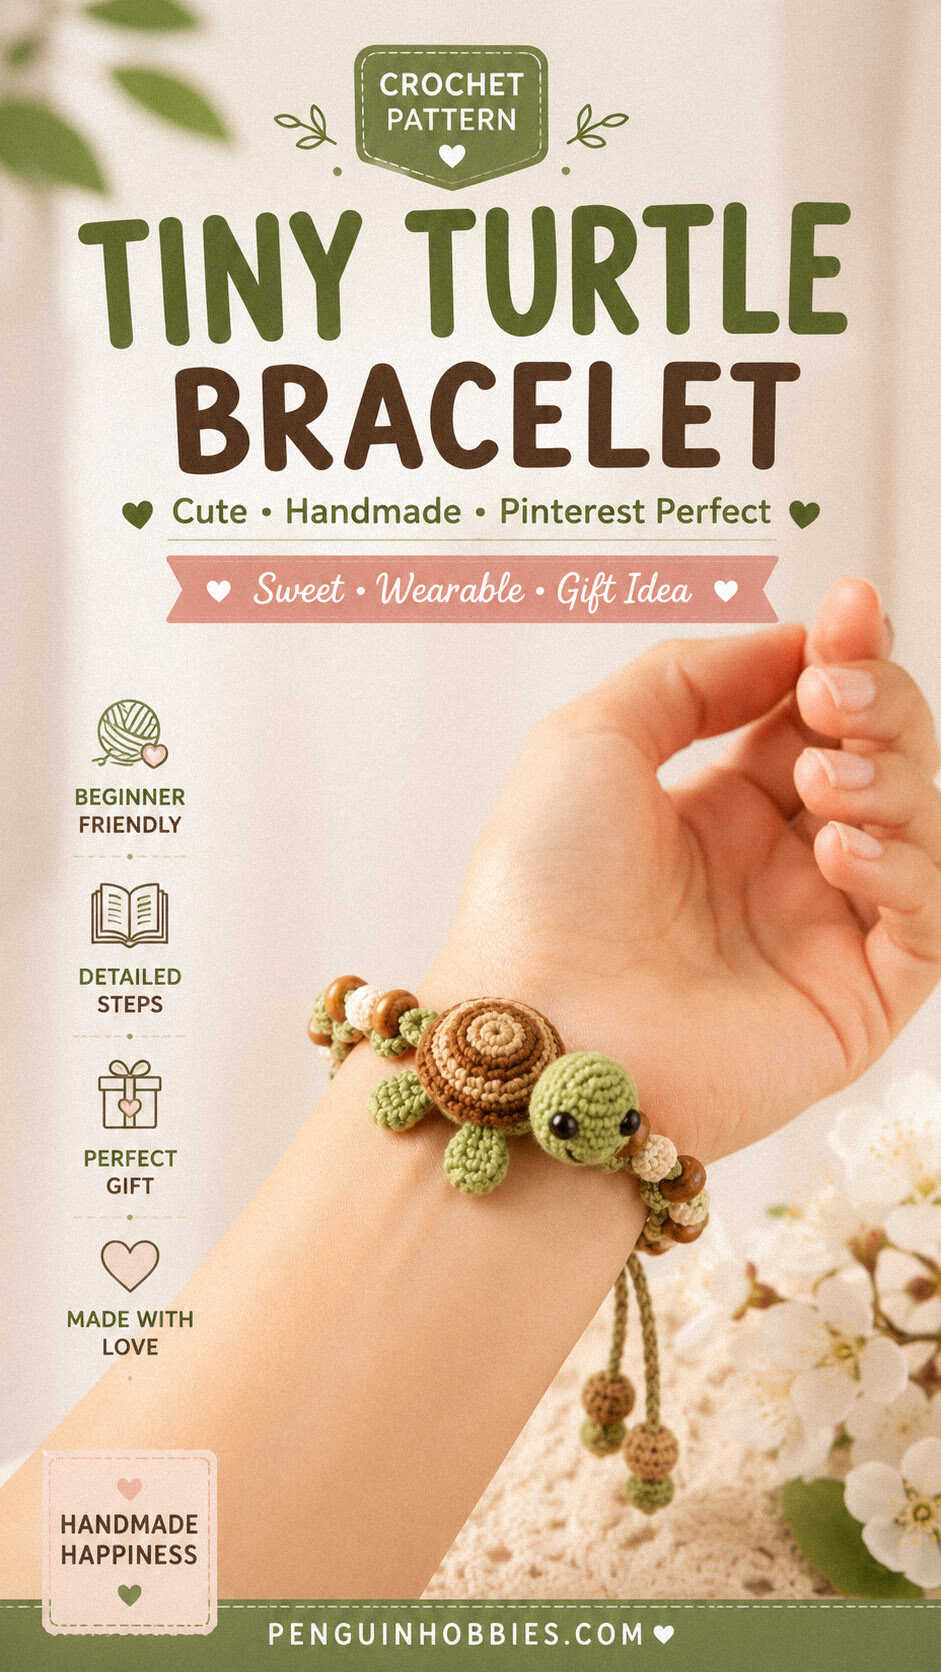
A Mini Turtle You Can Wear Anywhere
Designed to match the soft and chunky proportions of the finished turtle, this project creates a tiny plush turtle that sits securely on an adjustable bracelet cord. The simple construction and small size make it a fun and fast project for crocheters of all skill levels.
PATTERN HERE
Crochet Pattern: Tiny Turtle Bracelet
Materials
- DK weight cotton yarn
▪︎ Sage Green (head, flippers, tail, belly)
▪︎ Mint Green (shell) - 2.25 mm crochet hook
- Fiberfill
- Yarn needle
- Stitch marker
- Adjustable bracelet cord
- Wooden beads (optional)
Abbreviations
- MR – Magic Ring
- sc – Single Crochet
- inc – Increase
- dec – Decrease
- BLO – Back Loop Only
- FO – Fasten Off
(sc) x 6 – repeat the instructions in parentheses 6 times
Head
R1: 6 sc in MR (6)
R2: inc x6 (12)
R3: (1 sc, inc) x6 (18)
R4-R5: 18 sc (18)
R6: (1 sc, dec) x6 (12)
Stuff firmly.
R7: dec x6 (6)
FO, leave a tail for sewing.
Top Shell
R1: 6 sc in MR (6)
R2: inc x6 (12)
R3: (1 sc, inc) x6 (18)
R4: (2 sc, inc) x6 (24)
R5: (3 sc, inc) x6 (30)
R6: BLO 30 sc (30)
R7-R8: 30 sc (30)
FO, leave a long tail.
Bottom Shell
R1: 6 sc in MR (6)
R2: inc x6 (12)
R3: (1 sc, inc) x6 (18)
R4: (2 sc, inc) x6 (24)
R5: (3 sc, inc) x6 (30)
FO, leave a long tail.
Front Flippers (Make 2)
R1: 6 sc in MR (6)
R2: (2 sc, inc) x2 (8)
R3: 8 sc (8)
Flatten lightly and FO, leaving a tail.
Back Flippers (Make 2)
R1: 6 sc in MR (6)
R2: 6 sc (6)
Flatten lightly and FO, leaving a tail.
Tail
R1: 4 sc in MR (4)
FO, leave a tail.
Assembly
▪︎ Sew the front flippers to the lower front sides of the shell.
▪︎ Attach the back flippers slightly closer to the rear edge of the shell.
▪︎ Sew the tail at the center back.
▪︎ Sew the head firmly to the front of the shell.
▪︎ Place the top shell and bottom shell together and add a small amount of stuffing before closing completely.
▪︎ Using matching yarn, stitch the turtle securely to the bracelet cord through the underside of the shell.
▪︎ Add wooden beads if desired and finish with an adjustable sliding knot closure.