Tiny Crochet Vespa Keychain Pattern You’ll Want To Make Today
This tiny crochet Vespa keychain pattern is a fun handmade project for anyone who loves miniature crochet accessories. With its classic scooter shape, compact size, and charming details, it makes a perfect addition to keys, bags, or thoughtful handmade gifts.
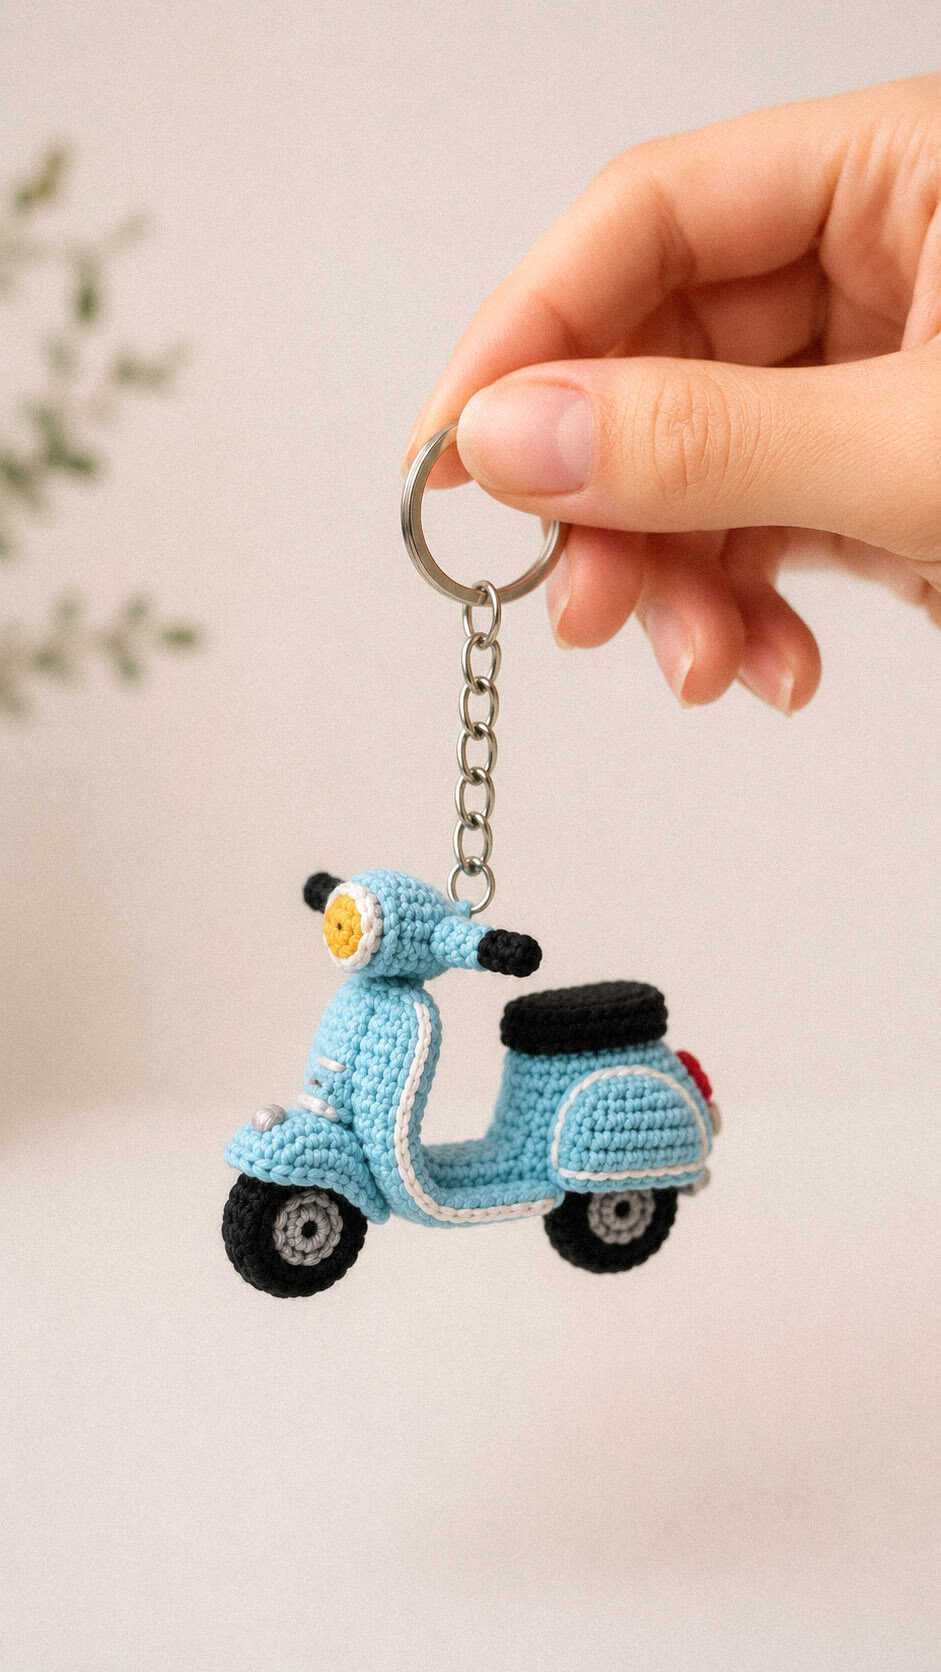
A Mini Scooter Keychain Full Of Handmade Charm
Designed to look like a vintage-inspired scooter, this crochet keychain combines simple construction with eye-catching details. It’s a great small project for using cotton yarn and creating a unique accessory that stands out wherever it goes.
PATTERN HERE
Crochet Pattern: Tiny Crochet Vespa Keychain
Materials
- Fine cotton yarn
▪︎ Light Blue
▪︎ Cream
▪︎ Black
▪︎ Gray - 1.25 mm crochet hook
- Polyester fiberfill
- Tapestry needle
- Keyring and chain
- Small piece of plastic canvas (optional)
Abbreviations
MR – Magic Ring
sc – Single Crochet
inc – Increase
dec – Decrease
ch – Chain
sl st – Slip Stitch
BLO – Back Loop Only
Scooter Body (Make 2)
Ch 13
R1: Starting in second chain from hook, 11 sc, 3 sc in last ch, continue on opposite side, 10 sc, inc (26)
R2: inc, 10 sc, 3 inc, 10 sc, 2 inc (32)
R3: 32 sc (32)
R4: 32 sc (32)
Fasten off.
Center Gusset
Ch 7
R1: Starting in second chain from hook, 6 sc
R2-R24: ch 1, turn, 6 sc
Fasten off.
Front Fender
R1: 6 sc in MR (6)
R2: inc x 6 (12)
R3: (1 sc, inc) x 6 (18)
Fasten off.
Rear Fender
R1: 6 sc in MR (6)
R2: inc x 6 (12)
R3: (1 sc, inc) x 6 (18)
Fasten off.
Wheels (Make 2)
R1: 6 sc in MR (6)
R2: inc x 6 (12)
R3: (1 sc, inc) x 6 (18)
R4: 18 sc (18)
Fasten off.
Wheel Centers (Make 2)
R1: 6 sc in MR (6)
R2: inc x 6 (12)
Fasten off. Sew to wheel centers.
Seat
Ch 8
R1: Starting in second chain from hook, 7 sc
R2-R4: ch 1, turn, 7 sc
Fasten off.
Handlebar Stem
Ch 8
R1: 7 sc
Fasten off.
Handlebars
Ch 7
Fasten off.
Headlight
R1: 6 sc in MR (6)
Fasten off.
Decorative Front Panel
Ch 5
R1: 4 sc
R2-R5: ch 1, turn, 4 sc
Fasten off.
Assembly
▪︎ Sew the body pieces together using the center gusset.
▪︎ Insert a small piece of plastic canvas before closing if desired.
▪︎ Lightly stuff the scooter body.
▪︎ Attach the front and rear fenders.
▪︎ Sew the wheels beneath the fenders.
▪︎ Attach the cream seat to the upper center section.
▪︎ Sew the handlebar stem to the front of the scooter.
▪︎ Attach the handlebars horizontally.
▪︎ Sew the headlight between the handlebars.
▪︎ Attach the decorative cream front panel.
▪︎ Add small gray embroidered details if desired.
▪︎ Sew a strong hanging loop to the top of the scooter.
▪︎ Attach the keyring and chain.
Finished Size
Approximately 6–7 cm (2.5–3 inches) wide excluding keyring hardware.