Amigurumi Ladybug Free Crochet Pattern
Designer: Helgas Toy
Instagram: @helgas_toy
Difficulty Level: Easy
Brighten your spring garden with this lucky little ladybug — it is time to start your next creative mission now…
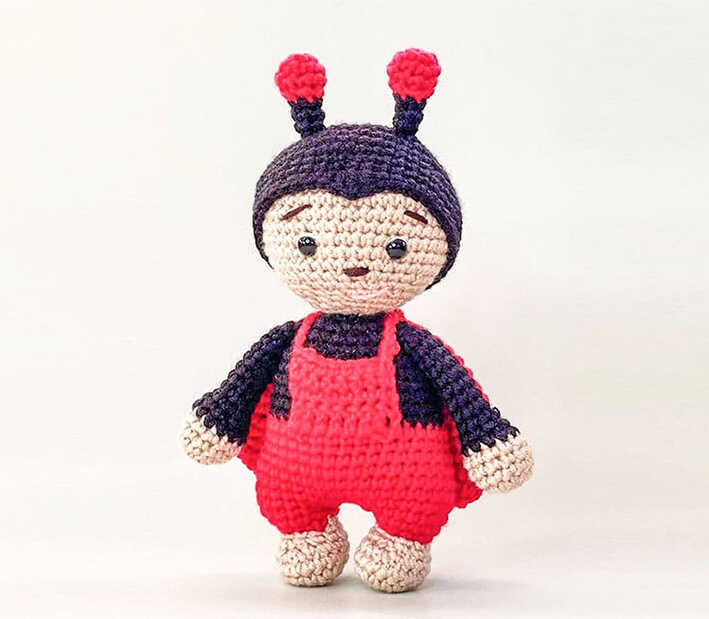
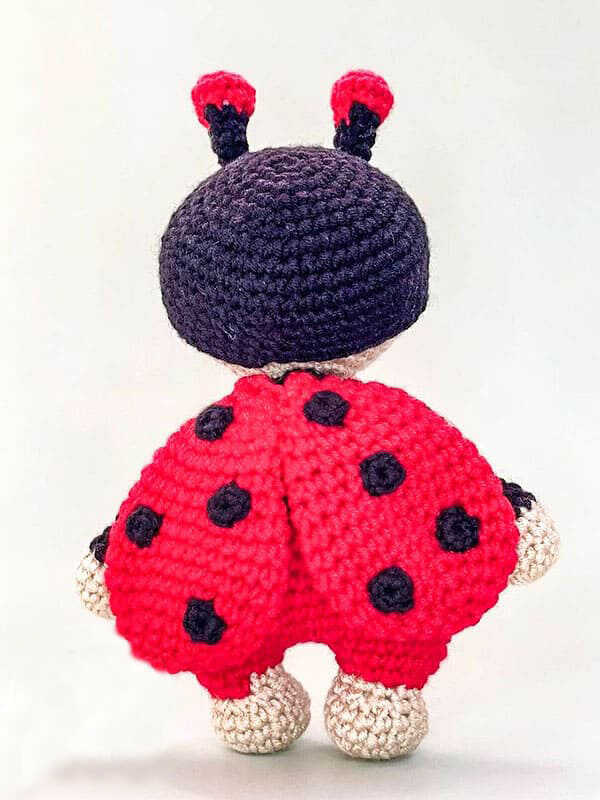
Ladybugs bring a sense of good luck and natural charm to any nursery. Therefore, they provide the ultimate inspiration for your next DIY Crochet Gift Ideas. This 18 cm character stands out among Easy Crochet Projects because it features a classic red and black contrast. Moreover, the Difficulty Level: Easy makes this project perfect for stress-free crafting. We offer our sincere thanks to Helgas Toy for sharing this lovely Free Pattern with us. At the end of this post, you will also discover a gallery of stunning amigurumi ladybug ideas to spark your creativity. If you want to create a vibrant beetle friend that is both soulful and simple, this tutorial is a perfect place to start.
This Beginner amigurumi ladybug pattern helps you master how to crochet amigurumi with classic color changes. The construction remains beginner-friendly because the round shell is very easy to shape. Consequently, it serves as a Quick to Make Amigurumi for last-minute gifts or seasonal decor. While we used Alize Baby Best cotton for a crisp finish, you can also use Velvet Yarn. However, remember that using plush yarn will make the final ladybug much larger. In addition, this versatility allows you to choose the perfect yarn for your Low Sew Amigurumi Patterns needs easily.
To bring this trend to life, prepare your 3.5 mm hook and red, black, and beige yarn. The supplies include everything you need for a 7.1-inch tall companion. First, follow this step by step guide to assemble the body and add the classic black spots. Next, use the beige yarn for the face to create a friendly expression. Don’t forget to visit the Amigurumi Fox Free Pattern for more beginner friendly woodland inspiration. Finally, secure the antennae and enjoy your new playful friend. Scroll down and let’s start stitching!
Materials
• Yarn- Alize baby best (black no: 60, red no: 56, beige no: 310)
• Crochet hook size: 3,5 mm
Toy size: 18 cm/ 7.1 inch.
Furthermore, we recommend using a stitch marker to track your rounds easily.
Abbreviations
MR: Magic ring
Sc: Single crochet
Dec: Decrease
Inc: Increase
Slst: Slip stitch
Rnd: Round
EASY CROCHET LADYBUG PLUSHIE FREE PATTERN
Right leg
Start with beige yarn.
Rnd 1. 6 sc in MR (6)
Rnd 2. 6 inc (12)
Rnd 3. (1sc,inc)*6 (18)
Change to red.
Rnd 4. 18 sc
Rnd 5. 2 sc, 3 dec, 10 sc (15)
Rnd 6. 2 sc, 2 dec, 3 sc, 2 sc (11)
Rnd 7. 11 sc
Rnd 8. (1sc,inc)*5, 1 sc (16)
Rnd 9. 16 sc, slst.
Secure the thread and weave in the ends inside.
Left leg
Start with beige yarn.
Rnd 1. 6 sc in MR (6)
Rnd 2. 6 inc (12)
Rnd 3. (1sc,inc)*6 (18)
Change to red.
Rnd 4. 18 sc
Rnd 5. 2 sc, 3 dec, 10 sc (15)
Rnd 6. 1 sc, 2 dec, 4 sc, 2 dec, 2 sc (11)
Rnd 7. 11 sc
Rnd 8. (inc,1sc)*3, (1sc,inc)*2, 1 sc (16)
Rnd 9. 16 sc
Don’t cut the thread. Next crochet the body.
Body
Continue with crochet the left leg. Crochet 3 ch. Attach the right leg with slst.
Crochet 15 sc around the right leg. Next do 3 sc on chain, 7 sc around the left leg. Place marker here. This is begin.
Rnd 1. 8 sc, inc, 3 sc, inc, 14 sc, inc, 3 sc, inc, 6 sc (42)
Rnd 2-4. 42 sc (3 rnd)
Rnd 5. dec, 18 sc, dec, 20 sc (40)
Rnd 6. 40 sc
Rnd 7. dec, 17 sc, dec, 19 sc (38)
Rnd 8. 5 sc, 8 sc through back loop, 16 sc, change to black color, 9 sc (38)
Rnd 9. dec, 16 sc, dec, 18 sc (36)
Consequently, your stitches will create a smooth texture as you follow the guide.
Furthermore, ensure that your stitches remain tight while changing colors for a clean finish.Rnd 10-11. 36 sc (2 rnd)
Rnd 12. (4 sc,dec)*6 (30)
Rnd 13-14. 30 sc (2 rnd)
Rnd 15. (3sc,dec)*6 (24)
Rnd 16. 24 sc
Rnd 17. (2sc,dec)*6 (18)
Rnd 18. (1sc,dec)*6 (12)
Rnd 19. 6 dec
Finish with slst. Leave thread for sewing.
Detail of a jumpsuit
Crochet with red yarn through front loops of the 8th body’s round:
Rnd 1. 8 sc
Rnd 2. 1 ch, crochet in the opposite direction 8 double crochet
Rnd 3. 1 ch, crochet in the opposite direction 8 sc
Rnd 4. 1 ch, crochet in the opposite direction 8 sc
Rnd 5. 1 ch, crochet in the opposite direction 8 sc
Don’t cut the thread. Crochet with this thread. Jumpsuit strap- do 18 ch and fix the thread with slst.
Secure the thread and weave in the ends inside. The same way for crocheting of the second strap.
Head
Beige yarn.
Rnd 1. 6 sc in MR (6)
Rnd 2. 6 inc (12)
Rnd 3. (1sc,inc)*6 (18)
Rnd 4. (2sc,inc)*6 (24)
Rnd 5. (3sc,inc)*6 (32)
Rnd 6. (4sc,inc)*6 (36)
Rnd 7. (5sc,inc)*6 (42)
Rnd 8. (6sc,inc)*6 (48)
Rnd 9-14. 48 sc (6 rnd)
In addition, remember to stuff the parts firmly before closing the final rounds
In addition, this is the perfect time to start adding your fiberfill firmly into the head.
Rnd 15. (6sc,dec)*6 (42)
Rnd 16. (5sc,dec)*6 (36)
Rnd 17. (4sc,dec)*6 (30)
Rnd 18. (3sc,dec)*6 (24)
Rnd 19. (2sc,dec)*6 (18)
Rnd 20. (1sc,dec)*6 (12)
Rnd 21. 6 dec, slst.
Secure the thread and weave in the ends inside.
Hands
Start with beige.
Rnd 1. 6 sc in MR (6)
Rnd 2. 6 inc (12)
Rnd 3. (1sc,inc)*6 (18)
Rnd 4. 18 sc
Rnd 5. (1sc,dec)*6 (12)
Change to black yarn.
Rnd 6-15. 12 sc (9 rnd)
Rnd 16. Put both sides together and crochet 6 sc. Leave thread for sewing.
Hat
Black yarn.
Rnd 1. 6 sc in MR (6)
Rnd 2. 6 inc (12)
Rnd 3. (1sc,inc)*6 (18)
Rnd 4. (2sc,inc)*6 (24)
Rnd 5. (3sc,inc)*6 (32)
Rnd 6. (4sc,inc)*6 (36)
Rnd 7. (5sc,inc)*6 (42)
Rnd 8. (6sc,inc)*6 (48)
Consequently, the shape of the hat will begin to curve naturally in the following rounds.
Rnd 9-10. 48 sc (2 rnd)
Rnd 11. (6sc,dec)*6 (42)
Rnd 12-13. 42 sc (2 rnd)
Rnd 14. 1 sc, 3 dc, 16 sc, slst.
Don’t crochet the last rnd to the end. The double crochets are located on the forehead. Finish crocheting at the middle of the back side of hat.
Antennas
Start with red.
Rnd 1. 6 sc in MR
Rnd 2. (1sc,inc)*3 (9)
Rnd 3. 9 sc
Rnd 4. (1sc,dec)*3 (6)
Change to black.
Rnd 5-7. 6 sc
Finish with slst. Leave thread for sewing.
Wings
Rnd 1. 6 sc in MR (6)
Rnd 2. 6 inc (12)
Rnd 3. (1sc,inc)*6 (18)
Rnd 4. (2sc,inc)*6 (24)
Rnd 5-9. 24 sc (5 rnd)
Rnd 10. (2sc,dec)*6 (18)
Rnd 11-16. 18 sc (6 rnd)
Rnd 17. (1sc,dec)*6 (12)
Rnd 18. 6 dec, slst.
Finish with slst. Leave thread for sewing.
Black points at the wings
6 sc MR, slst.
Use this thread for sewing.
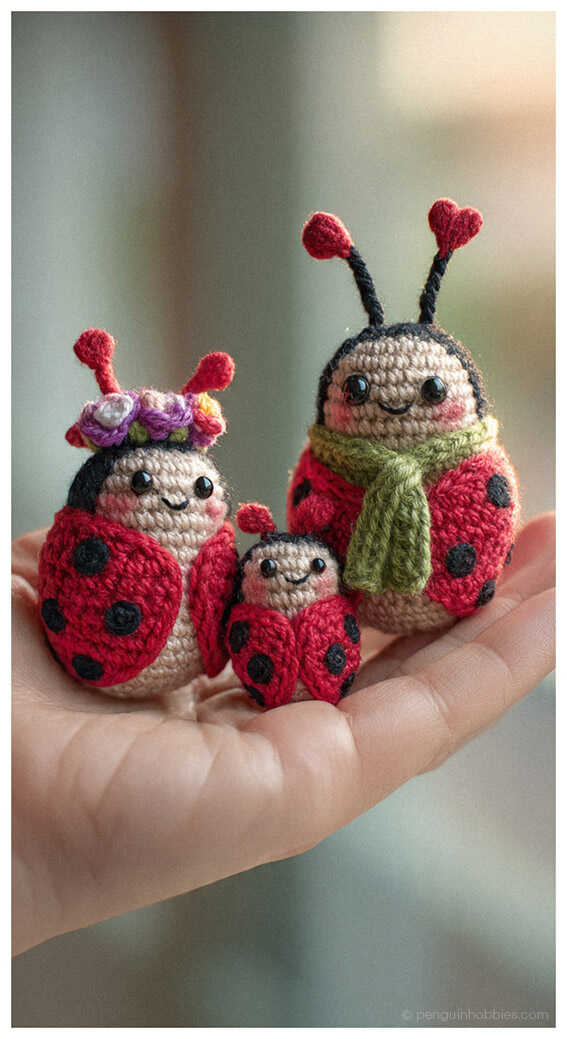
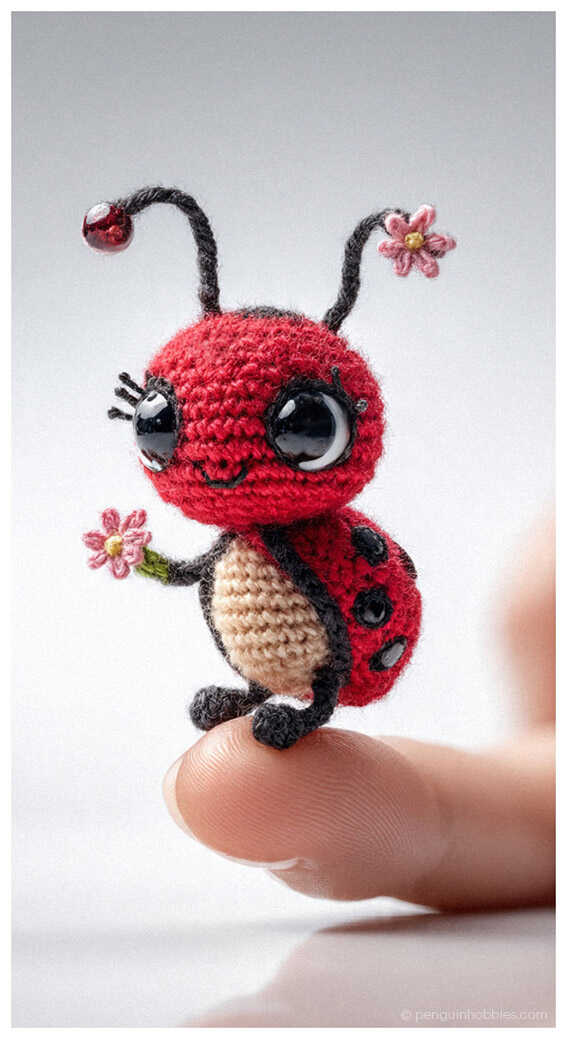
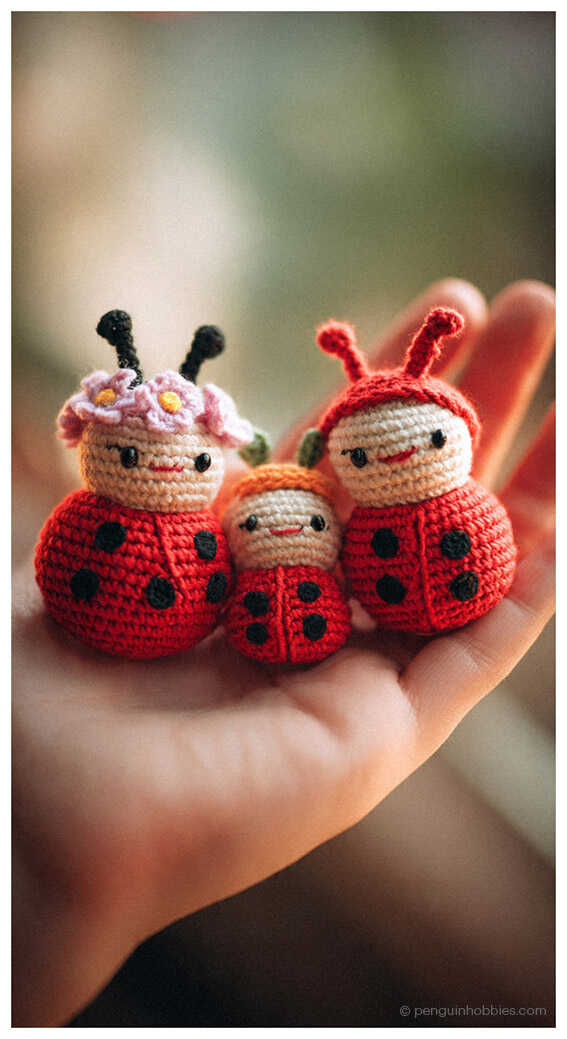
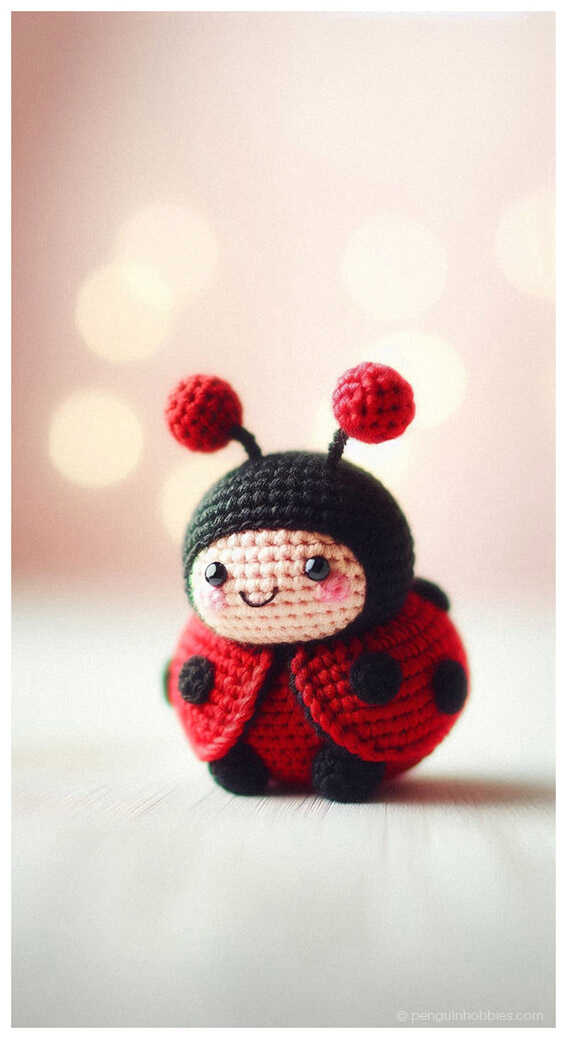
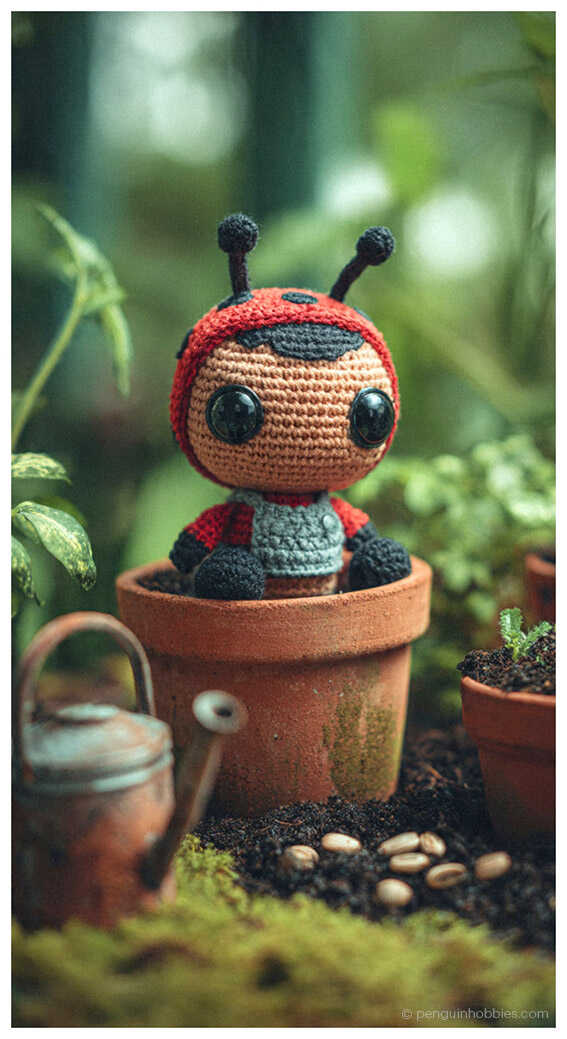
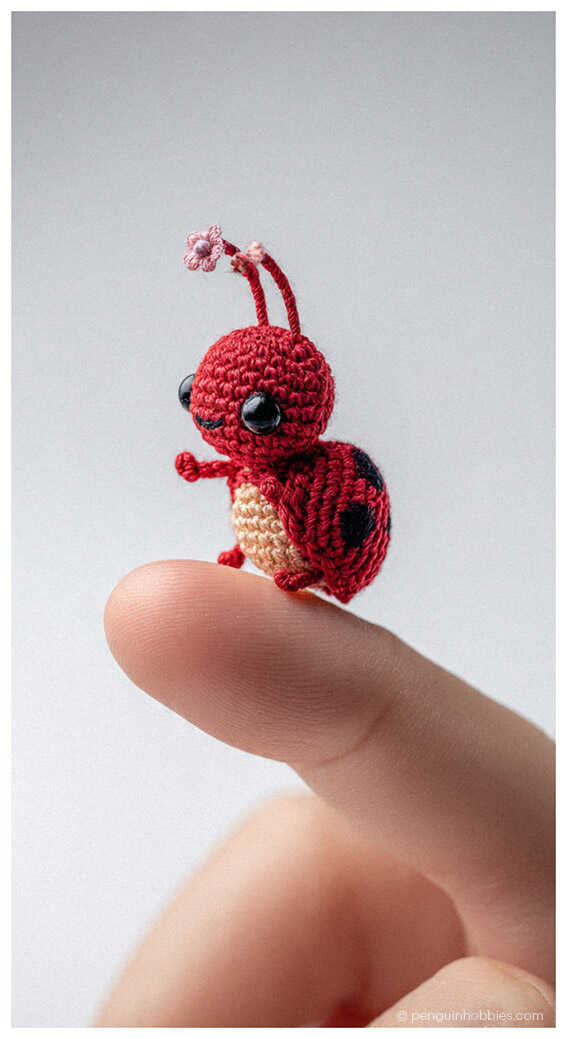
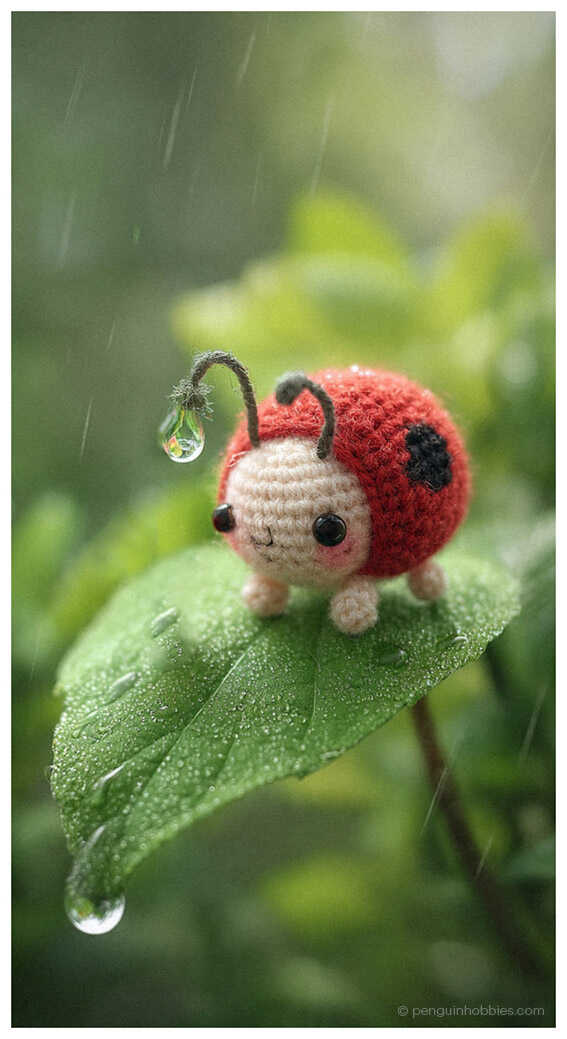
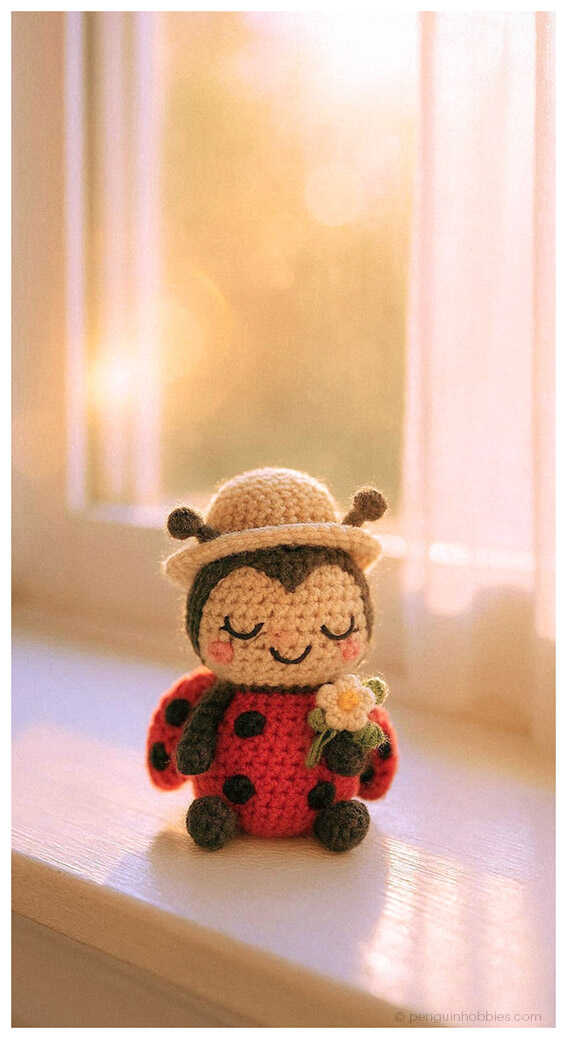
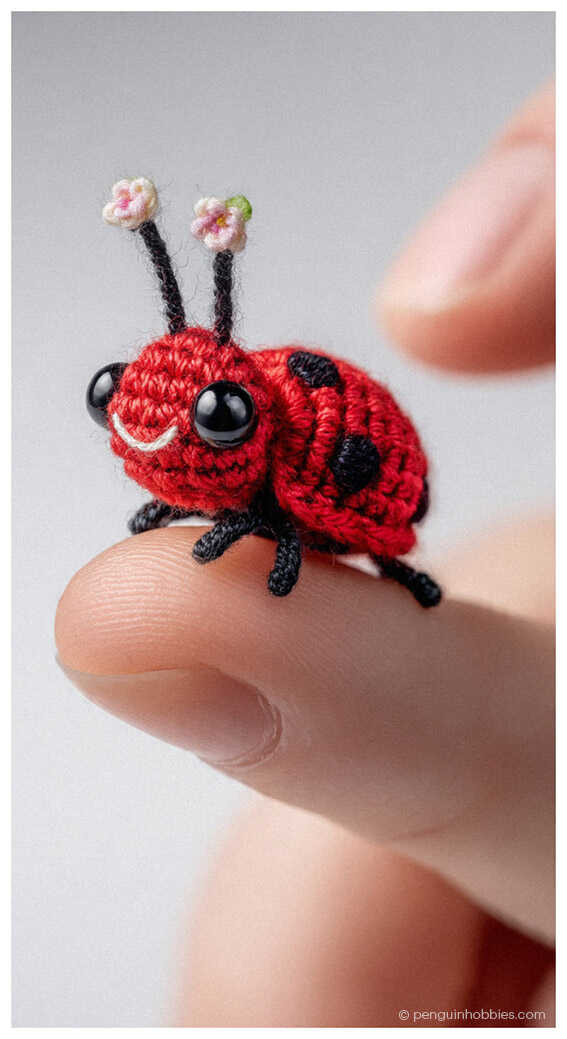
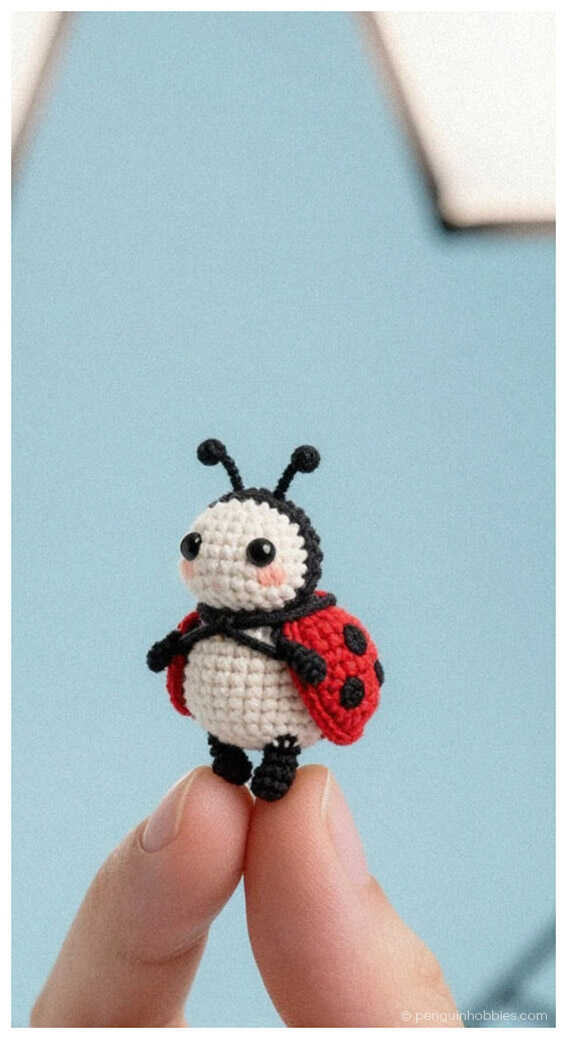
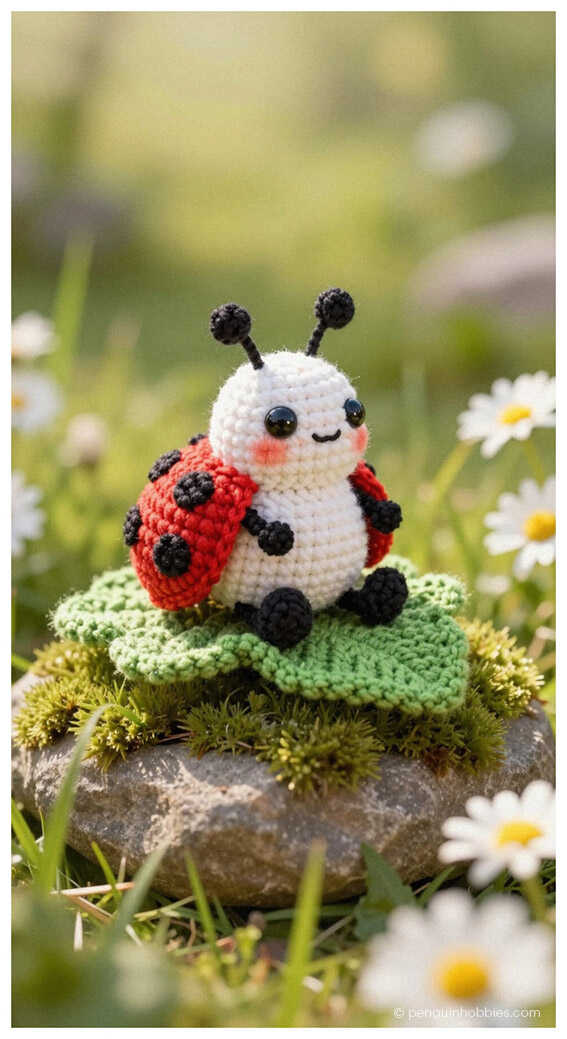
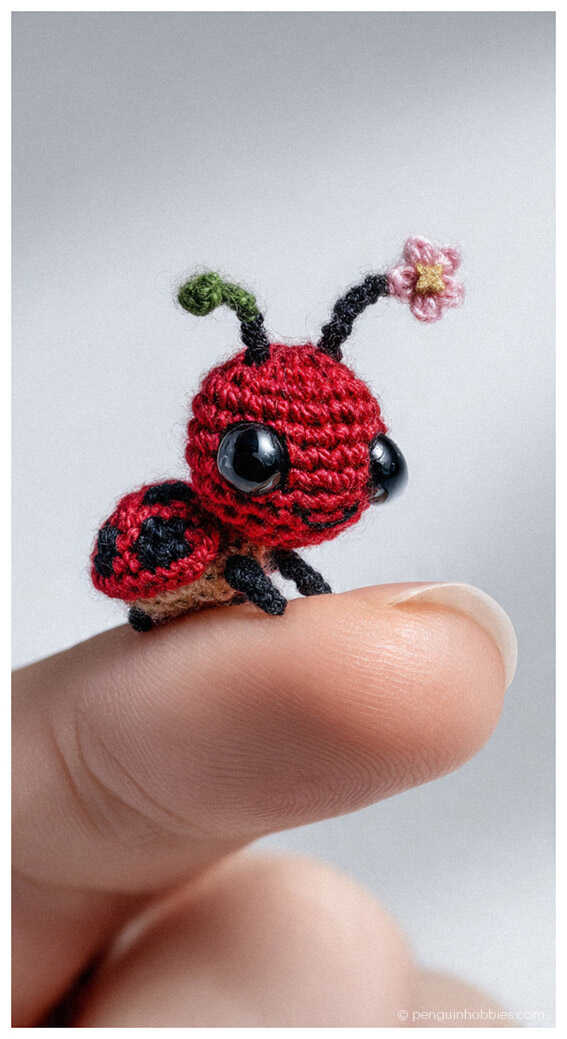
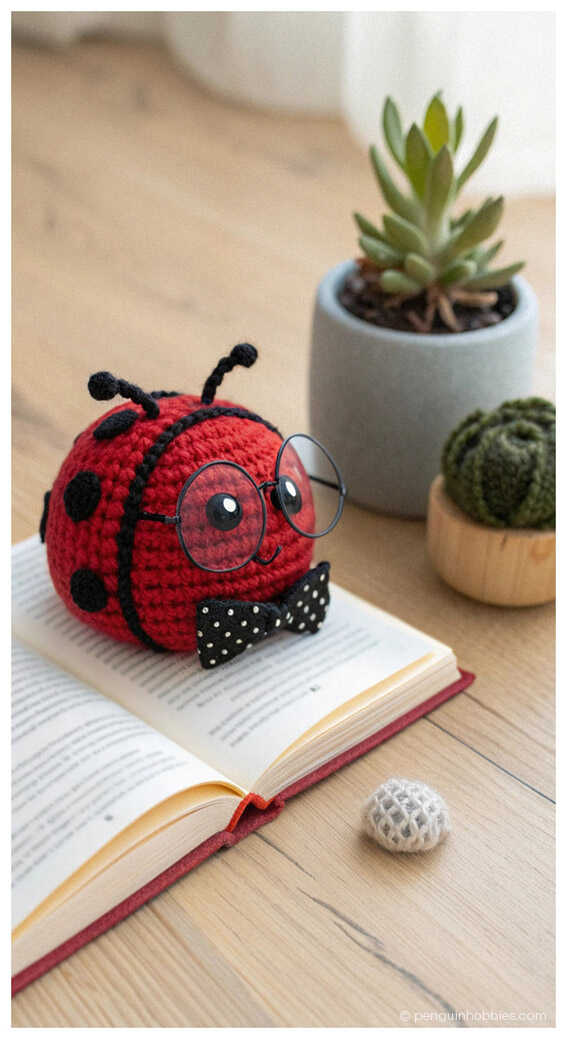
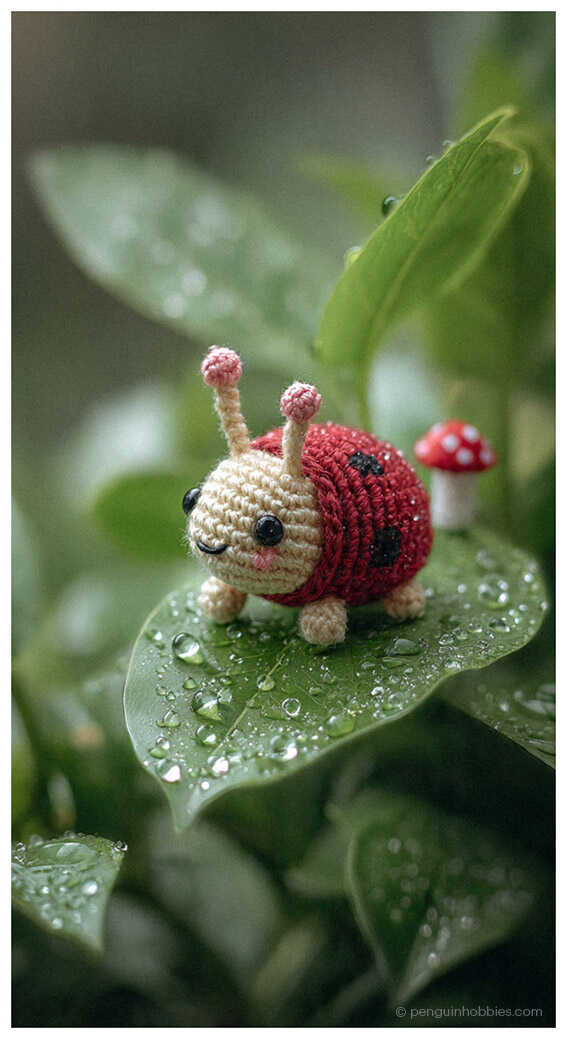
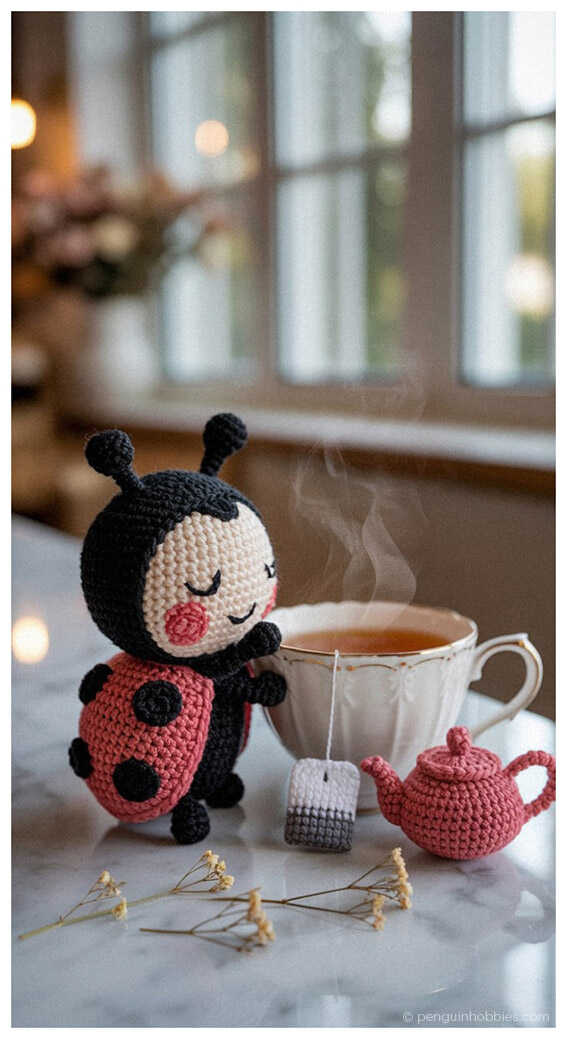
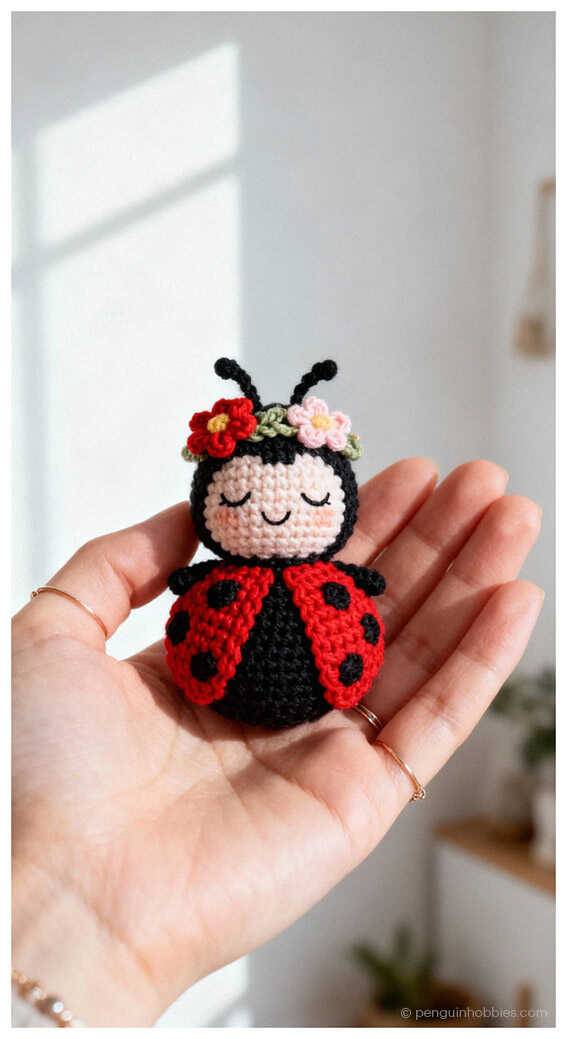
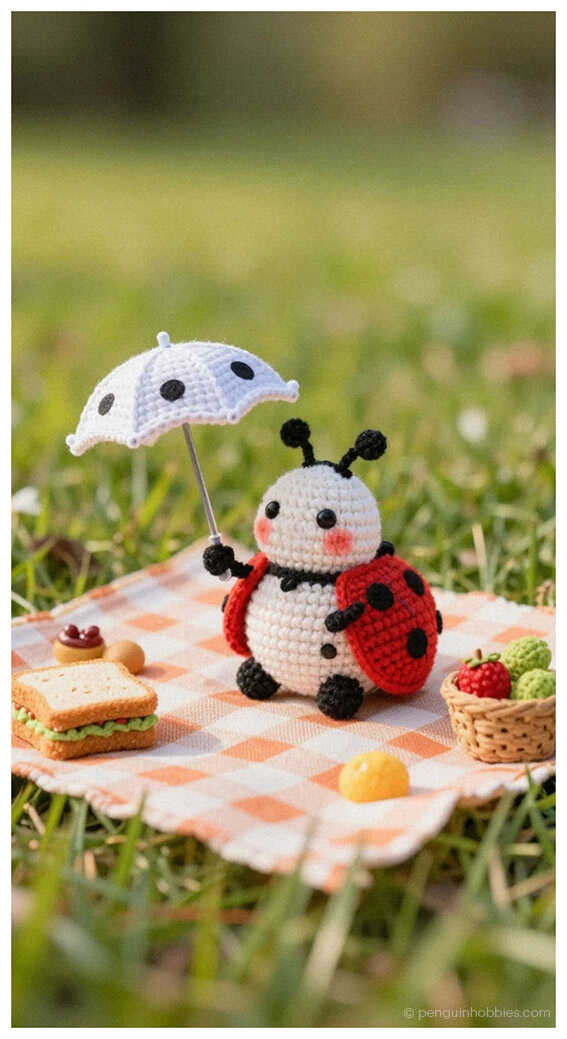
Creative Amigurumi Ladybug Concept Previews

Very relevant and timely content. Appreciate you sharing this.