Amigurumi Little Wolf Crochet Free Pattern
Designer: Nadia Lukhlina
Instagram: @scandistyle_dolls
Etsy Shop: MiniCrochetZoo
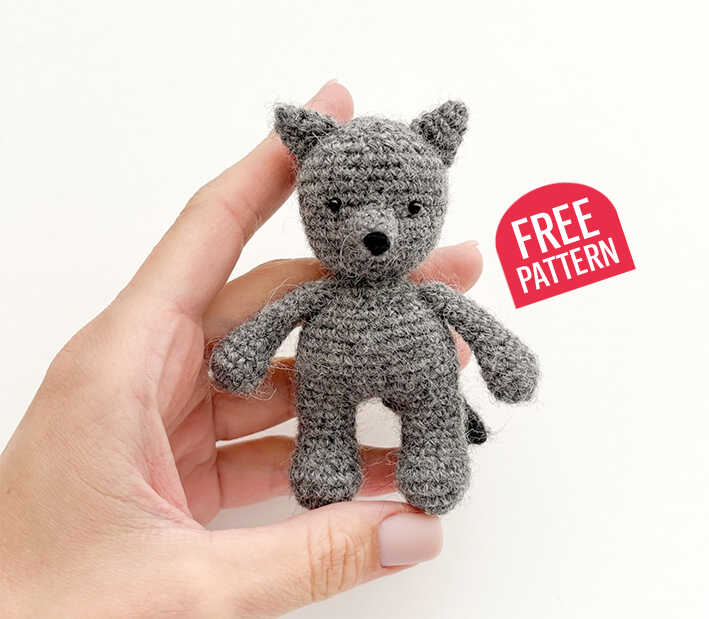
Looking for a new amigurumi to crochet? I’ve got you…
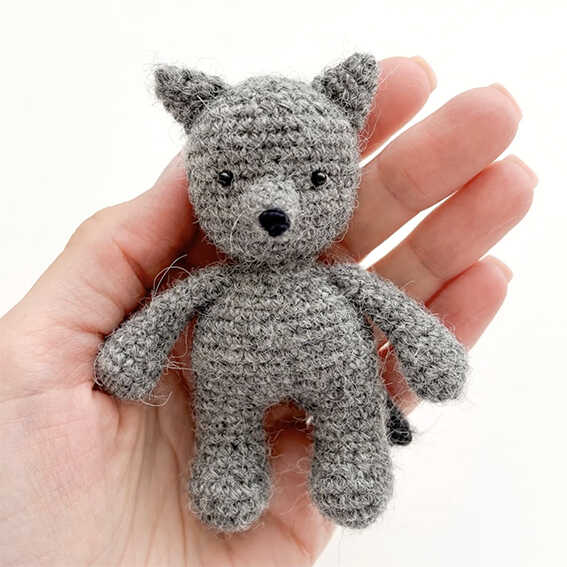
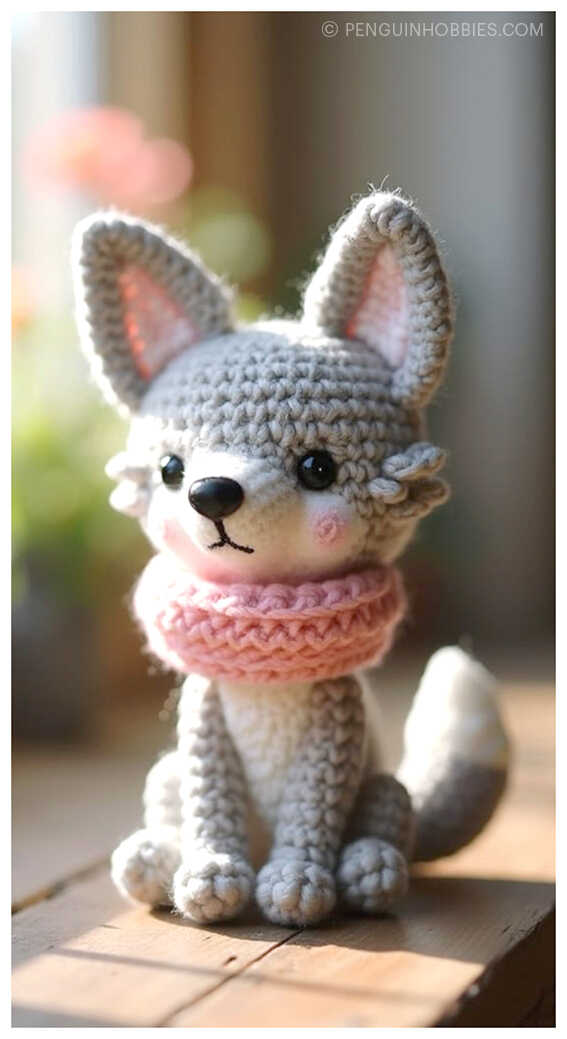
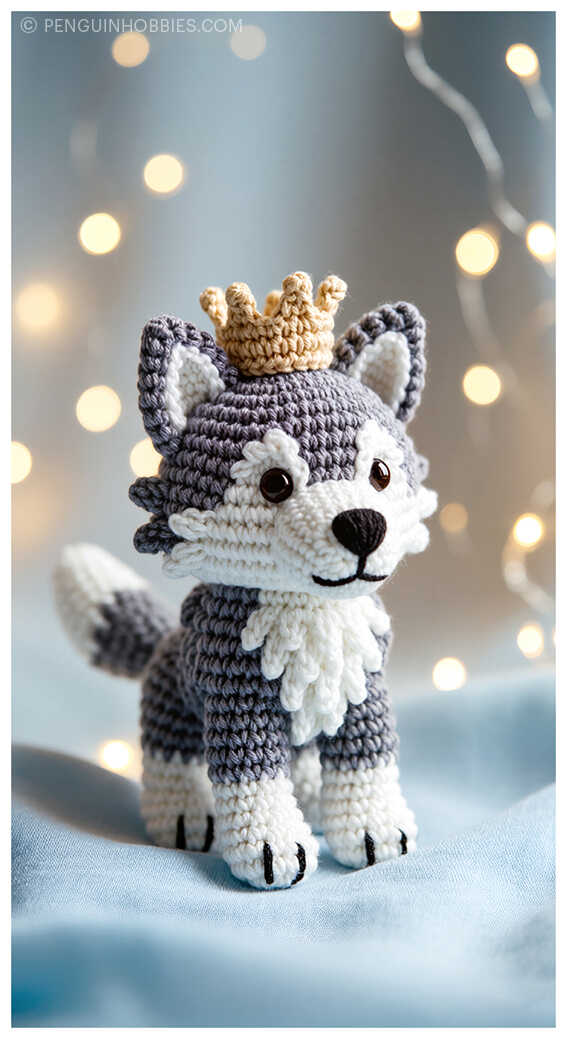
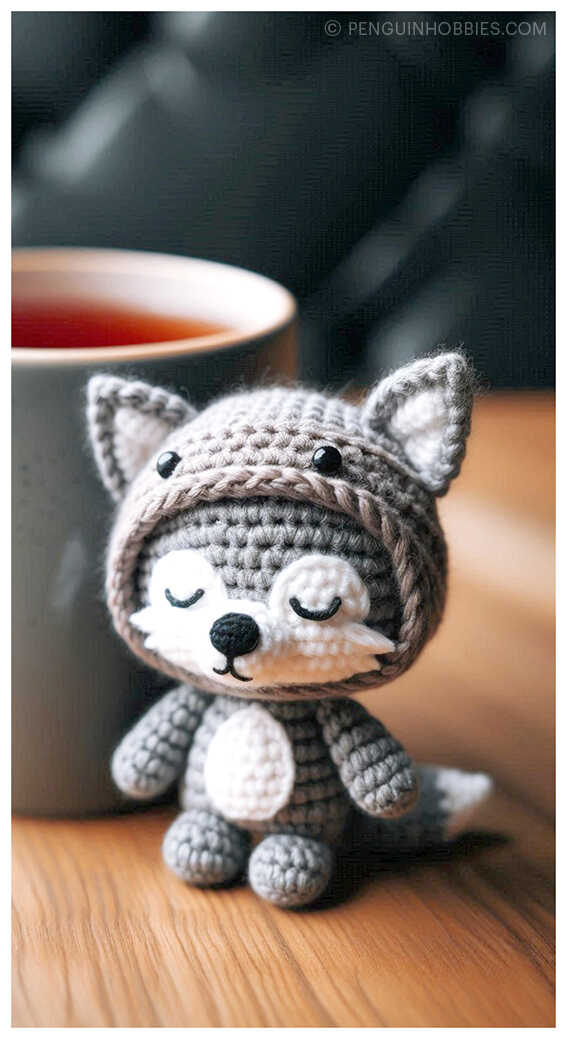
The Amigurumi Little Wolf Easy Crochet Free Pattern, designed by Nadia Lukhlina (Ravelry), is a delightful project for crochet enthusiasts who love creating miniature animals. This charming little wolf measures about 10 cm (3.9″) when finished, making it a perfect pocket-sized companion or a thoughtful handmade gift. For the best result, the recommended materials are Drops Alpaca yarn (100% alpaca, 167 m/50 g, fingering weight) in the main gray color with a touch of black for the tail, a 2.0 mm crochet hook, 3 mm glue-on eyes, and polyester fiberfill for stuffing. You’ll also need a sewing needle, scissors, pins, and black embroidery floss for the details.
We sincerely thank Nadia Lukhlina (YouTube) for generously sharing this adorable free pattern with the crochet community. At the end of the tutorial, you’ll also find inspiration from other wonderful Amigurumi Wolf creations that will spark your creativity and make you want to crochet even more little forest friends.
Materials:
1. Yarn: drops alpaca (100% alpaca, 167 m/50 g, fingering weight) in main (gray) color and in black (a little for the tail).
2. Hook size: 2.0 mm.
3. Eyes size 3 mm, glue.
4. Polyester fiberfill, sewing needle, scissors, pins, black embroidery floss.
Abbreviations:
MR- magic ring
ch- chain
sc- single crochet
slst- slip stitch
inc- increase
dec- decrease
AMIGURUMI LITTLE WOLF FREE PATTERN
Legs (gray)
1 – 6 sc in MR
2- 6 inc (12)
3- (1 sc, inc)*6 (18)
4-5- 18 sc (2 rounds)
6- 6 dec, 6 sc (12)
7-11- 12 sc (5 rounds) – stuff.
Cut the thread on the first leg, make the second leg similarly, do not cut the thread on the second leg.
Continue crocheting the body. Make 3 ch from the second leg. Note: increases in the next round should be in front, on the belly. If this is not the case for you, then work them after the first leg, and not after the second leg as the pattern says.
12- 12 sc on the first leg, 3 sc
along the chain, 12 sc on the second leg, 1 inc, 1 sc, 1 inc (32) – place marker.
13- (7 sc, inc)*4 (36)
14-20- 36 sc (7 rounds)
21- (4 sc, dec)*6 (30)
22- 30 sc
23- (3 sc, dec)*6 (24)
24- (2 sc, dec)*6 (18)
25- (1 sc, dec)*6 (12)
26- 12 sc
Then work the round to the middle of the back, stuff the legs and body tightly. Next we will crochet the head, do not cut the thread.
Head (continue)
27- 12 inc (24)
28- (1 sc, inc)*12 (36)
29-37- 36 sc (9 rounds)
38- (4 sc, dec)*6 (30)
39- (3 sc, dec)*6 (24)
40- (2 sc, dec)*6 (18)
41- (1 sc, dec)*6 (12) – stuff.
42- 6 dec
Cut the thread, tighten the opening with a needle grabbing the front loops of the remaining stitches, secure the thread and weave in the ends.
Arms (make 2, gray)
1- 6 sc in MR
2- 6 inc (12)
3-5- 12 sc (3 rounds)
6- 3 dec, 6 sc (9)
7-13- 9 sc (7 rounds)
Stuff the lower part of the arm. Cut the thread, leaving the end for sewing. Fold the edges of the arm together and sew them up with a needle.
Ears (make 2, gray)
1- 4 sc in MR
2- (1 sc, inc)*2 (6)
3- (2 sc, inc)*2 (8)
4- (3 sc, inc)*2 (10)
Cut the thread, leaving the end for sewing. Fold the edges of the ear together and sew them up with a needle.
Muzzle (gray)
1- 4 sc in MR
2- (1 sc, inc)*2 (6)
3- (2 sc, inc)*2 (8)
4- (3 sc, inc)*2 (10)
Do not stuff. Cut the thread, leaving the end for sewing.
Tail
Start with black.
1- 6 sc in MR
2- 6 sc
3- (1 sc, inc)*3 (9)
Change to gray, cut off the black thread.
4- (2 sc, inc)*3 (12)
5-10- 12 sc (6 rounds)
11- (2 sc, dec)*3 (9)
12- (1 sc, dec)*3 (6)
Do not stuff. Tighten the opening with a needle grabbing the front loops of the remaining stitches; secure the thread, leaving the end for sewing.
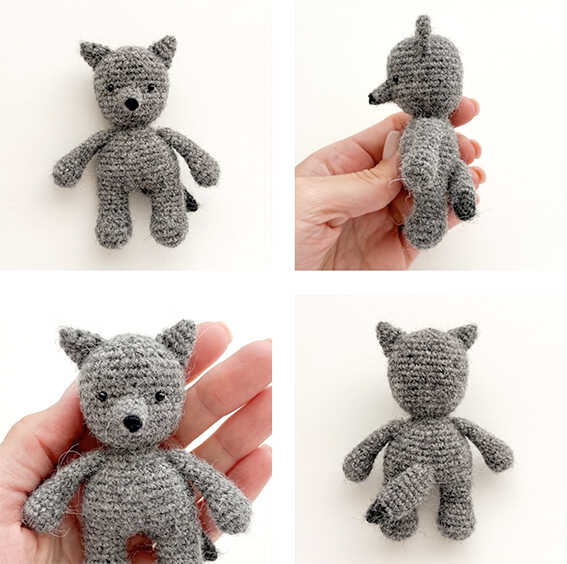
Assembly
1- Sew on the ears on the sides of the head from rounds 4 to 7 (count from the crown).
2 – Using black embroidery floss, embroider a nose on the tip of the muzzle (in the first round). Then sew the muzzle to the head between rounds 11 and 13.
3- Glue the eyes between rounds 10 and 11, leaving about 5 stitches between them (or adjust the position to your liking).
4- Sew on the arms one round lower the neck.
5- Sew the tail to the back of the toy. I attached mine slightly at an angle, approximately at rounds 14-15 of the body.
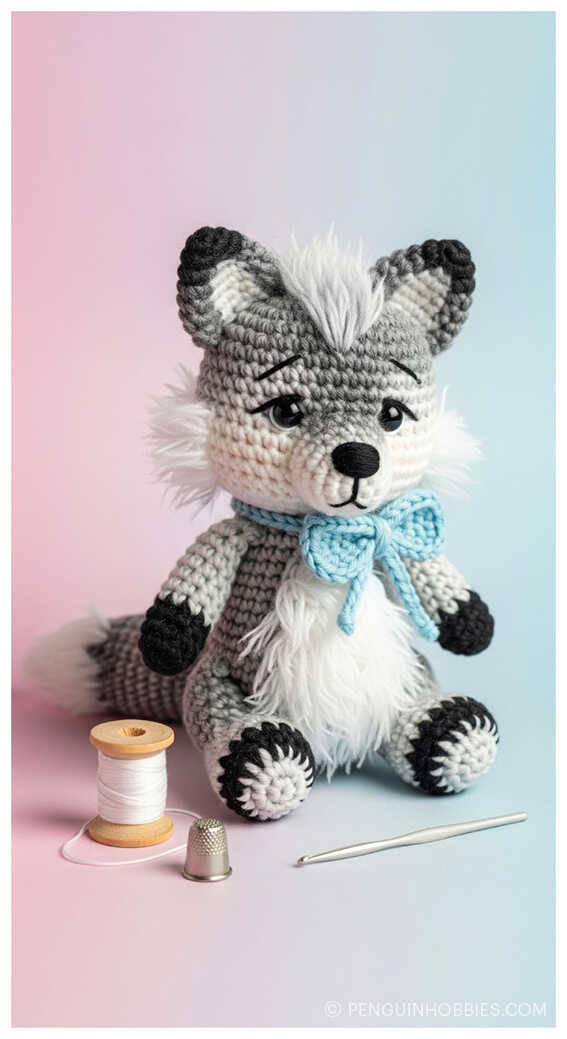
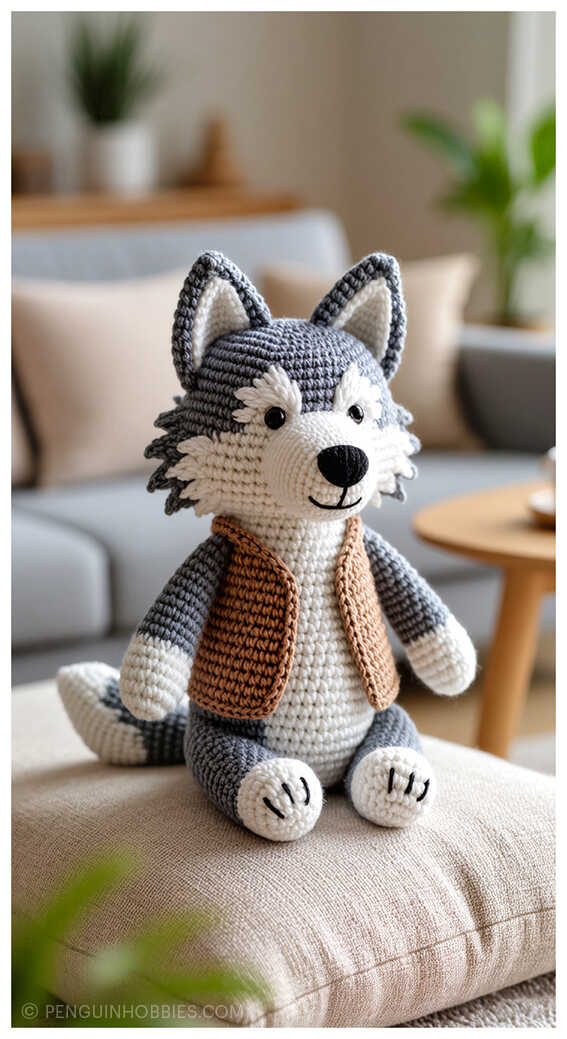
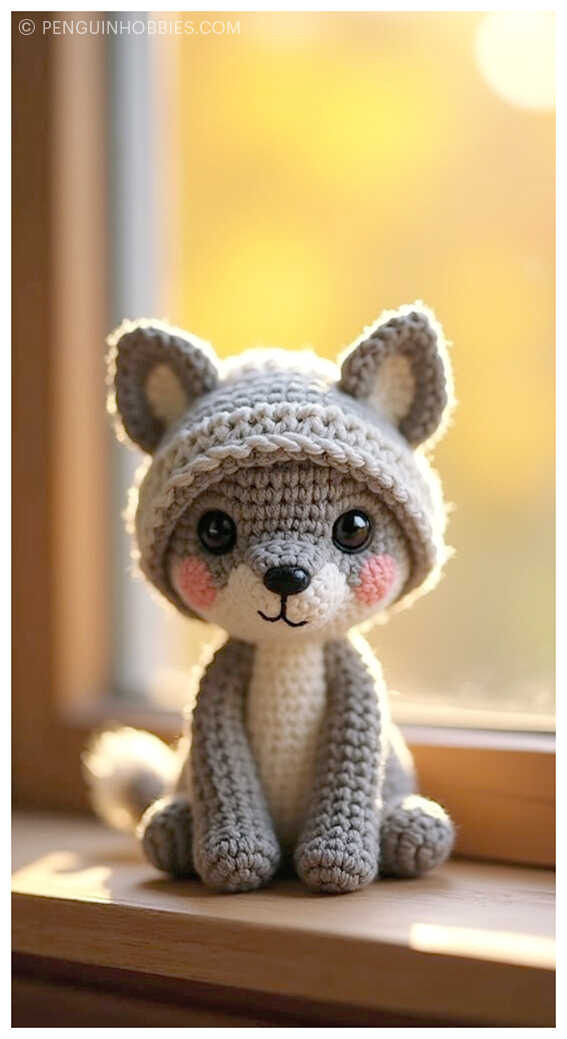
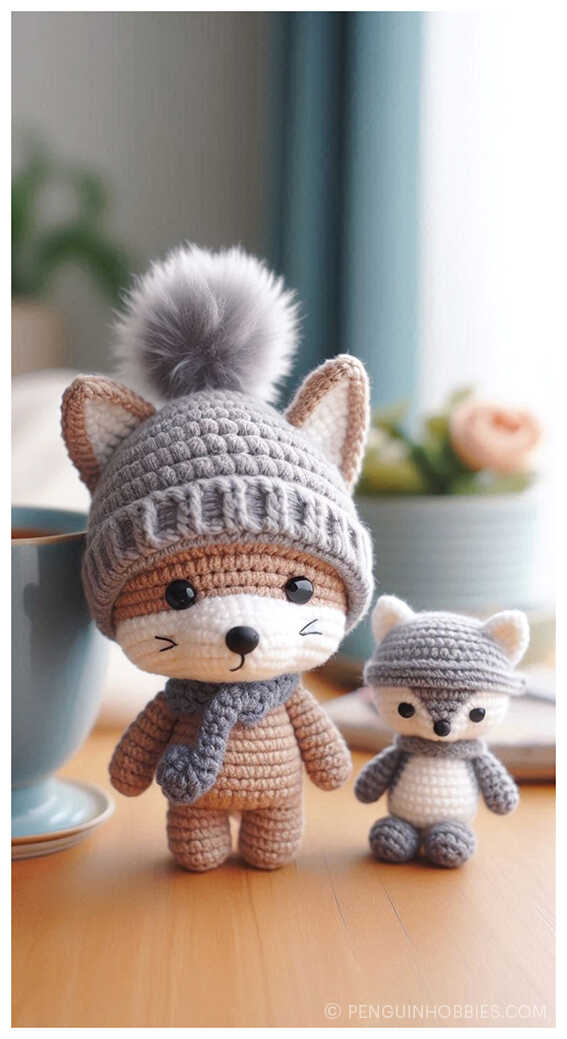
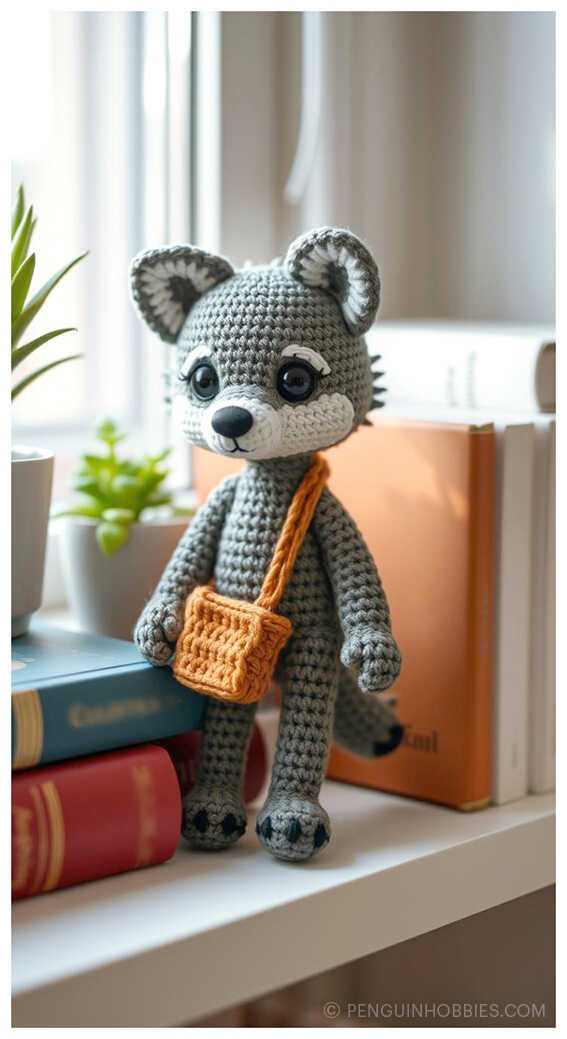
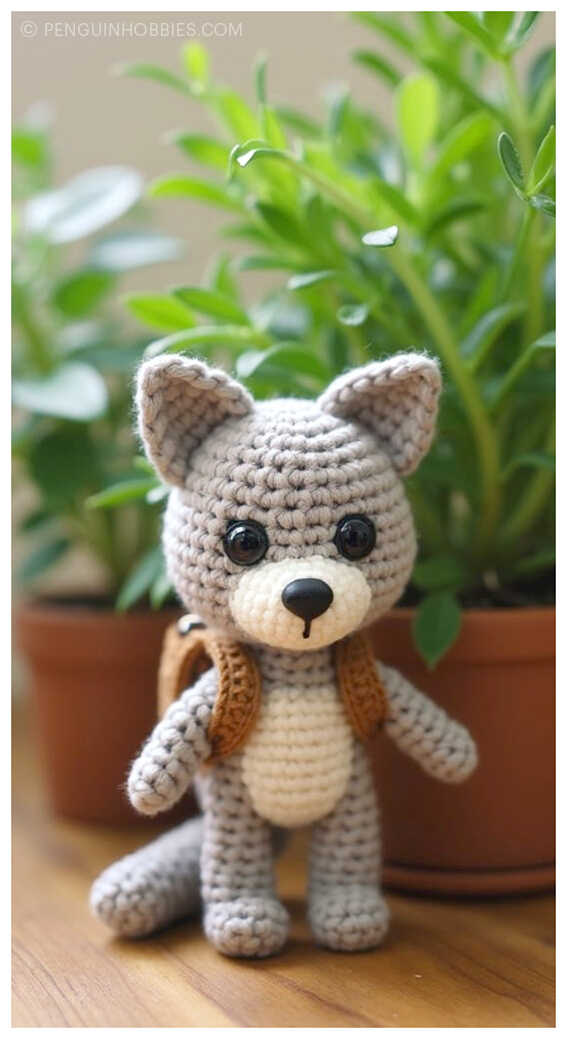
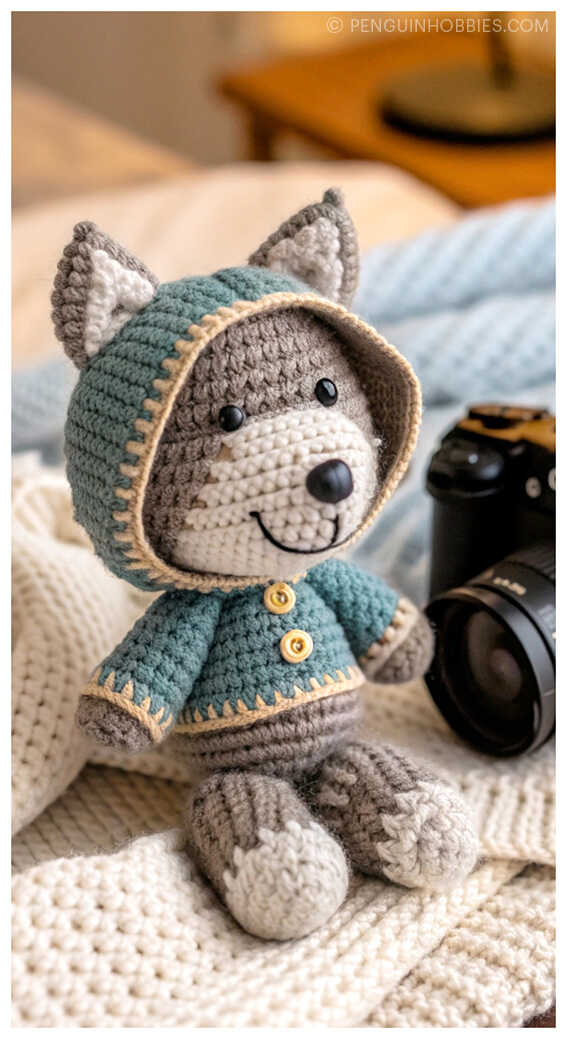
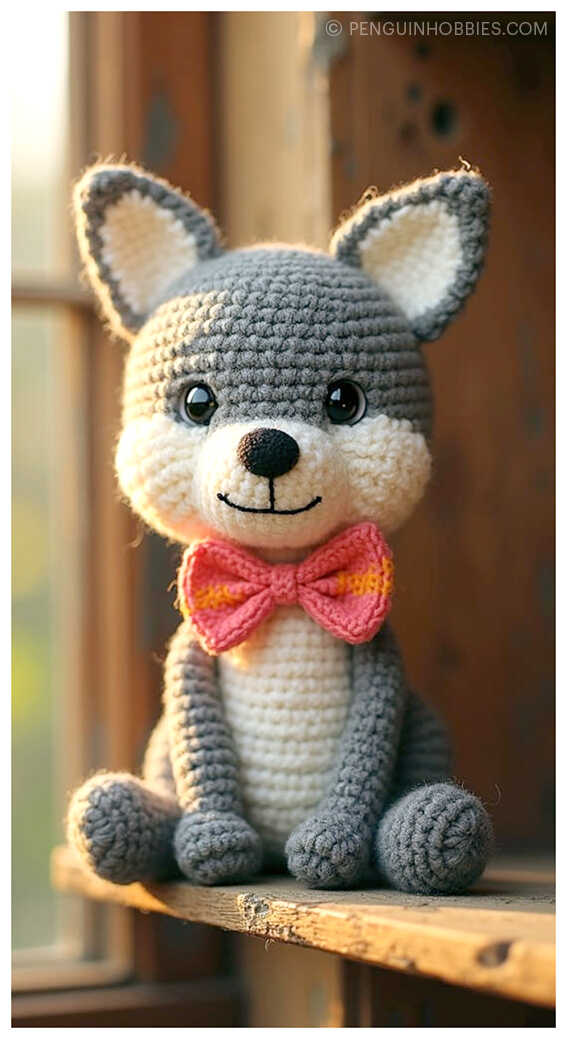
Creative crochet wolf ideas to brighten your day

Discover All Your Favorite Amigurumi Toy Patterns in One Magical Place!
Looking for the perfect amigurumi pattern to bring your next crochet project to life? At PenguinHobbies.com, you’ll discover a magical world of free, step-by-step amigurumi patterns featuring everything from cuddly amigurumi cats, sweet amigurumi dolls, playful amigurumi dogs, and enchanting amigurumi unicorns to soft amigurumi lambs, mighty amigurumi dinosaurs, clever amigurumi foxes, huggable amigurumi bears, gentle amigurumi giraffes, adorable amigurumi pigs, and colorful amigurumi birds. We also offer creative ideas for amigurumi penguins, amigurumi pandas, amigurumi llamas, amigurumi bunnies, amigurumi clowns, amigurumi elephants, amigurumi hippos, amigurumi monkeys, and so much more! Each pattern is designed to spark joy, inspire your creativity, and help you make handmade treasures that are as fun to create as they are to gift. Don’t forget to join our Facebook community for daily crochet inspiration, pattern updates, and a wonderful group of fellow amigurumi lovers!
Keywords: free amigurumi patterns, crochet toys, amigurumi animals, beginner amigurumi, amigurumi dolls, crochet free patterns, crochet patterns