Amigurumi Snowman Crochet Free Pattern
Designer: MiniCrochetZoo
Instagram: @scandistyle_dolls
Etsy Shop: MiniCrochetZoo
It’s a great day for tiny crochet joy!
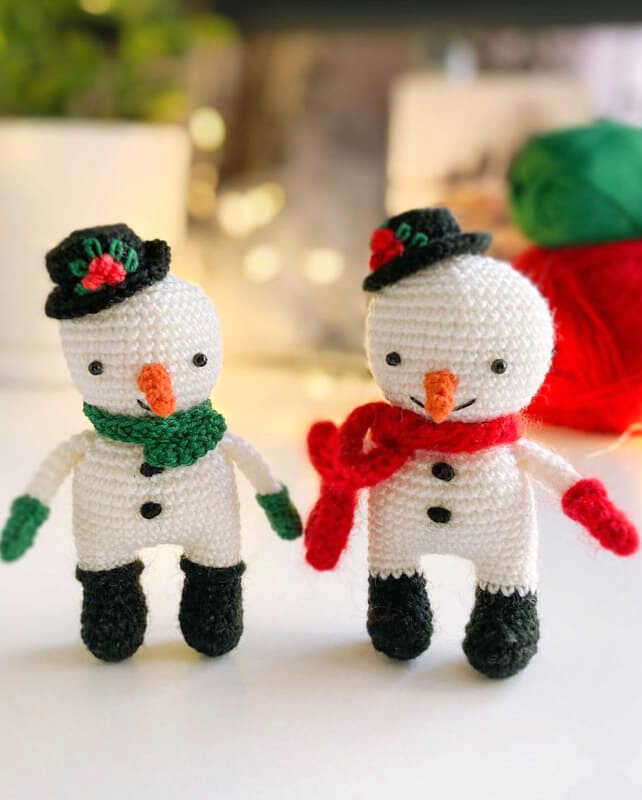
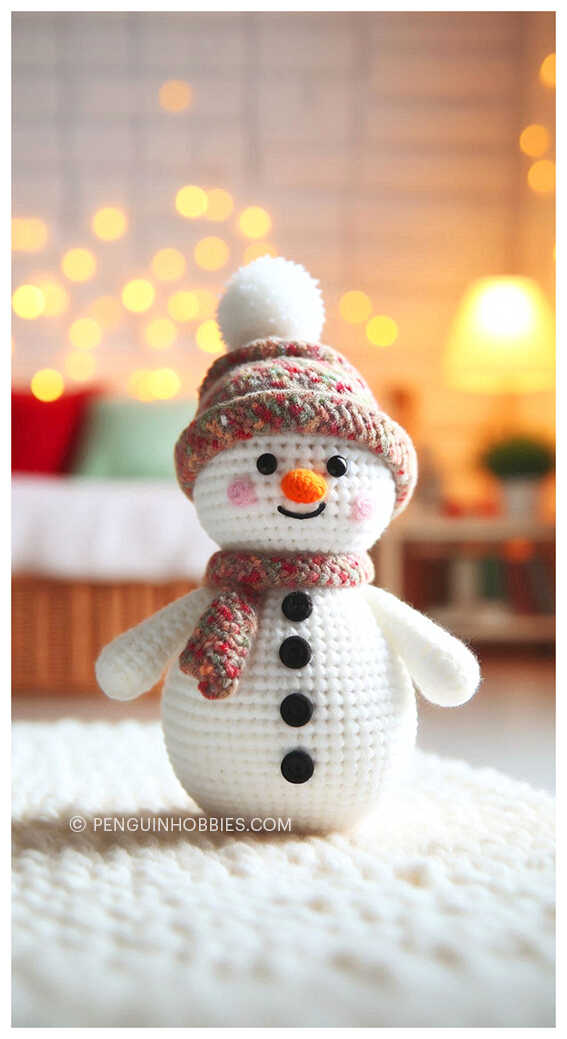
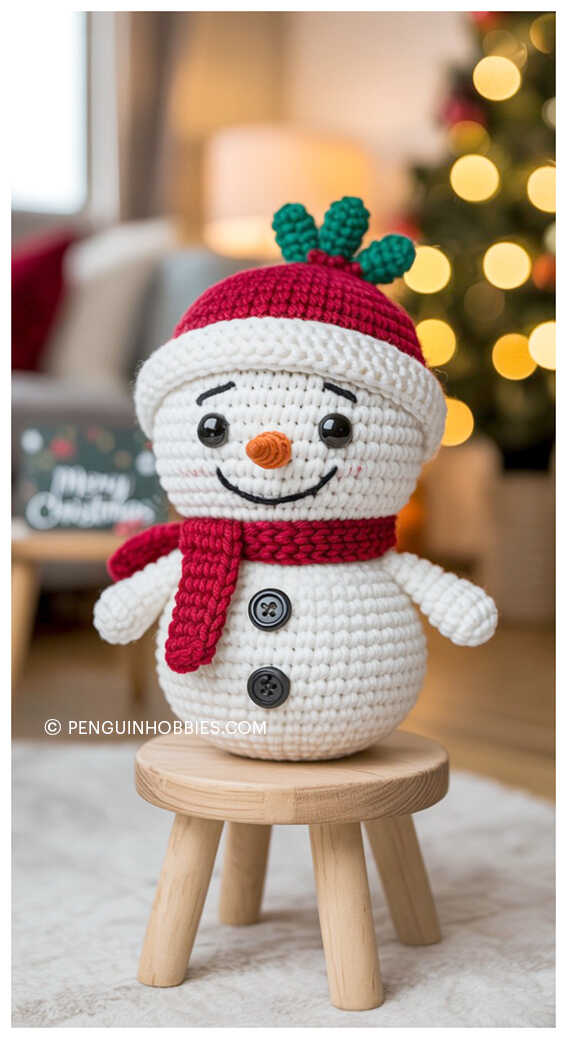
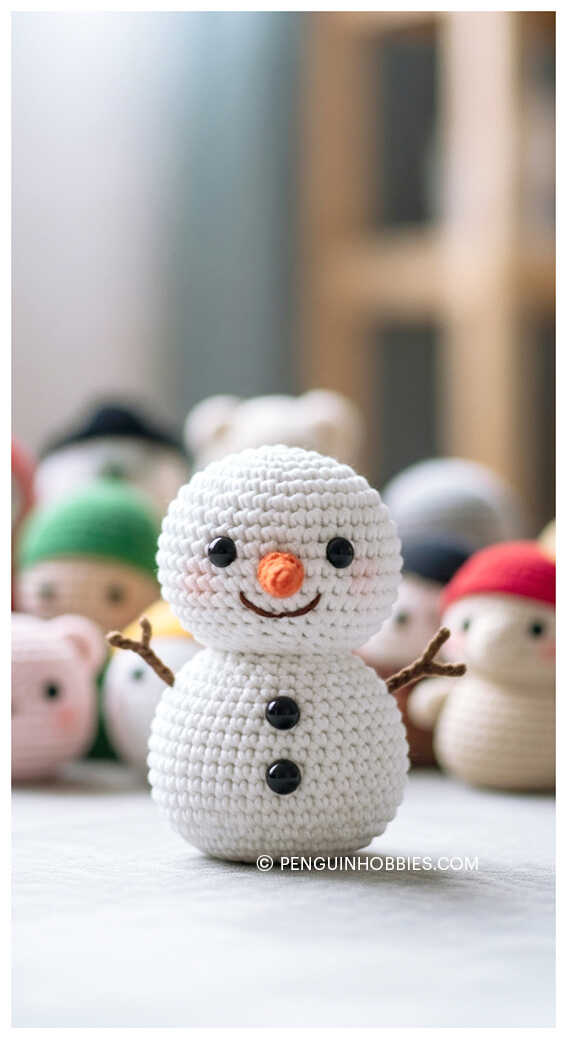
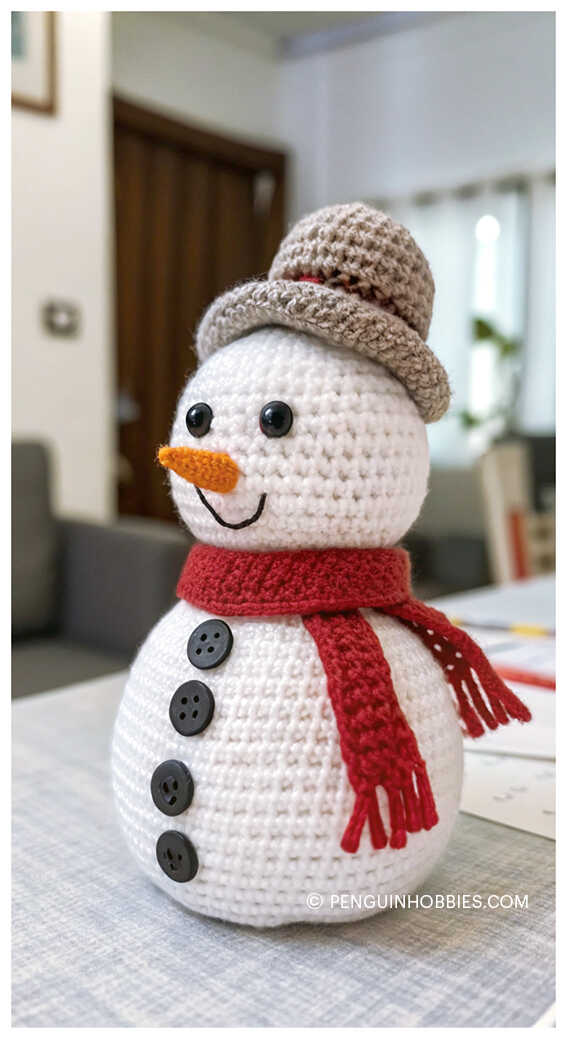
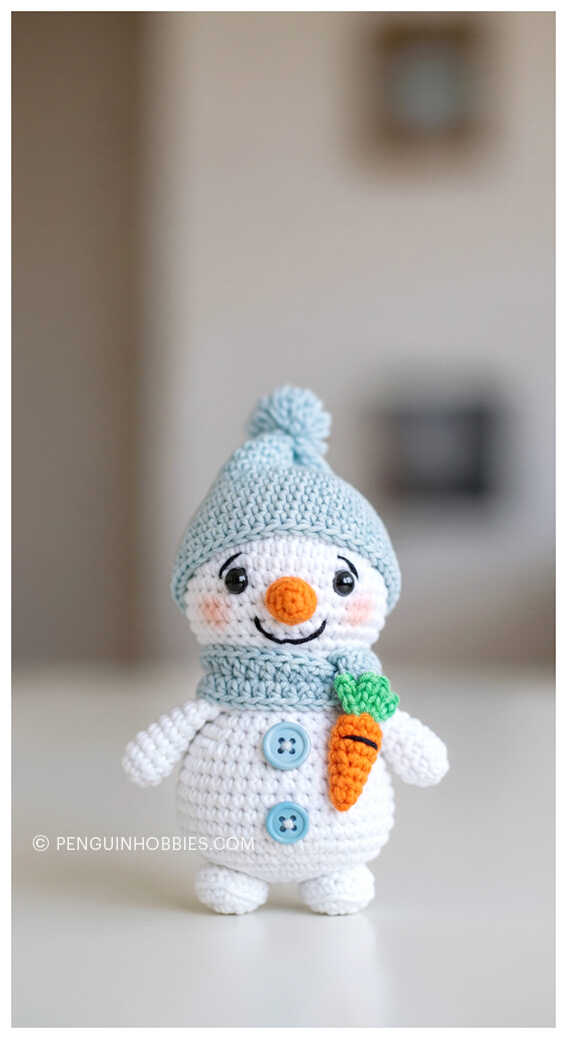
Get ready to crochet a charming winter friend with this Amigurumi Snowman Free Crochet Pattern designed by @scandistyle_dolls from MiniCrochetZoo. This cute little snowman measures about 8–9 cm when finished and is perfect for holiday decor or handmade gifts.
You’ll need a 1.5 mm Clover crochet hook, 3 mm plastic eyes (with glue), Iris yarn for mouth embroidery, and polyester fiberfill along with basic tools like a needle, pins, and scissors.
Special thanks to Nadia Iukhlina (VK) for this adorable design!
At the end of the pattern, don’t miss a collection of inspiring amigurumi snowman ideas to fuel your next project.

Materials
1.Yarn (white, black, a little of orange, red and green). I have white and black – Vita Brilliant (380 m /100 g), orange – YarnArt jeans yarn divided in halt red – Alize Angora Real 40, green – Vita Coco. Any yarn can be used.
2.Crochet hook, I have Clover size 1,5 mm.
3. Plastic eyes size 3 mm, glue.
4. Black fine thread for mouth embroidery, I have Iris yarn.
5. Polyester fiberfill, needle, pins, scissors.
Size of the finished toy is 8-9 cm.
Abbreviations
MR – magic (amigurumi) ring
ch – chain
sc – single crochet
inc – increase
dec – decrease
slst – slip stitch
AMIGURUMI MINI SNOWMAN FREE PATTERN
Legs
Black yarn.
1 – 6 sc in MR
2 – 6 inc (12)
3 – (1 sc, inc)*6 (18)
4 – 18 sc
5 – 2 sc, 4 dec, 8 sc (14)
6 – 2 sc, 2 dec, 8 sc (12)
7 – 12 sc – stuff the foot.
8 – work to the middle of the back of the leg (I have 8 sc), change to white.
9 – work in back loop only 12 sc
10 -12 sc – stuff the leg.
Cut the thread on the first leg, make the second leg similarly, do not cut the thread on the second leg.
Continue crocheting the body.
Make 4 ch from the second leg, next:
11 – 12 sc on the first leg, inc, 2 sc, inc, 12 sc on the second leg, 4 sc (34) (increases in front)
12 – 5 sc, inc, 17 sc, inc, 10 sc (36) (increases on the sides)
13-20 – 36 sc (8 rounds)
21 – (4 sc, dec)*6 (30)
22 – (3 sc, dec)*6 (24) – stuff the body.
23 – (2 sc, dec)*6 (18)
24 – (1 sc, dec)*6 (12)
25 – 12 sc, then go to crocheting the head.
Big head
26 – 12 inc (24)
27 – (1 sc, inc)”12 (36)
28 – (5 sc, inc)*6 (42)
29-37 – 42 sc (9 rounds)
38 – (5 sc, dec)*6 (36)
39 – (4 sc, dec)*6 (30)
40 – (3 sc, dec)*6 (24)
41 – (2 sc, dec)*6 (18)
42 – (1 sc, dec)*6 (12) – stuff the neck and the head.
43 – 6 dec
Cut the thread, tighten the opening with a needle, secure the thread and weave in the ends.
Regular head
26 – 12 inc (24)
27 – (1 sc, inc)”12 (36)
28-37 – 36 sc (10 rounds)
38 – (4 sc, dec)*6 (30)
39 – (3 sc, dec)*6 (24)
40 – (2 sc, dec)*6 (18)
41 – (1 sc, dec)*6 (12) – stuff the neck and the head.
42 – 6 dec
Cut the thread, tighten the opening with a needle, secure the thread and weave in the ends.
Attach the black thread to 8th round of the leg and work with slip stitches in round (12 slst). Weave in the ends.
Arms (make 2)
Red (mittens color).
1 – 9 sc in MR
2-3 – 9 sc (2 rounds)
4 – 2 sc, 3 dc with a common top in 1 stitch (bobble stitch for creating a finger), 6 sc (9)
Change to white.
5 – work in back loop only 9 sc
6 – 2 sc, 3 dec, 1 sc (6)
7-11 – 6 sc (5 rounds)
Do not stuff the arm. Cut the thread, leaving the end for sewing. Sew the edges of the arm so that the finger is on the side.
Attach the red (mittens color) thread to 4th round of the arm and work with single crochet around (9 sc). Weave in the ends.
Crochet the second arm similarly.
Nose
Orange.
1 – 4 sc in MR
2 – 4 sc
3 – 1 sc, inc, 2 sc (5)
Stuff a bit. Cut the thread, leaving the end for sewing.
Hat
Black.
1 – 6 sc in MR
2 – 6 inc (12)
3 – (1 sc, inc)*6 (18)
4 – work in back loops only 18 sc
5-6 – 18 sc (2 rounds)
7 – work in front loops only 18 sc
8 – (2 sc, inc)*6, slst
Cut the thread, leaving the end for sewing.
Scarf
Make 40 ch (or any other number of stitches so that you could tie the scarf around the toy’s neck), from the second stitch from the hook work 39 sc.
Assembly
1. Glue on the eyes between 12th and 13th rounds (counting from the crown), 8 sc between the eyes.
2. Sew on the nose on 14-15 rounds (counting from the crown) of the head.
3. Embroider the mouth with a black thread on 16th round, 6 sc wide (or 3 sc).
4. Buttons: cut a thread about 30 cm long, make a loop, pass one of the ends of the thread in this loop 4-5 times, then carefully pull both ends making a little ball. Make 2 buttons like that, then sew them on between 16th and 17th rounds, and between 19th and 20th rounds.
5. Sew on the arms 2 rounds lower the neck.
6. Sew on the hat to the head, stuff a little as you go. Optional -embroider on the hat. I made the berries the same as the buttons. Leaves are made with “lazy daisy” stitch.
7. Tie the scarf around the neck.
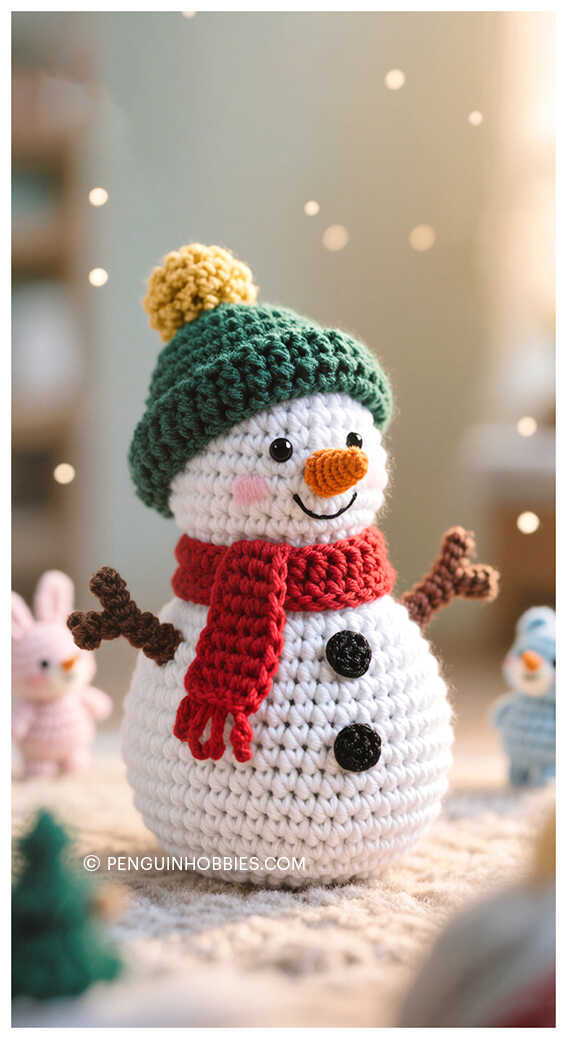
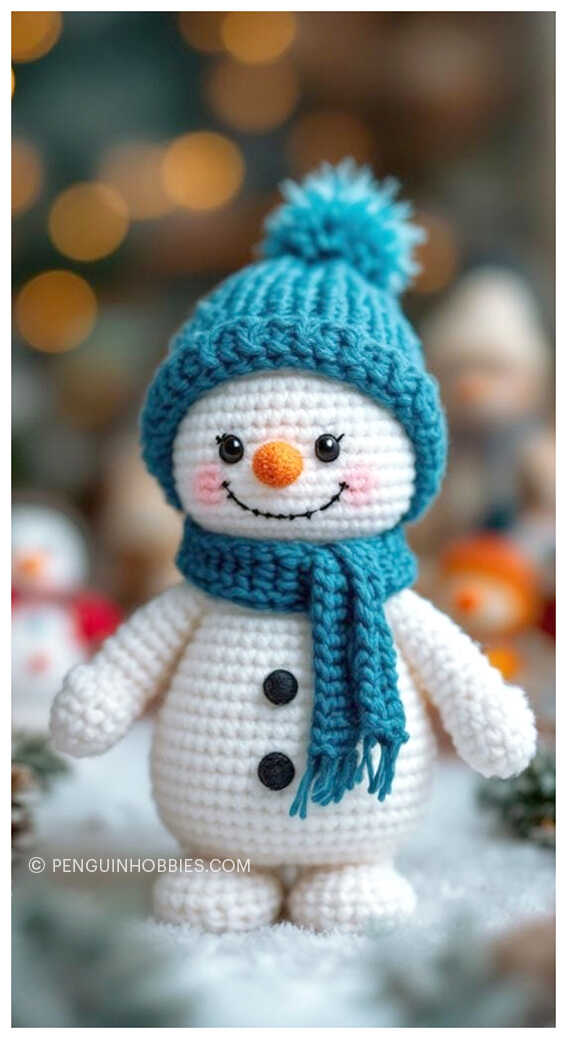
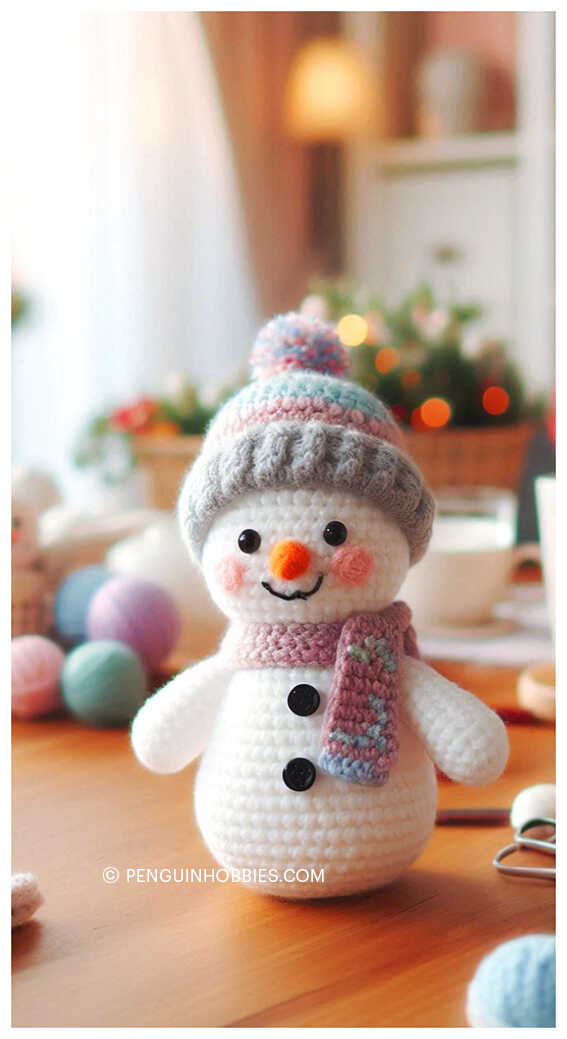
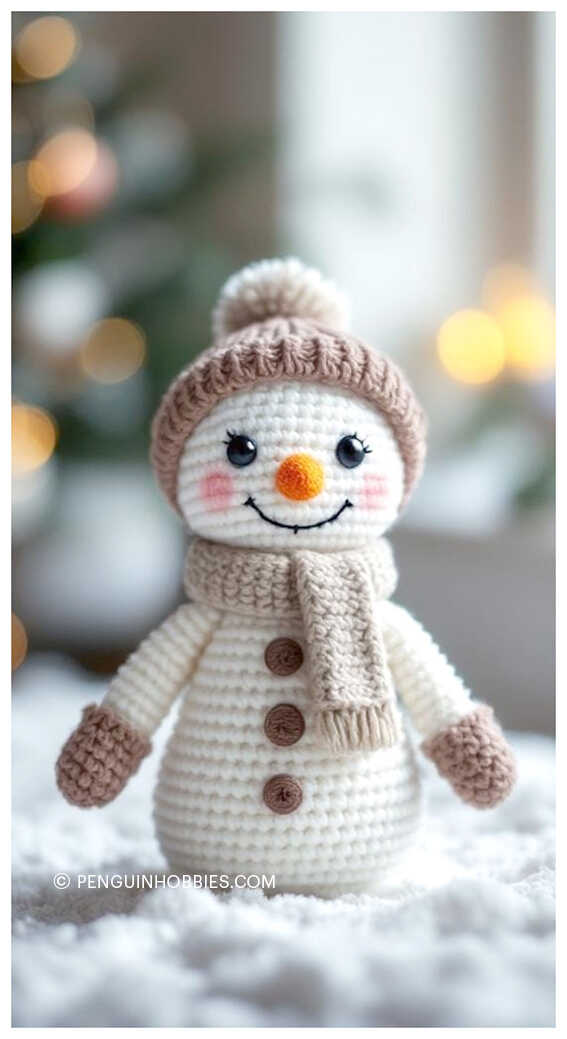
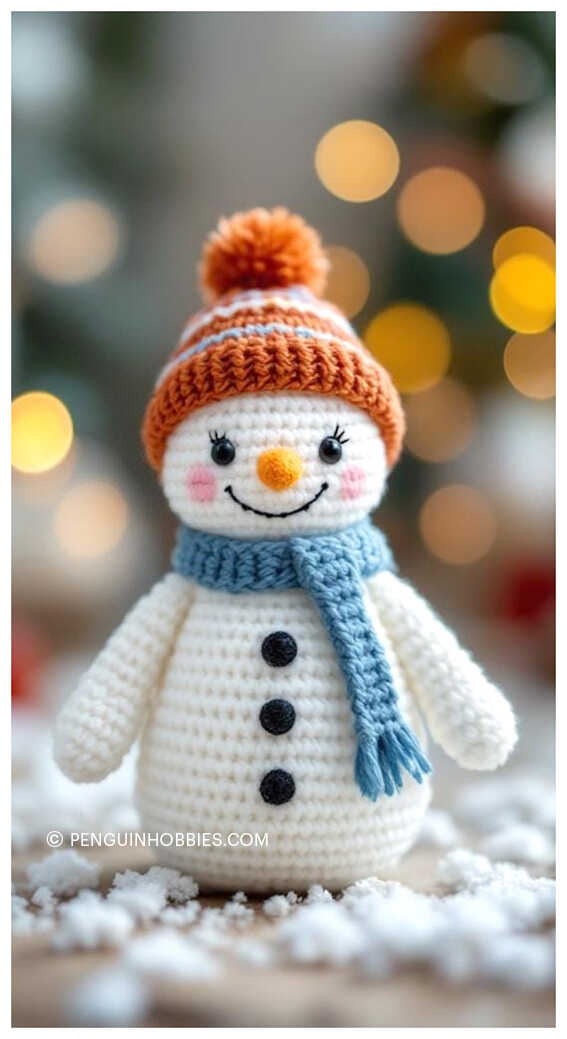
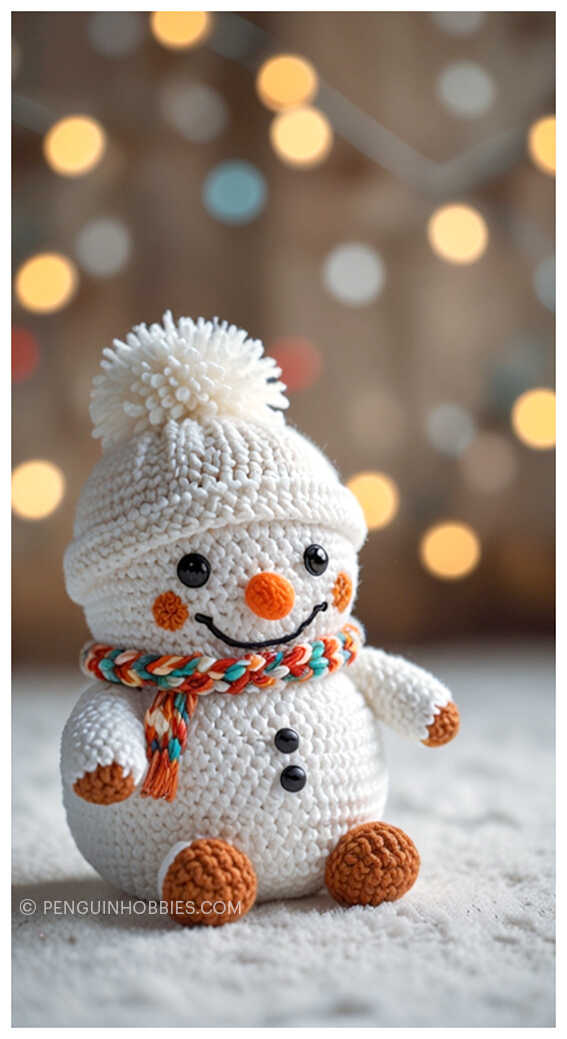
More amigurumi snowman ideas:

Discover All Your Favorite Amigurumi Toy Patterns in One Magical Place!
Looking for the perfect amigurumi pattern to bring your next crochet project to life? At PenguinHobbies.com, you’ll discover a magical world of free, step-by-step amigurumi patterns featuring everything from cuddly cats, sweet dolls, playful dogs, and enchanting unicorns to soft lambs, mighty dinosaurs, clever foxes, huggable bears, gentle giraffes, adorable pigs, and colorful birds. We also offer creative ideas for penguins, pandas, llamas, bunnies, clowns, elephants, hippos, monkeys, and so much more! Each pattern is designed to spark joy, inspire your creativity, and help you make handmade treasures that are as fun to create as they are to gift. Don’t forget to join our Facebook community for daily crochet inspiration, pattern updates, and a wonderful group of fellow amigurumi lovers!