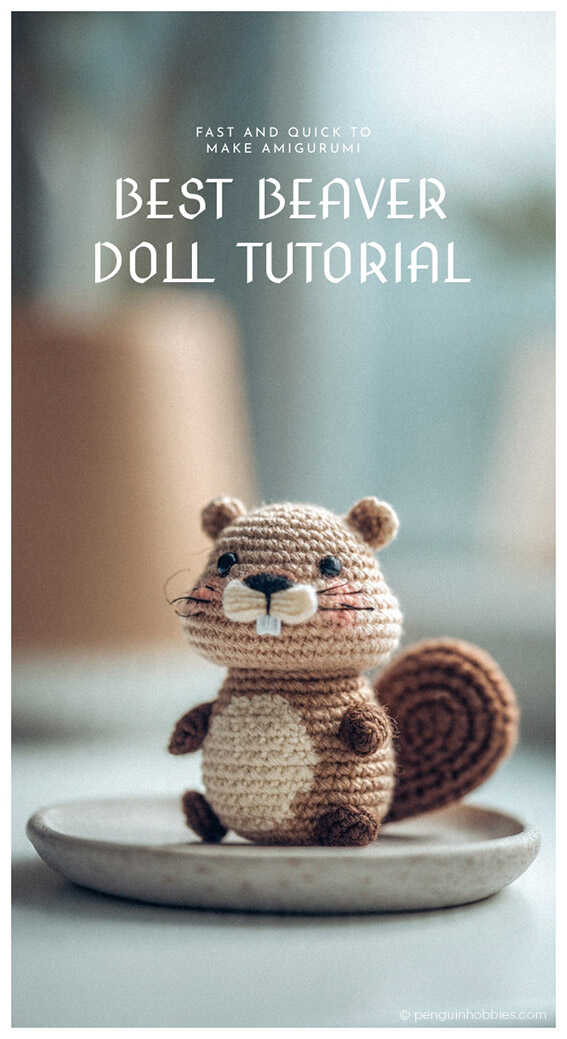
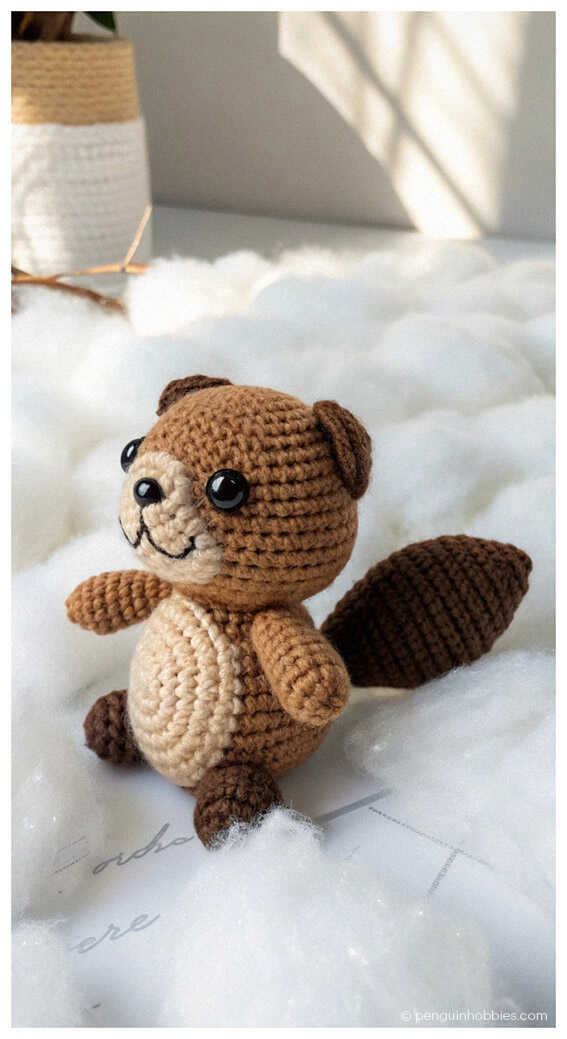
Charming Crochet Beaver Guide: A Must-Have Free Amigurumi Pattern
Designer: Nadelkunst Handmade
Instagram: @nadelkunst.handmade
Etsy Shop: NadelkunstHandmade
Looking for a new amigurumi to crochet? I’ve got you…
Discover the joy of garden-themed crafting with this Free Amigurumi Cute Caterpillar Pattern, a vibrant project that brings the beauty of nature right to your crochet hook. Inspired by the slow, colorful journey of a springtime caterpillar, this design is perfect as a sensory toy for little hands or a bright addition to any nursery decor. These DIY Crochet Gift Ideas are a fantastic way to utilize your stash while creating Easy Crochet Projects and exploring Low Sew Amigurumi Patterns that everyone will love. At the end of this pattern, you will also find wonderful amigurumi beaver ideas to keep your creative momentum going. A huge thank you to Nadelkunst Handmade for this creative design and for sharing this lovely inspiration with our community.
This step by step guide is specifically tailored to be beginner friendly, making it an ideal beginner amigurumi caterpillar pattern for those who enjoy rhythmic stitch work. What makes this project truly special is its classification as a Quick to Make Amigurumi, allowing you to finish the entire multi-colored body in just one afternoon—making it one of the best one hour amigurumi projects for busy crafters. For more inspiration on small, fast projects, you might also enjoy checking out my Free Crochet Keychain Patterns which are equally fun and fast to make. Whether you need a last-minute gift or a stress-free weekend project, this pattern offers professional results.
To start your garden friend, you will need high-quality cotton yarn in various bright shades, a 2.5 mm crochet hook for tight tension, and premium fiberfill. During the process, I noticed that using a slightly smaller hook than recommended helped me achieve a much cleaner finish without any stuffing peeking through, a tip I always recommend for how to crochet amigurumi toys. The guide covers all the essentials of shaping spheres and securing safety eyes, ensuring your handmade toy is both durable and safe for play. By following these technical tips, you will create a boutique-style plushie that stands out, much like the results you’ll get with my Free Grinch Doll Guide.
While this pattern is designed using Cotton Yarn for a crisp finish, it also works beautifully as a chunky plushie if you use Velvet Yarn. Note that using velvet will make the final toy much larger and incredibly huggable, perfect for creating a cozy No Sew Plushie variant! Swapping between cotton and plush textures is a brilliant way to experiment with your crochet animal designs while learning how different weights affect the final outcome. Grab your hooks and let your creativity crawl into something beautiful today. Happy crocheting!
Abbreviations
MR– magic ring
Sc– single crochet
Inc– increase
Dec– decrease
Dc– double crochet
Slst– slip Stitch
Rnd– round
BLO– Back loop only
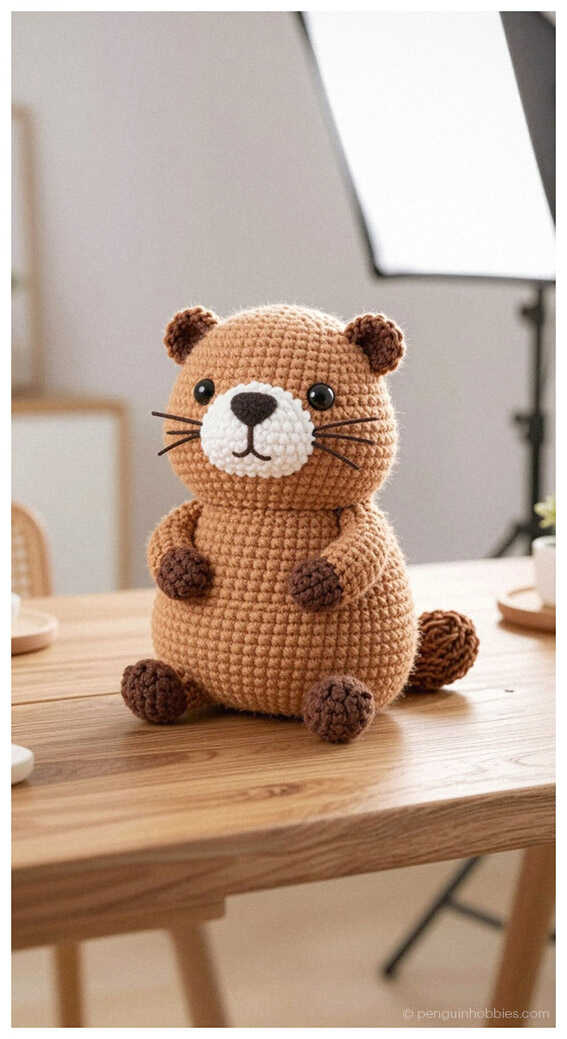
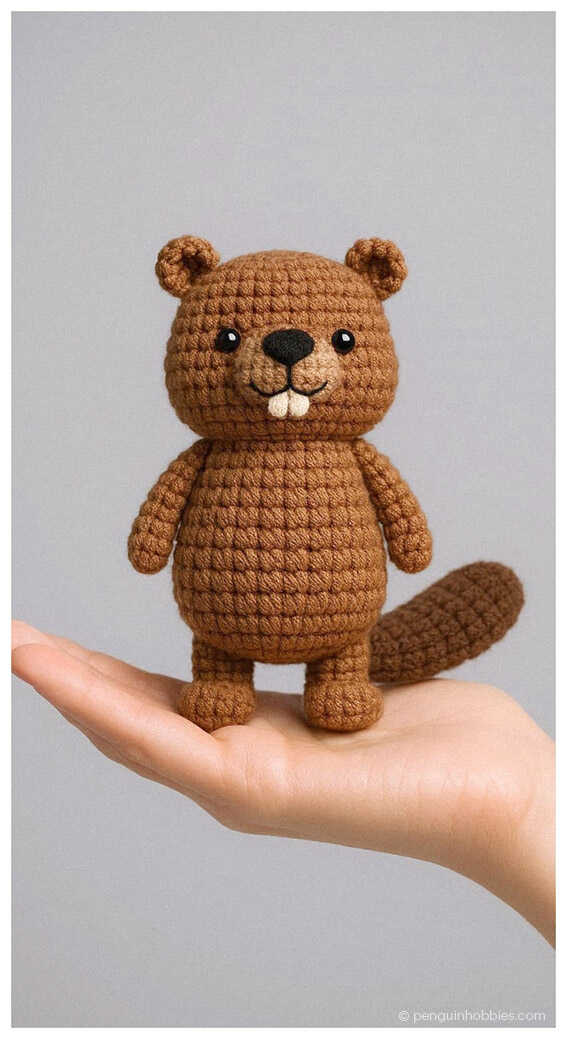
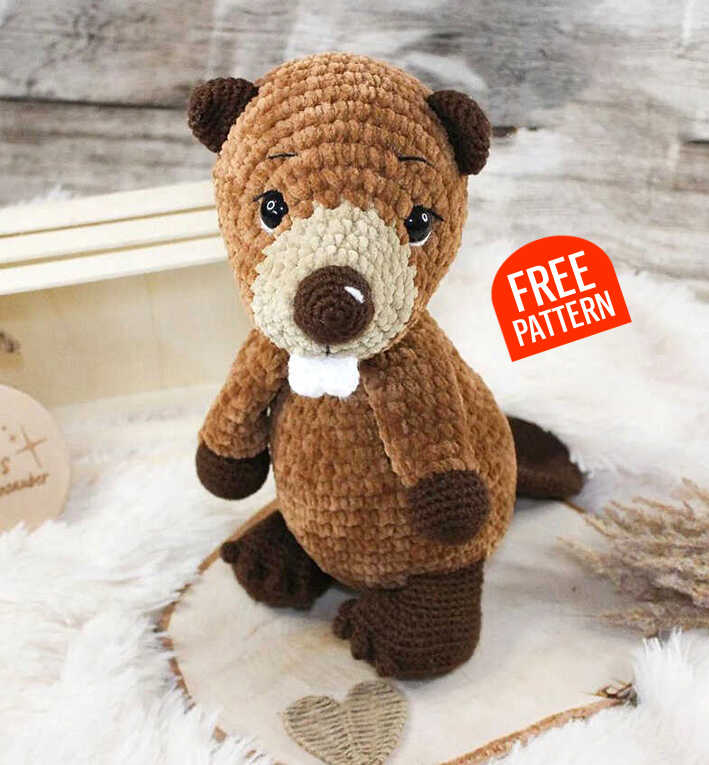
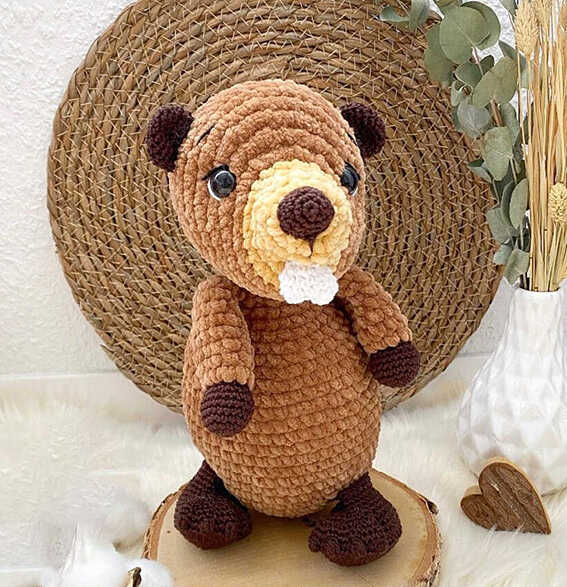
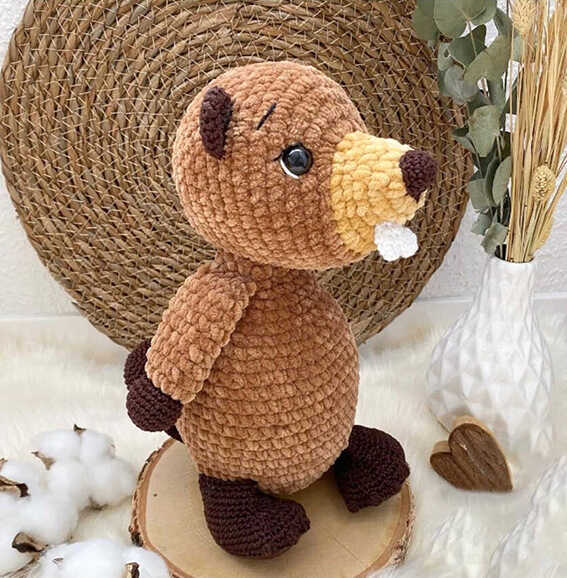
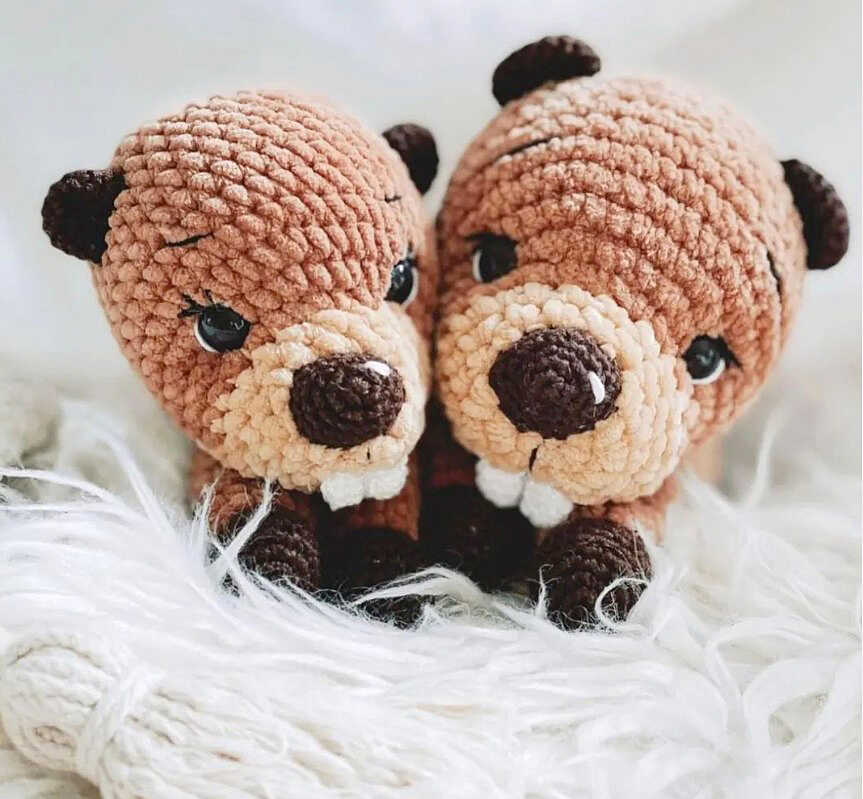
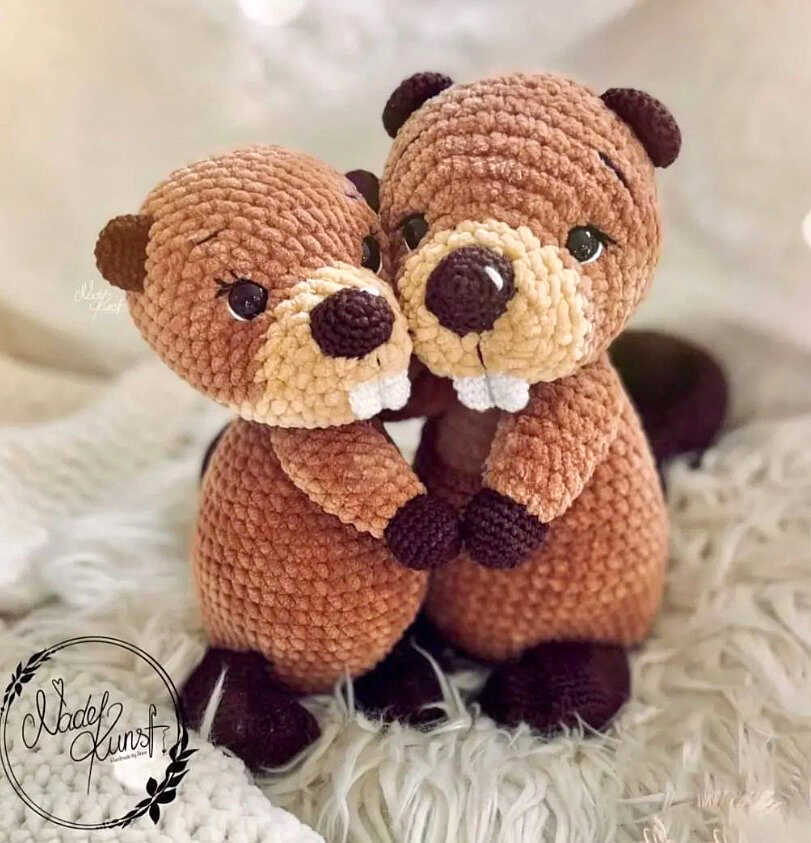
STUNNING BEAVER AMIGURUMI: FREE STEP-BY-STEP CROCHET GUIDE
Head
Lightbrown
Rnd 1. MR with 6 sc (6)
Rnd 2. 6 x inc (12)
Rnd 3. 2 x (inc, 1sc), 4sc, 2 x (inc, 1sc) (16)
Rnd 4. 16sc (16)
Rnd 5. 2 x (inc, 2sc), 4sc, 2 x (inc, 2sc) (20)
Rnd 6. 2 x (inc, 3sc), 4sc, 2 x (inc, 3sc) (24)
Rnd 7. Brown; 6sc, 3sc, 6 x inc, 3sc, 6sc (30)
Rnd 8. 9sc, 6 x (inc, 1sc), 9sc (36)
Rnd 9. 9sc, 6 x (inc, 2sc), 9sc (42)
Rnd 10-17. (8 rnds) 42sc (42)
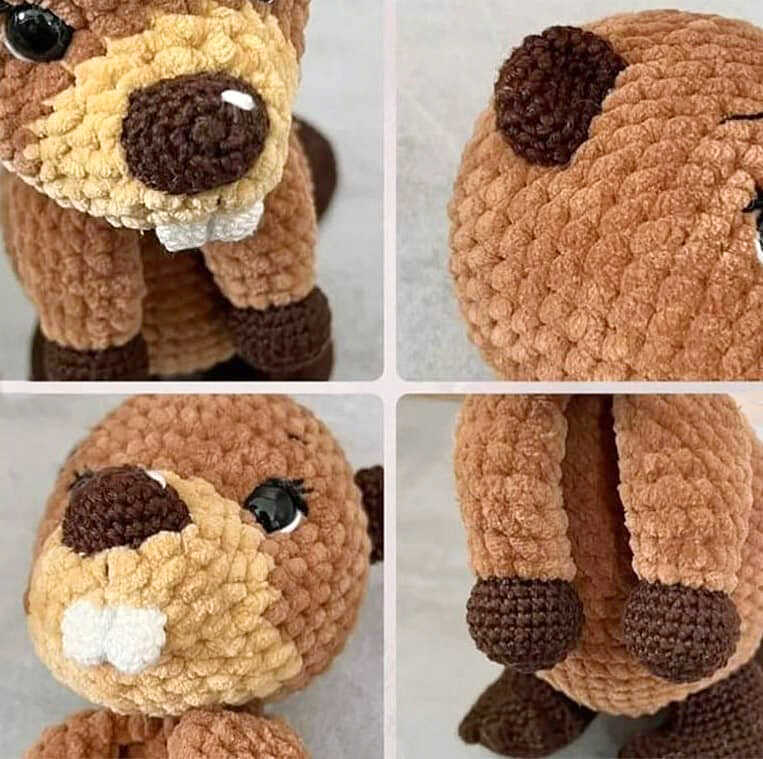
Place the eyes between round 8 and 9. The distance between is absolut 9 visible stitches.
Rnd 18. 6 x (5sc, dec) (36)
Rnd 19. 6 x (4sc, dec) (30)
Stuff the head
Rnd 20. 6 x (3sc, dec) (24)
Rnd 21. 6 x (2sc, dec) (18)
Rnd 22. 6 x (1sc, dec) (12)
Rnd 23. 6 x dec, finish with slst (6)
Fasten off.
Ears
Darkbrown
Rnd 1. MR with 6sc (6)
Rnd 2. 6 x inc (12)
Rnd 3. 6 x (1sc, inc) (18)
Rnd 4-5. (2 rnds) 18sc (18)
Rnd 6. 3 x (4sc, dec) (15)
Ears are not stuffed. Fasten off and leave a long line to sew the ears onto the body
Nose
Darkbrown
Rnd 1. MR with 6sc (6)
Rnd 2. 2sc, 2 x inc, 4sc, 2 x inc, 2sc (10)
Rnd 3. 2sc, 2 x (1sc, inc), 4sc, 2 x (inc, 1sc) (14)
Rnd 4. 14sc (14)
Fasten off
Arms (x2)
Darkbrown
Rnd 1. MR with 6sc (6)
Rnd 2. 6 x inc (12)
Rnd 3. 6 x (1sc, inc) (18)
Rnd 4. 6 x (2sc, inc) (24)
Rnd 5-7. (3 rnds) 24sc (24)
Rnd 8. 6 x (2sc, dec) (18)
Rnd 9. 6 x (1sc, dec) (12)
The arms are only stuffed up to the middle
Rnd 10-17. (8 rnds) 12sc (12)
Rnd 18. 3 x (2sc, dec) (9)
Fold the arms and crochet together with 4sc

Foot (x2)
Darkbrown
Rnd 1. Dc of en with 8sc (8)
Rnd 2. Insert the stitch into the second stitch from the hook: inc, 5sc, 3sc in the last sc, 6sc (16)
Rnd 3. 2 x inc, 5sc, 3 x inc, 5sc, inc (22)
Rnd 4. 2 x (1sc, inc), 5sc, 3 x (inc, 1sc), 6sc, inc (28)
Rnd 5. 2 x (2sc, inc), 5sc, 3 x (inc, 2sc), 7sc, inc (34)
Rnd 6. 2 x (3sc, inc), 5sc, 3 x (inc, 3sc), 8sc, inc (40)
Rnd 7. 2 x (4sc, inc), 5sc, 3 x (inc, 4sc), 9sc, inc (46)
Rnd 8. BLO 18sc, 4 x (nub, 3sc), 12sc (46)
Rnd 9-10. (2 rnds) 46sc (46)
Rnd 11. 18sc, 4 x (dec, 2sc), 12sc (42)
Rnd 12. 14sc, 6 x (dec, 1sc), 10sc (36)
Rnd 13. 6 x (3sc, dec) (30)
Rnd 14-15. (2 rnds) 30sc (30)
Rnd 16. 6 x (2sc, dec) (24)
Rnd 17. 24sc (24)
Rnd 18. Crochet 4 more stitches so the foot will be worked straight together (4)
Stuff the foot.
Fold the foots an crochet together with 8sc.
Tail
Darkbrown
Rnd 1. MR with 6sc (6)
Rnd 2. 6 x inc (12)
6 x (1sc, inc) (18)
Rnd 3. 6 x (2sc, inc) (24)
Rnd 4. 6 x (3sc, inc) (30)
Rnd 5-6. (2 rnds) 30sc (30)
Rnd 7. 6 x (4sc, inc) (36)
Rnd 8-9. (2 rnds) 36sc (36)
Rnd 10. 6 x (5sc, inc) (42)
Rnd 11-20. (10 rnds) 42sc (42)
Rnd 21. 6 x (5sc, dec) (36)
Rnd 22-23. (2 rnds) 36sc (36)
Rnd 24. 6 x (4sc, dec) (30)
Rnd 25-27. (3 rnds) 30sc (30)
Rnd 28. 6 x (3sc, dec) (24)
Rnd 29-31. (2 rnds) 24sc (24)
Rnd 32. 6 x (2sc, dec) (18)
Tail are not stuffed.
Fold the tail and crochet together with 9sc.
Body
Brown
Rnd 1. MR with 6sc (6)
Rnd 2. 6 x inc (12)
Rnd 3. 6 x (1sc, inc) (18)
Rnd 4. 6 x (2sc, inc) (24)
Rnd 5. 6 x (3sc, inc) (30)
Rnd 6. 6 x (4sc, inc) (36)
Rnd 7. 6 x (5sc, inc) (42)
Rnd 8. 9sc trough the tail, 7sc, 8sc through the first foot, 9sc, 8sc through the second foot, 8sc (42)
Rnd 9. 6 x (sc, inc) (48)
Rnd 10-16. (7 rnds) 48sc (48)
Rnd 17. 6 x (6sc, dec) (42)
Rnd 18. 42sc (42)
Rnd 19. 6 x (5sc, dec) (36)
Rnd 20. 36sc (36)
Rnd 21. 6 x (4sc, dec) (30)
Rnd 22. 30sc (30)
Rnd 23. 6 x (3sc, dec) (24)
Rnd 24. 24sc (24)
Rnd 25. 6 x (2sc, dec) (18)
Rnd 26. 5sc, 4sc through the first arm, 2sc, 4sc through the second arm 3sc (18)
Rnd 27. 18sc, finish with slst (18)
Fasten off
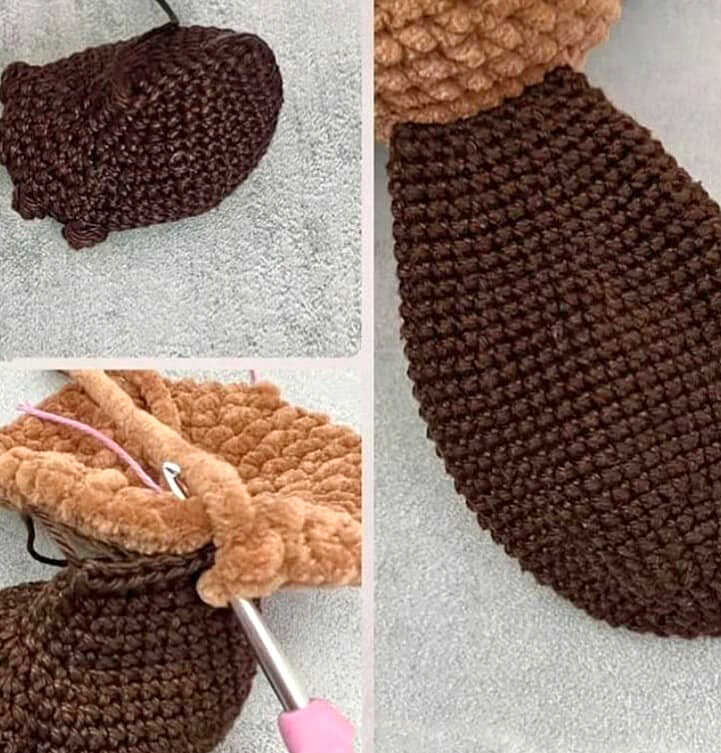
Teeth
For the teeth you crochet a MR twice
Continue crocheting with the second MR and connect the two MR
Insert into the first MR and crochet 6sc, then crochet 6sc in the second MR
Crochet 1 round 12sc
Fold the teeth and crochet together 6sc
Completion
The ears are sewn onto the head in round 14
The distance from one ear to the other is approx 7sc
The nose is embroidered from the MR three rounds up
Details
Embroider the eylideyelids
Embroider the eyebrows
Congratulations, you have completed the amigurumi beaver pattern.
You may also like: Amigurumi Dog Zoya Crochet Free Pattern (Beginner-Friendly & Step-by-Step)
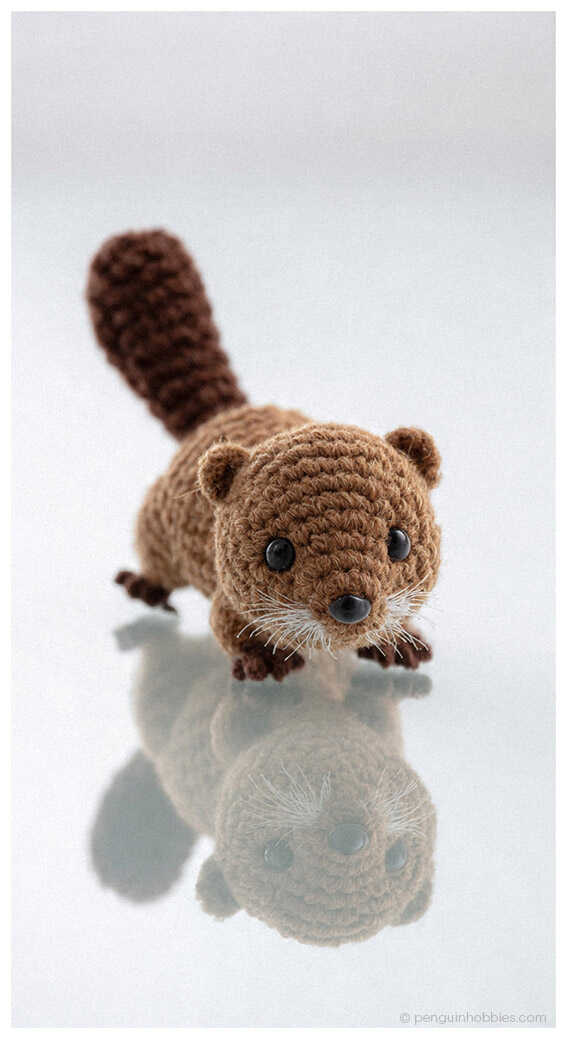
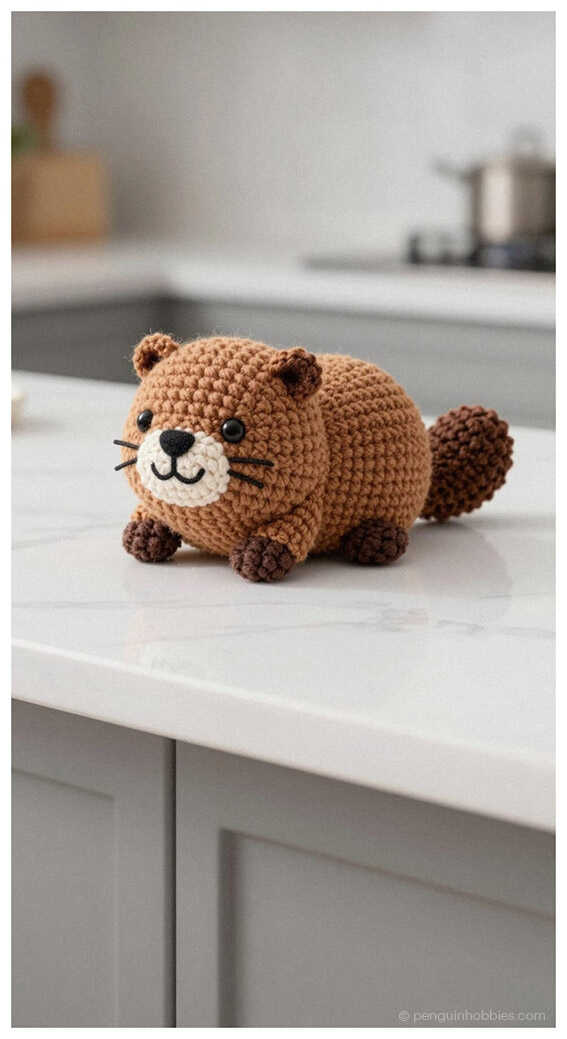
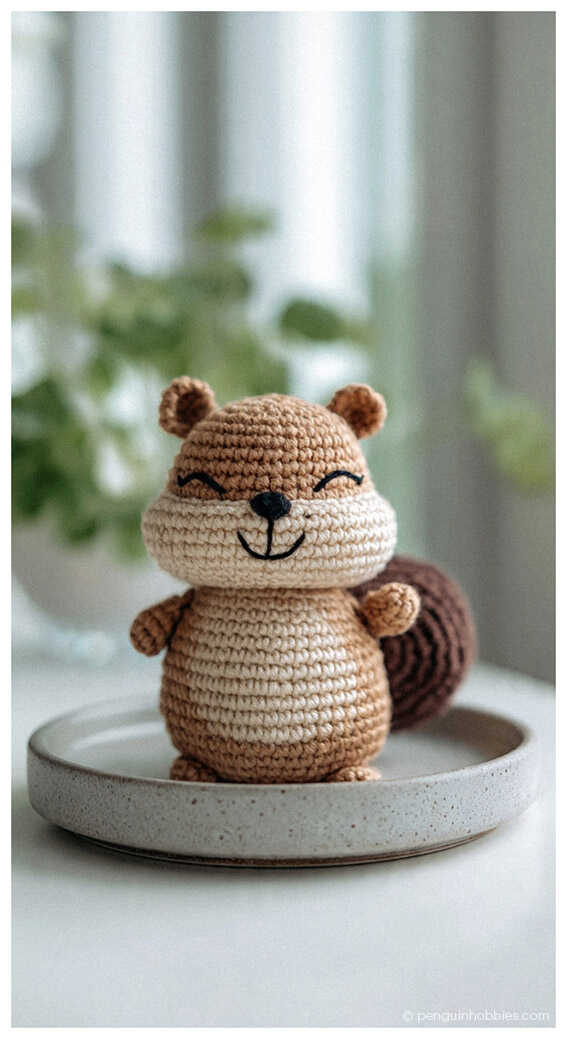
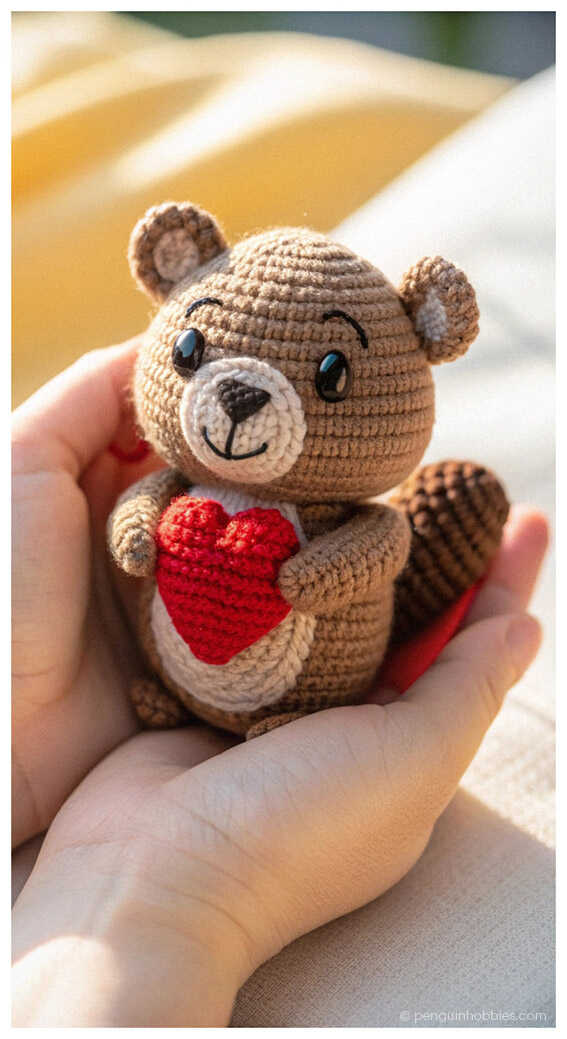
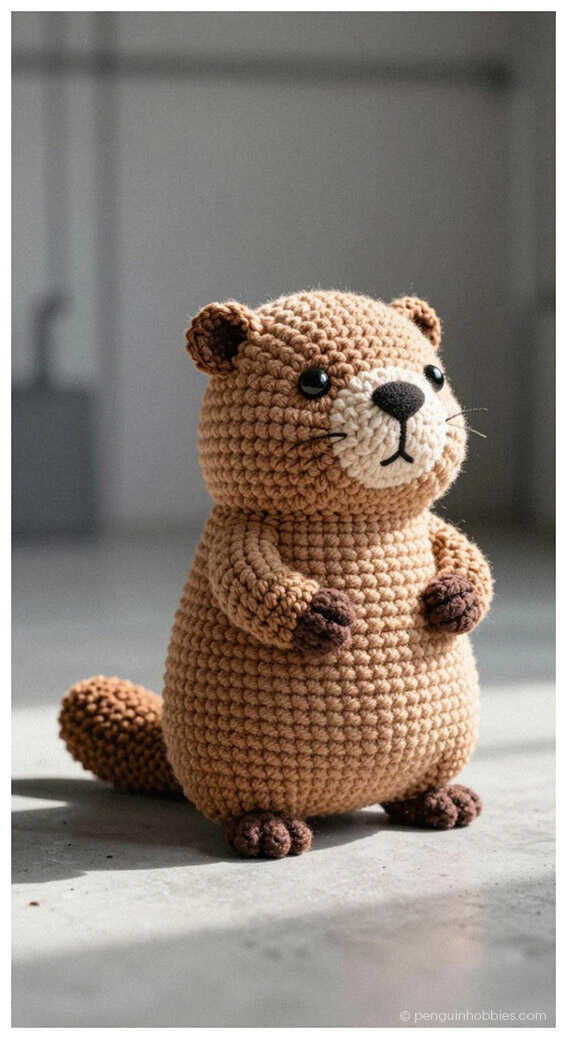
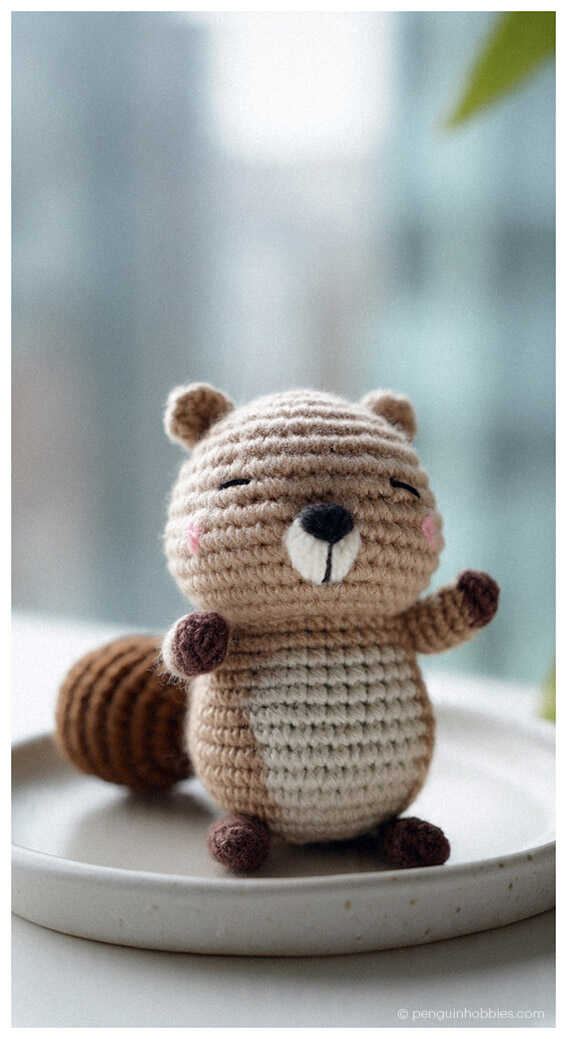
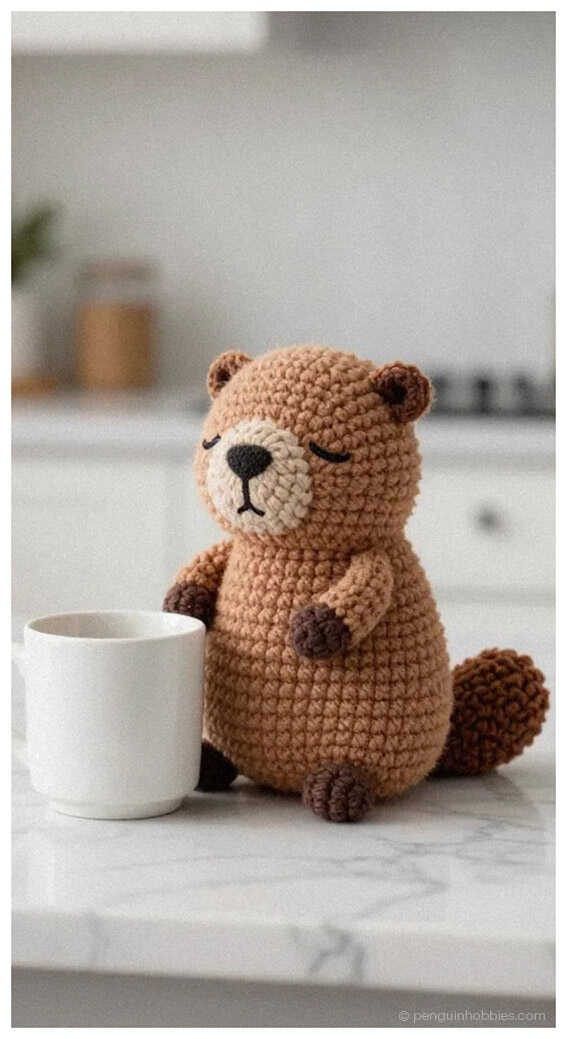
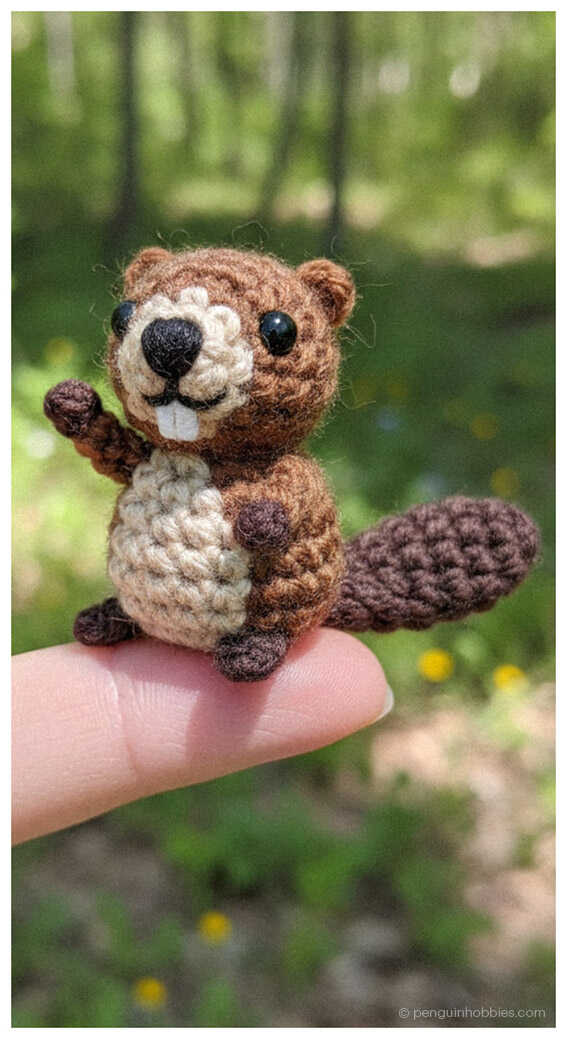
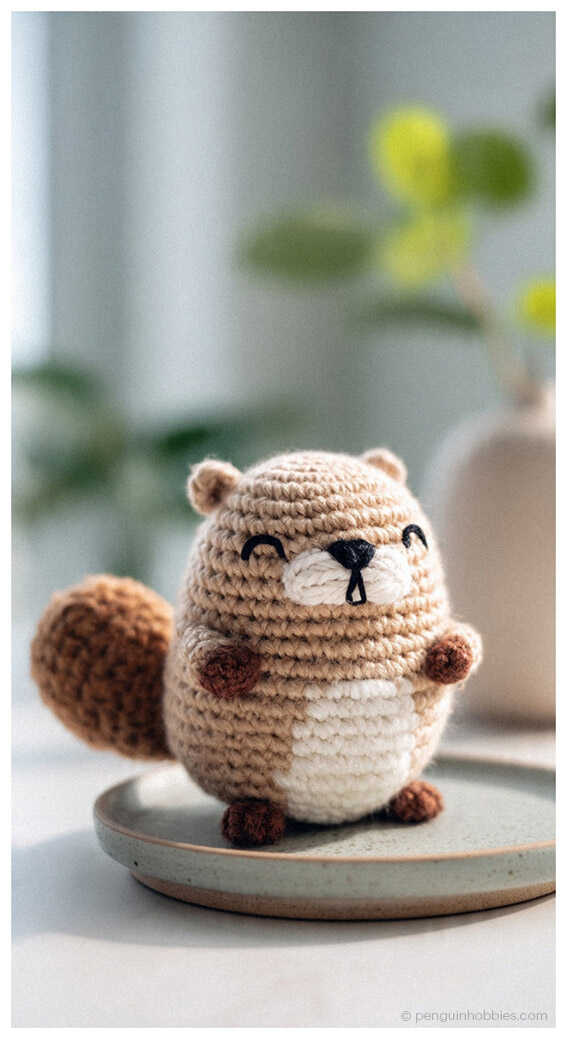
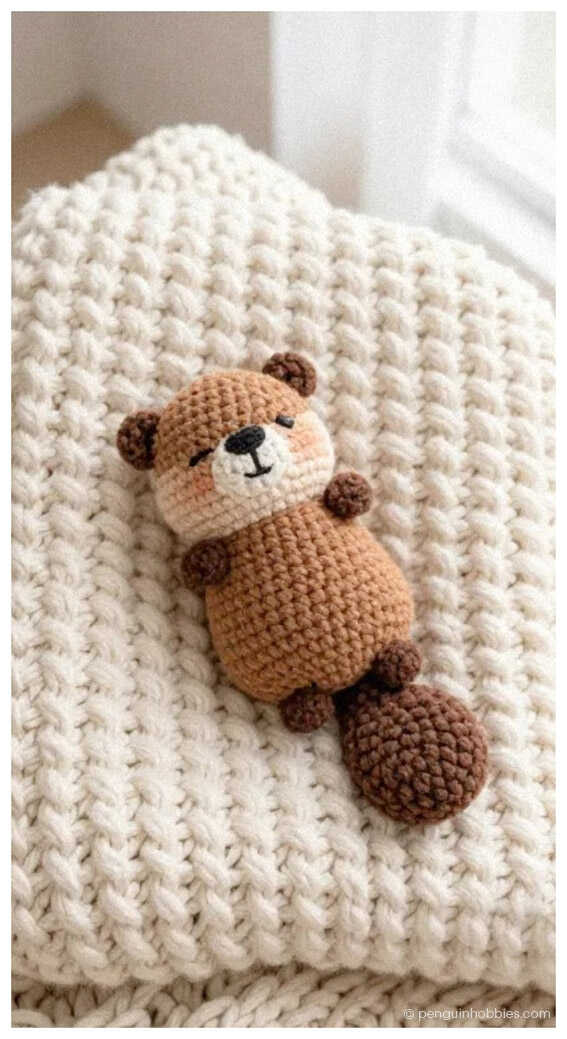
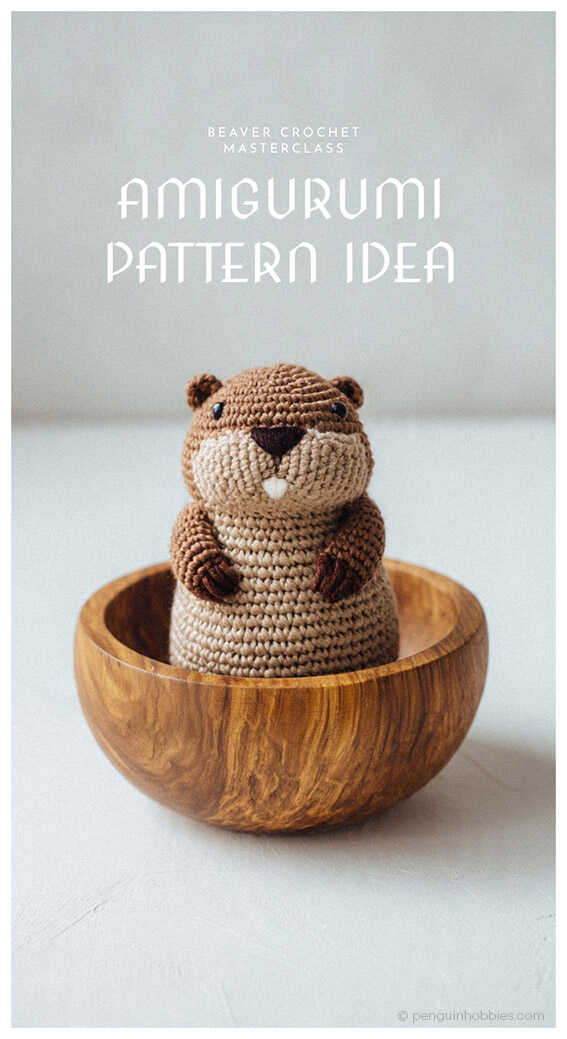
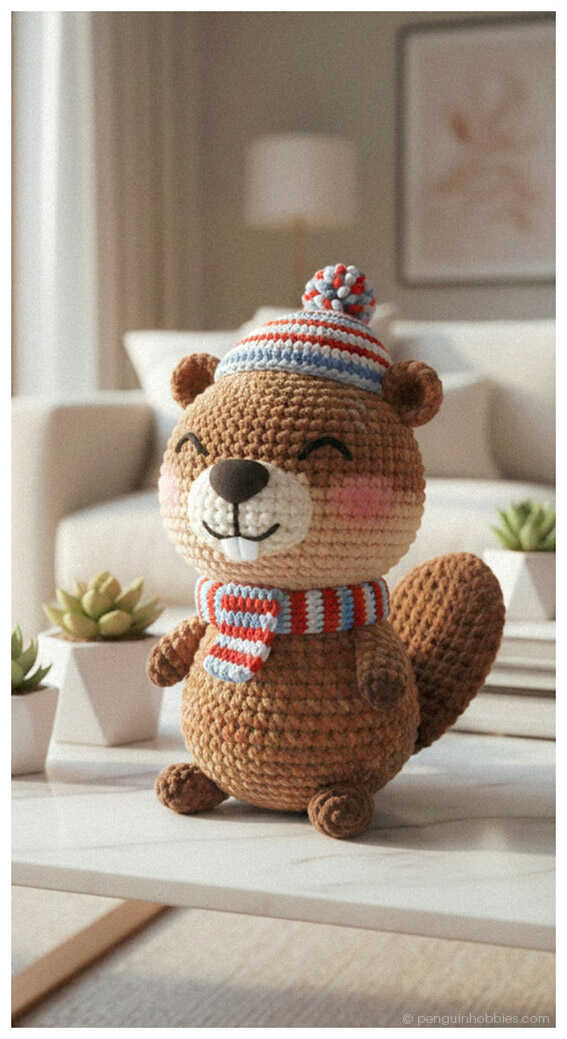
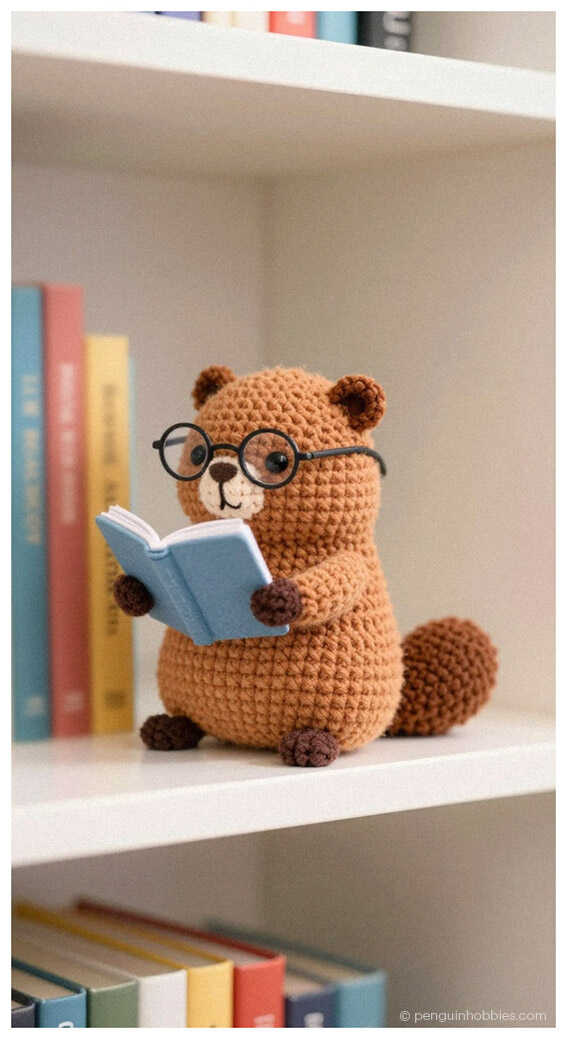
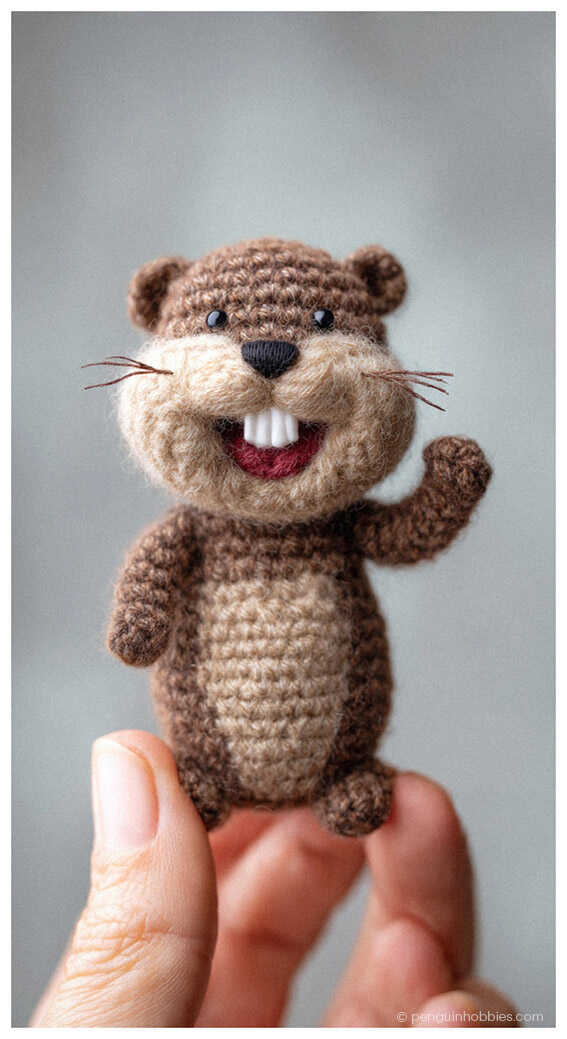
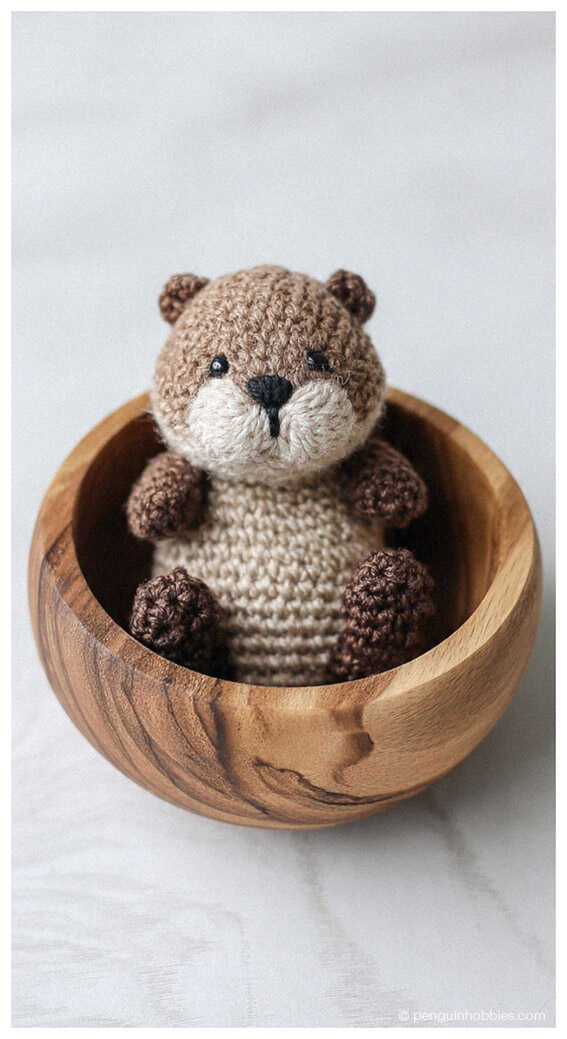
Creative amigurumi beaver ideas: