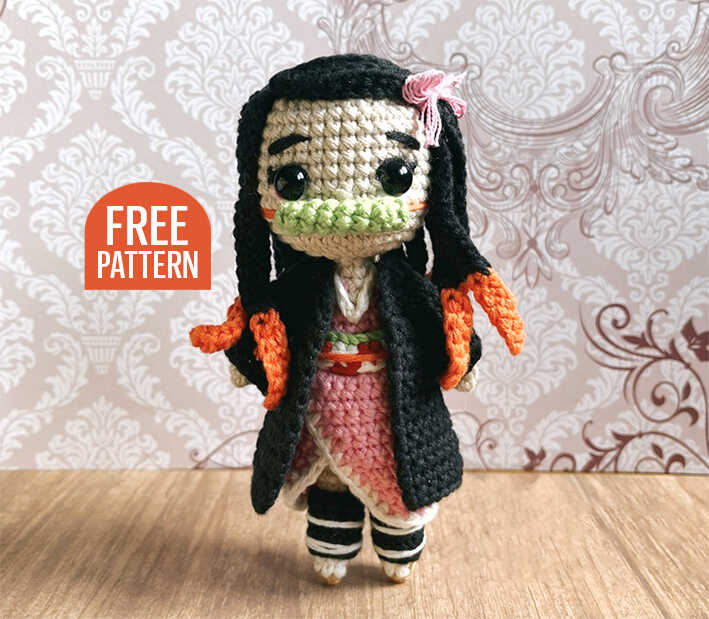
Crochet Doll Amigurumi Free Pattern
Designer: Sheila Feijoo
Instagram: @nix.amigurumi
Etsy Shop: NixAmigurumi
Hi yarn lovers!
Bring your favorite anime character to life with this beautifully designed Crochet Nezuko Doll Amigurumi Free Pattern by Sheila Feijoo, the creative mind behind Nix Amigurumi (Ravelry). Perfect for anime lovers and crochet enthusiasts alike, this charming Nezuko-inspired doll combines traditional amigurumi techniques with the iconic look of one of Demon Slayer’s most beloved characters.
Whether you’re a beginner or an experienced crocheter, this free pattern offers a fun and rewarding project that results in a stunning handmade keepsake. Special thanks to Sheila for sharing her talent and imagination with the amigurumi community! And don’t forget to check out the end of the post for a collection of inspiring amigurumi doll ideas to spark your next creation.
Abbreviations
sc– single crochet
inc– increase of single crochet
dec– decrease of single crochet
hdc– half double crochet
slst– slip stitch
BLO– Back loop only
Materials and tips
• Color yarn; beige for skin, pink, white, black, orange and light brown
• Two hooks. Crochet the legs, body, head and arms with a 0,25 smaller hook than the clothes and the hair
• 9mm security eyes
• Yarn needle and scissors
• Optional: hot glue for the hair
• Marker for counting the rows. Put the marker at the beginning of each row.
You can buy one or use a piece of thread, a safety pin.
• Fiberfill stuffing.
AMIGURUMI NEZUKO DOLL FREE PATTERN
Legs x2
Light brown colour. Crochet in spiral
Rnd 1. sc in magic ring (6)
White colour
Rnd 2. sc, 1 inc (7)
Rnd 3-6. 7sc (7)
Beige skin colour
Rnd 7-8. 7sc (7)
Rnd 9. 6sc, 1 inc (8)
Rnd 10. 8sc (8)
Rnd 11. 7sc, 1 inc (9)
Rnd 12-13. 9sc (9)
Cut the yarn and fasten off the first leg. Do not cut the yarn on the second leg. Join the legs
On the second leg, change to pink colour
Rnd 14. 2sc, 2 chains, join the first leg with 1sc, 8sc, 2sc on chains, 7sc on the second leg (22)
Body
Rnd 15. 22sc (22)
Rnd 16. 22sc. Make 3 more sc and move the marker. Continue counting the stitches from here.
Rnd 17. 4sc, 1 dec, 10sc, 1 dec, 4sc (20)
Rnd 18. (3sc, 1 dec) x 4 (16)
Rnd 19. 16sc (16)
Rnd 20. 3sc, 1 dec, 7sc, 1 dec, 2sc (14)
Rnd 21. 14sc (14)
Rnd 22. 3sc, 1 dec, 2sc, change to skin colour 1sc, change to pink colour 2sc, 1 dec, 2sc (12)
Rnd 23. 6sc, change to skin colour, 2sc, change to pink colour, 4sc. Make 1sc additional. Move the marker and continue counting from here.
Rnd 24. 2 dec, change to skin colour, 2 dec, change to pink colour 2 dec (6sc)
Change to skin colour
Rnd 25-26. 6sc (6)
Head
Rnd 27. 6 inc (12)
Rnd 28. 12 inc (24)
Rnd 29. (3sc, 1 inc) x 6 (30)
Rnd 30. 2sc, 1 inc, (4sc, 1 inc) x 5, 2sc (36)
Rnd 31-39. 36sc (36)
Put the security eyes between rows 34-35, 7 stitches apart
Rnd 40. 2sc, 1 dec, (4sc, 1 dec) x 5, 2sc (30)
Rnd 41. (3sc, 1 dec) x 6 (24)
Rnd 42. 1sc, (2sc, 1 dec) x 5, 2sc (18)
Rnd 43. (1sc, 1 dec) x 6 (12)
Rnd 44. 6 dec (6)
Cut the thread and fasten off
Arms x2
Skin colour, crochet in spiral
Rnd 1. 6 sc in magic ring (6)
Rnd 2. 6sc (6)
Change to pink colour
Rnd 3-10. 6sc (6)
Rnd 11. 3 slst, 3 hdc (6)
Clothes
At the end of each row, make one chain, turn the labour and continue.
Pink colour
Rnd 1. 25 chains, start on the second chain counting from the hook, 2sc, (4sc, 1 inc) x 4, 2sc (28)
Rnd 2-3. 28sc (28)
Rnd 4. 1 dec, 24sc, 1 dec (26)
Rnd 5-6. 26sc (26)
Rnd 7. 1 dec, 22sc, 1 dec (24)
Rnd 8-9. 24sc (24)
Rnd 10. 1 dec, 20sc, 1 dec (22)
Rnd 11. 22sc (22)
Rnd 12. 1 dec, 18sc, 1 dec (20)
Rnd 13. 1 dec, 16sc, 1 dec (18)
Cut the thread and fasten off. In white colour:
Make a row of singles crochet around the piece. Do it on the laterals and on the bottom part. Do not do it on the part that goes on the waist.
Obi
There are a lot of colour changes on the obi, so the stitches will be written on the colour that correspond them.
Row 1: 20 chains, 1 chain. Start on the second chain counting from the hook 1 sc, 1 inc , (2sc, 2 sc ) x 4, 1 inc, 1 sc. (22)
Cut the thread and fasten off. Instead of turn de labour, insert the hook on the first stitch of row 1.
Row 2: 1 sc, 1 sc, 1 inc, ( 2sc, 2 sc) x4, 1 sc , 1 inc, 1 sc.
Cut the yarn. Leave a long thread to sew the obi to the body.
Leggings x2
At the end of each row, close with a slip stitch and make one chain. The slst and the chain don’t count as stitches.
In black colour:
Rnd 1. 10 chains, slst on the first chain to make a circleand continue crocheting in rounds, 10 sc. (10)
Rnd 2. 8 sc, 1 dec. (9)
Rnd 3-5. 9 sc. (9)
Sew two strips in white colour.
Mouth cover
In green colour, crochet in spiral:
Rnd 1. 5 sc in magic ring (5)
Rnd 2. BLO, 5 sc (5)
Rnd 3-8. 5 sc (5).
Cut the thread. With a needle, pass the thread on the BLO of the 5 sc of row 8. Pull to close and fasten off.
Pass an orange thread through the mouth cover. We will need it for sew to the head.
Hair
In black colour, crochet in spiral:
Rnd 1. 6 sc in magic ring. (6)
Rnd 2. 6 inc. (12)
Rnd 3. (1 sc, 1 inc) x6. (18)
Rnd 4. 1 sc, 1 inc, (2 sc, 1 inc) x5, 1 sc. (24)
Rnd 5. (3sc, 1 inc) x6. (30)
Start with the strands:
Strand 1: In black colour make 26 chains, in orange colour make 8 chains, start on the second chain counting from the hook 1 slst, 6 sc, in black colour make 26 sc and slst on the front loop of the first sc of row 5.
Strand 2: In black colour make 26 chains, in orange colour make 8 chains, start on the second chain counting from the hook 1 slst, 6 sc, in black colour make 26 sc and slst on the BLO of the first sc of row 5. (Slst on the same stitch as strand 1 but in the BLO).
Strand 3: In black colour 18 chains, in orange colour 8 chains, start on the second chain counting from the hook, 1 slst, 6 sc, in black colour 18 sc, slst on the next stitch of Row 5.
Strand 4-12: In black colour 18 chains, in orange colour 8 chains, start on the second chain counting from the hook, 1 sc, 6 hdc, in black colour 18 hdc, skip one stitch of row 5 and slst on the next stitch. It will remain 10 sc of row 5 without strands. Cut the thread. If you are going to sew the hair, leave a long thread. If you are going to glue the hair, fasten off.
Coat
At the end of each row, make one chain, turn the labour and continue. In black colour:
Rnd 1. 13 chains, start on the second chain counting from the hook 1sc, 1 inc, (2sc, 1 inc) x3, 1 sc. (16).
Rnd 2. 1 sc, 1 inc, 3 sc, 1 inc, 4 sc, 1 inc, 3 sc, 1 inc, 1sc. (20)
Rnd 3. 1 sc, 1 inc, 3 chains, skip 5 stitches, 1 inc, 4 sc, 1 inc, 3 chains, skip 5 sitches, 1 inc, 1 sc. (20)
Rnd 4. 6 sc, 1 inc, 6 sc, 1 inc, 6 sc. (22)
Rnd 5. 22 sc. (22)
Rnd 6. 3 sc, 1 inc, 14 sc, 1 inc, 3 sc. (24)
Rnd 7. 24 sc (24)
Rnd 8. 4 sc, 1 inc, 14 sc, 1 inc, 4 sc. (26)
Rnd 9. 26 sc. (26)
Rnd 10. 5 sc. 1 inc, 14 sc, 1 inc, 5 sc. (28)
Rnd 11. 28 sc. (28)
Rnd 12. 6sc, 1 inc, 14 sc, 1 inc, 6 sc. (30)
Rnd 13. 30 sc. (30)
Rnd 14. 7 sc, 1 inc, 14 sc, 1 inc, 7 sc. (32)
Rnd 15-17. 32 sc.
Cut the thread and fasten off.
Arms x2
Insert the hook on the hole of row 3. Crochet in spiral around the hole. It doesn’t matter where you insert the hook. The important part is to follow the scheme.
Row 1: It doesn’t matter the order but you have to make 5 sc on the stitches that we skipped on row 3, one sc additional on one side, 3 sc on the chains, 1 sc additional on the other side. (10)
Row 2-4: 10 sc (10)
Row 5: It doesn’t matter the order but, in this row, you have to make 9 sc and 1 inc. The inc has to be on the middle down part of the sleeve. For example, it can be 7 sc, 1 inc, 2 sc; it can be 8 sc, 1 inc, 1 sc… The important thing is to follow the scheme.
Row 6: It doesn’t matter the order but, in this row, you have to make 10 sc and 1 inc. The inc has to be on the middle down part of the sleeve, where you made the inc of the last row.
Row 7: It doesn’t matter the order but, in this row, you have to make 11 sc and 1 inc. The inc has to be on the middle down part of the sleeve, where you made the inc of the last row.
Row 8: It doesn’t matter the order but, in this row, you have to make 12 sc and 1 inc. The inc has to be on the middle down part of the sleeve, where you made the inc of the last row.
Cut the thread and fasten off.
Assembling the amigurumi
Sew the details of the face.
Sew the arms bellow the neck row.
Sew the kimono. Cross the piece in the middle and sew it between rows 18 and 19 of the body.
Sew the obi between round 19 of the body and the first row of the kimono part. Sew an orange thread above the obi.
Chain 13 and pull. Sew it forming the collar of the kimono.
Put the leggings on the legs.
Sew the orange thread of the mouth cover on the back part of the head.
Place the hair with pins. Put the strands 3 and 14 at both sides of the head.
The strands 4 to 13 go between them. The strands 1 and 2 are the bang.
Place the strands 1 and 2 on the side and make a lace with pink thread.
Now, sew the head or glue it strand by strand
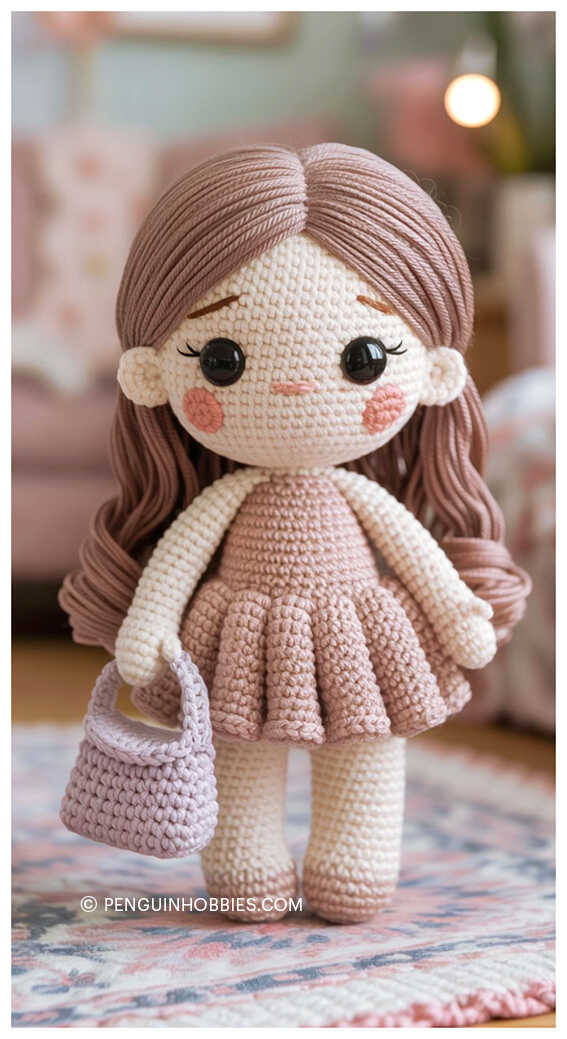
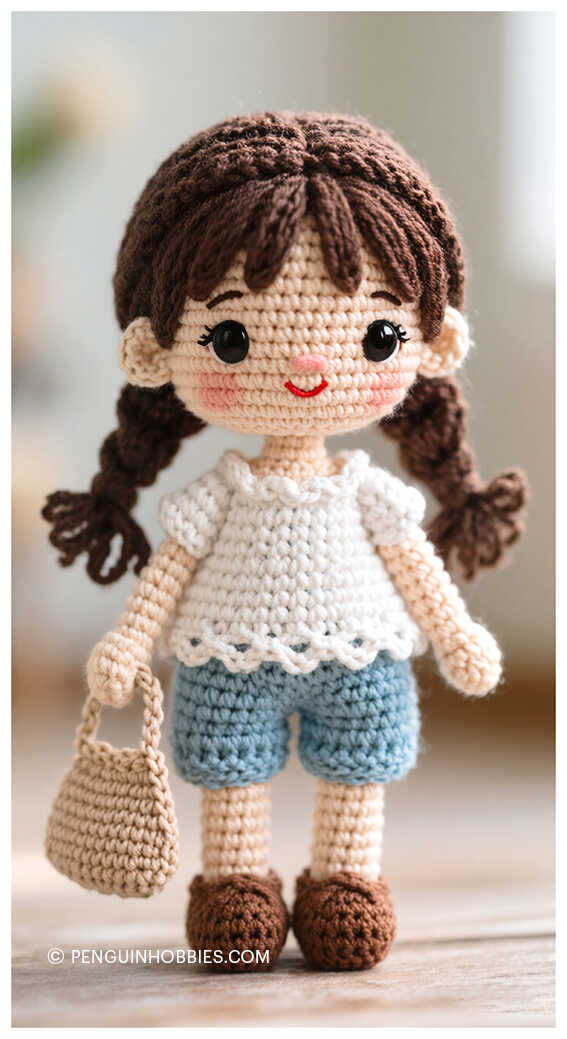
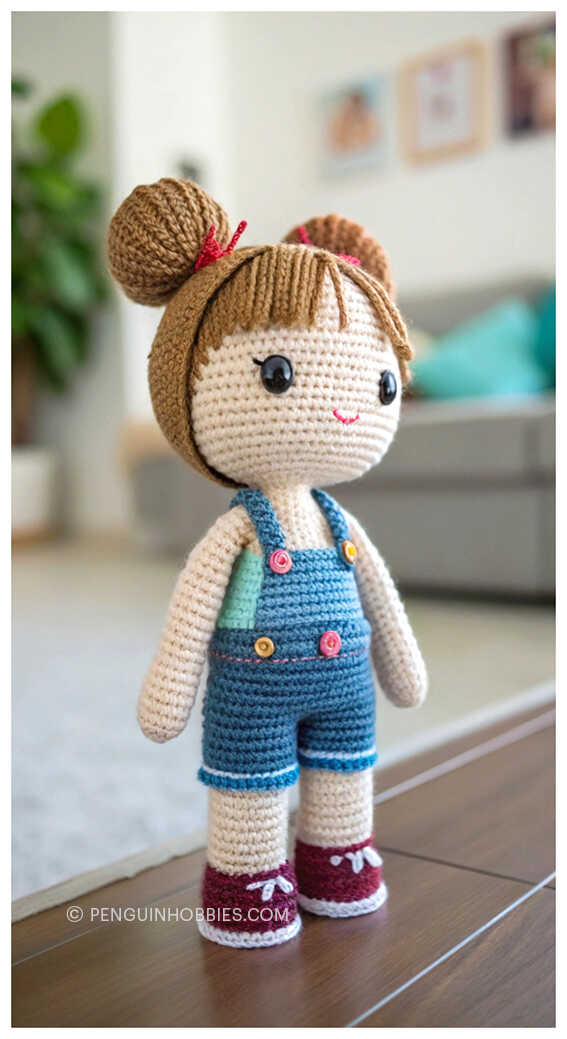
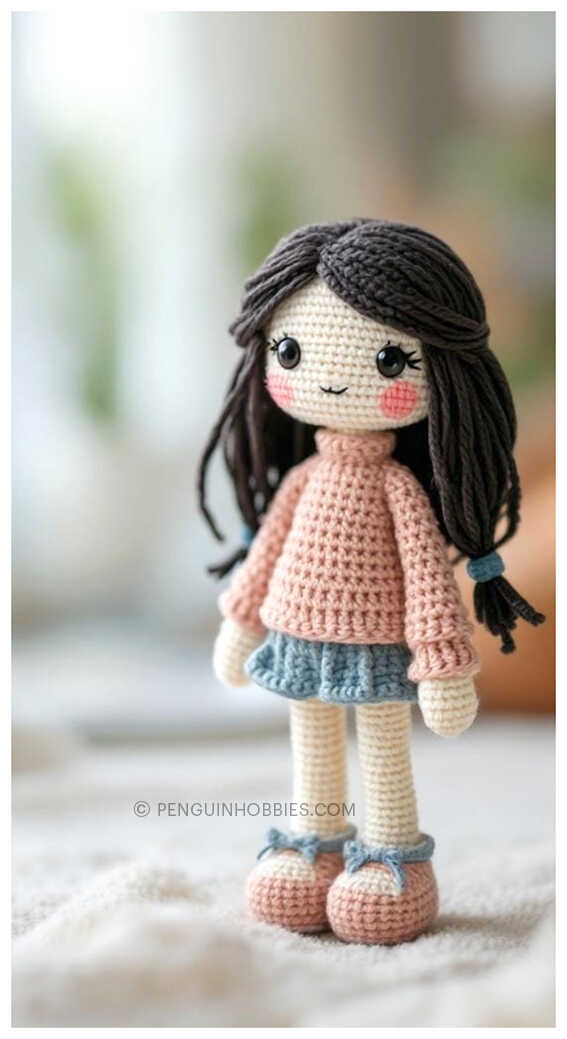
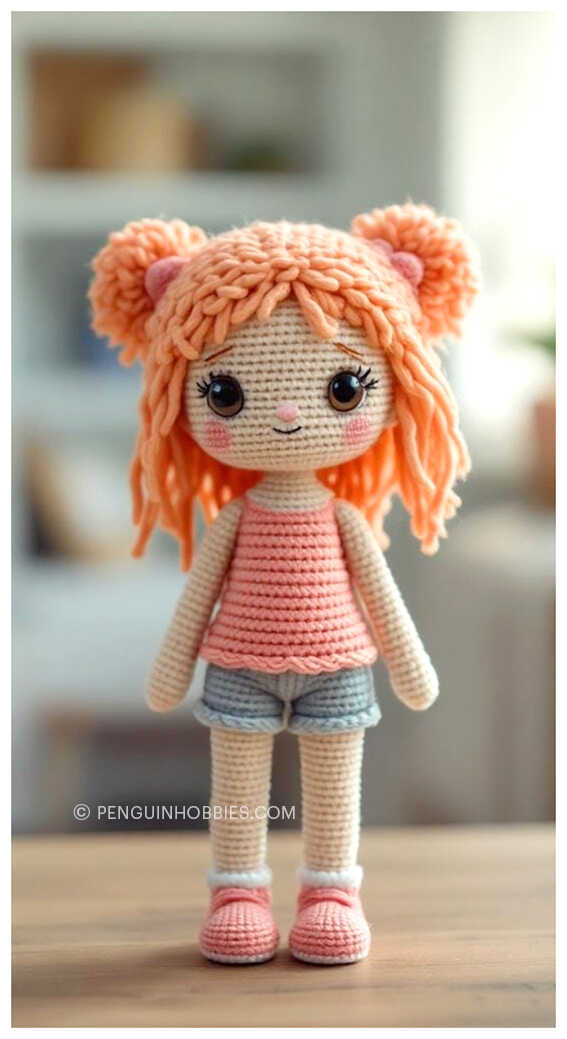
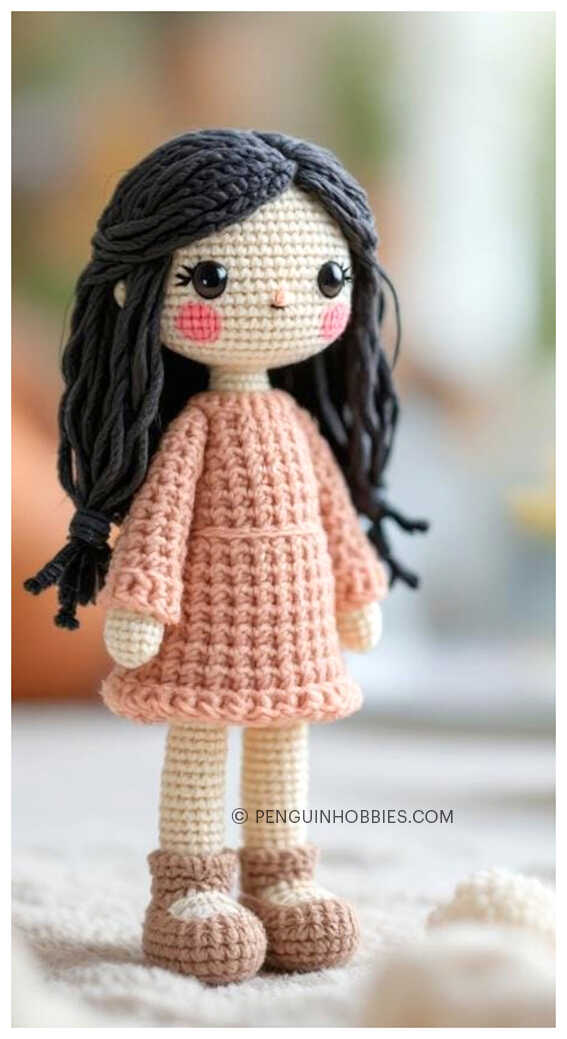
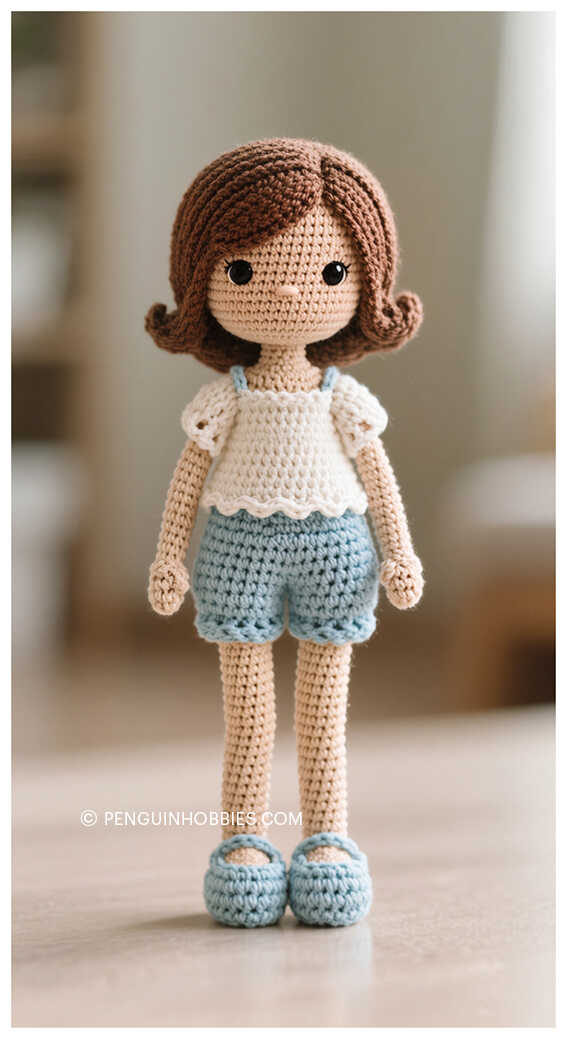
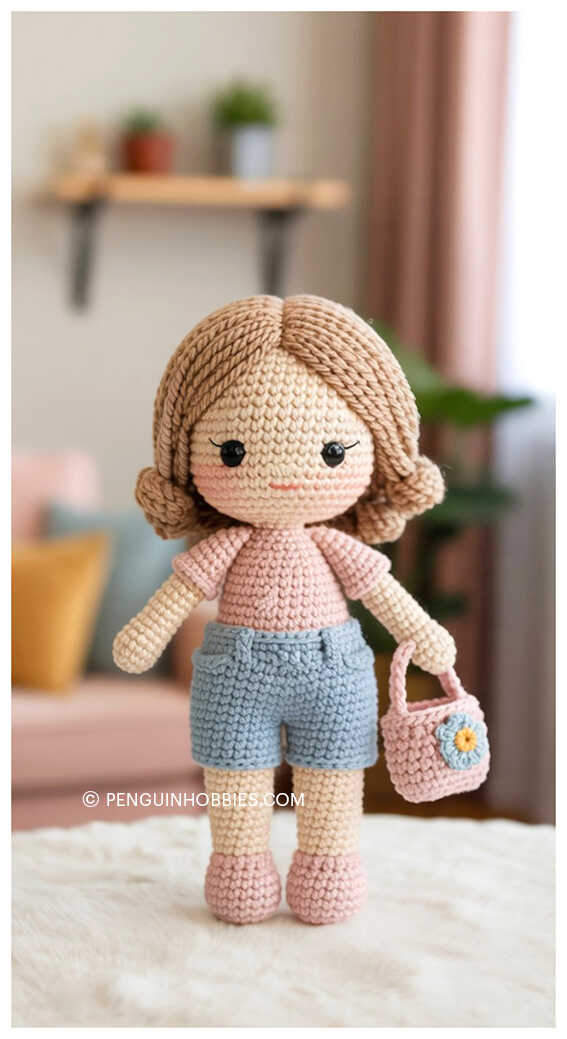
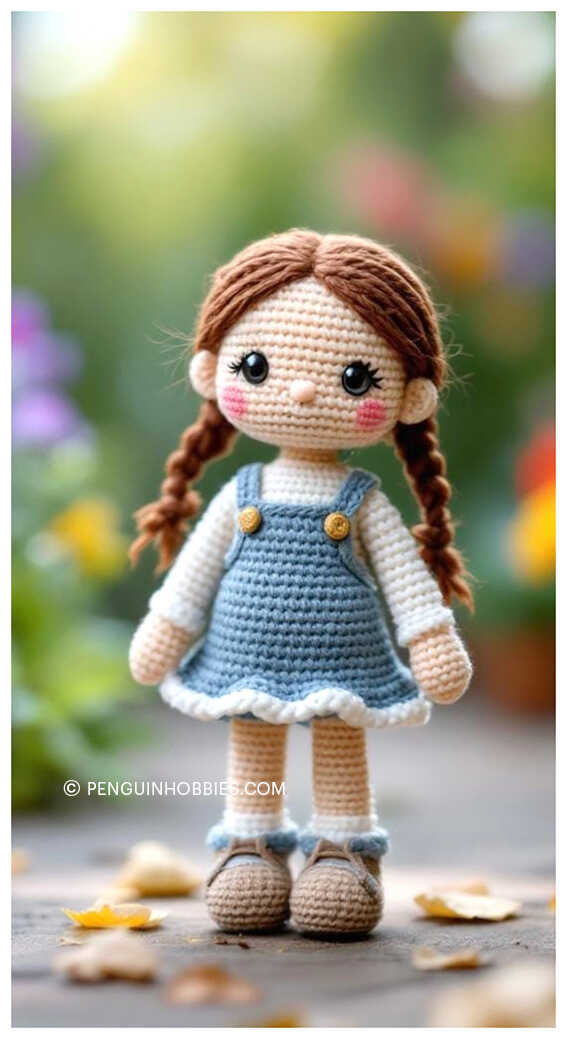
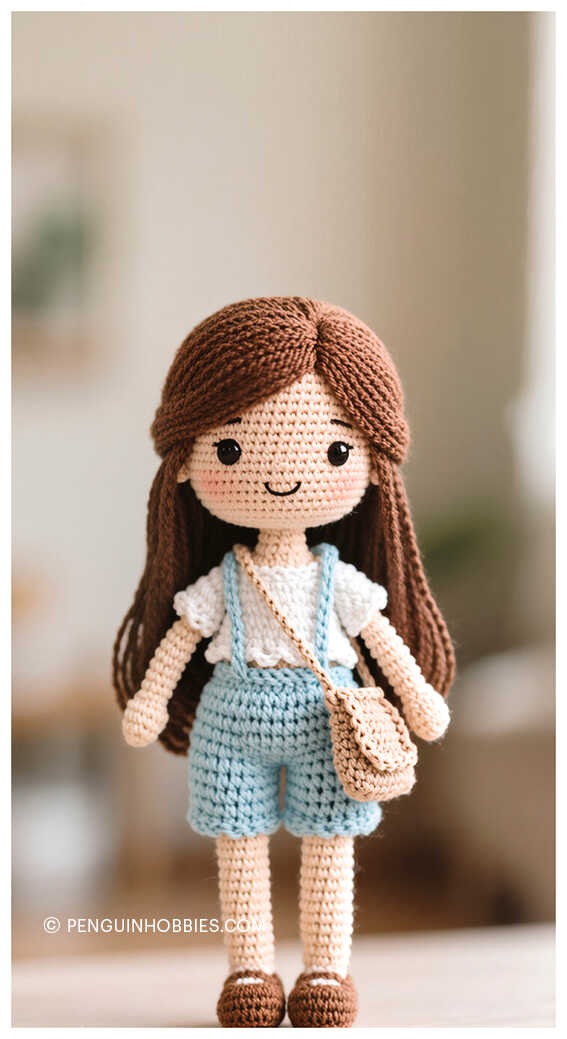
Check out other cute crochet doll ideas:


Discover All Your Favorite Amigurumi Toy Patterns in One Magical Place!
Looking for the perfect amigurumi pattern to bring your next crochet project to life? At PenguinHobbies.com, you’ll discover a magical world of free, step-by-step amigurumi patterns featuring everything from cuddly amigurumi cats, sweet amigurumi dolls, playful amigurumi dogs, and enchanting amigurumi unicorns to soft amigurumi lambs, mighty amigurumi dinosaurs, clever amigurumi foxes, huggable amigurumi bears, gentle amigurumi giraffes, adorable amigurumi pigs, and colorful amigurumi birds. We also offer creative ideas for amigurumi penguins, amigurumi pandas, amigurumi llamas, amigurumi bunnies, amigurumi clowns, amigurumi elephants, amigurumi hippos, amigurumi monkeys, and so much more! Each pattern is designed to spark joy, inspire your creativity, and help you make handmade treasures that are as fun to create as they are to gift. Don’t forget to join our Facebook community for daily crochet inspiration, pattern updates, and a wonderful group of fellow amigurumi lovers!